The cheeseball has been a party staple since the 1950s, evolving from elaborate molded creations to the simple, crowd-pleasing versions we know today. This particular combination—sharp cheddar meets tangy ranch—became popular in the 1980s as ranch seasoning swept the nation. What makes it endure isn't just the flavor, but how it brings people together. There's a reason you'll find some version of this at nearly every potluck: it's reliable, adaptable, and universally loved. The beauty is in its simplicity—no fancy techniques required, just good ingredients coming together in harmony.
Why You'll Love It
-
So easy to make—just mix and chill
-
Perfect make-ahead appetizer for busy hosts
-
Crowd-pleasing flavors everyone recognizes
-
Adapts easily to different cheeses and add-ins
"I make this for every family gathering—it's the first thing to disappear!" – Sarah K.
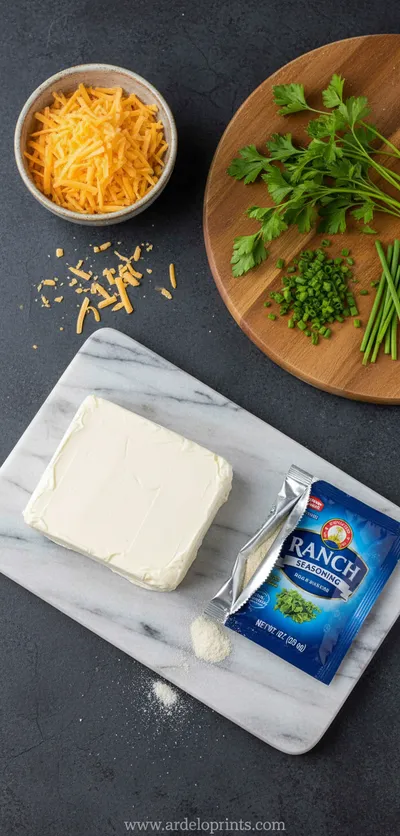
Essential Ingredient Guide
- Sharp cheddar cheese: Use a good quality sharp cheddar—it provides the backbone flavor. Freshly grated melts better than pre-shredded, which has anti-caking agents.
- Cream cheese: Must be fully softened to room temperature for smooth blending. Low-fat works but won't have the same rich texture.
- Ranch seasoning mix: The secret weapon—provides that signature herbaceous flavor. You can use packet mix or make your own blend.
- Worcestershire sauce: Just a dash adds depth and umami—don't skip it!
- Nuts for coating: Pecans or walnuts add crunch and make it easier to handle. Toast them lightly for better flavor.

Complete Cooking Process
-
Ingredient Readiness:
Everything needs to be at room temperature—especially the cream cheese. Cold cheese won't blend smoothly and you'll end up with lumps. I usually take things out about an hour before I start.
-
Flavor Development:
The magic happens when you first mix the cheeses together. As they combine, the fats carry the ranch seasoning throughout every bite. Letting it chill allows the flavors to marry beautifully.
-
Texture Control:
Proper chilling is key—too soft and it won't hold its shape, too hard and it's difficult to scoop. About two hours in the refrigerator gives you the perfect spreadable consistency.
-
Finishing Touches:
Rolling in nuts isn't just decorative—it creates a textural contrast and makes the cheeseball easier to handle. Plus, it looks prettier than bare cheese, don't you think?
-
Serving Timing:
Let it sit out for 15-20 minutes before serving so it's spreadable but still chilled. Serve with sturdy crackers that can handle a good scoop.
-
Use a stand mixer with paddle attachment for easiest mixing
-
Toast your coating nuts for deeper flavor
-
Make it a day ahead—flavors improve overnight
-
Shape into two smaller balls for easier serving
Pro Tips
You know, I've learned a few things making this over the years. First, don't rush the softening—truly room temperature cream cheese makes all the difference. I've had times where I was in a hurry and ended up with little cream cheese bits throughout. Not the end of the world, but not as smooth as it could be.
And the nuts? Well, I've used everything from pecans to almonds to even crushed pretzels. They all work, but pecans have that buttery quality that pairs so nicely with the sharp cheese. If you're serving to kids or someone with nut allergies, crushed crackers work beautifully too.
 International_Cuisine
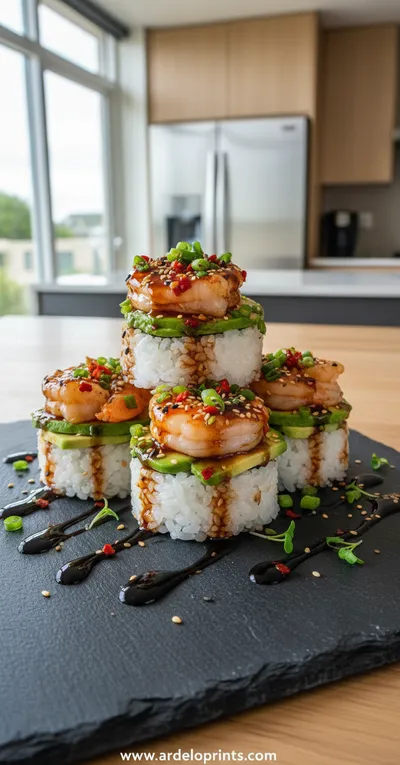
Spicy Shrimp Sushi Stacks
A fresh, vibrant bite combining seasoned shrimp, rice, and crisp toppings.
The essence of the dish
This isn't fancy food—and that's exactly why it works. It's comfort in a ball shape, familiar and welcoming. The combination of sharp cheddar and ranch seasoning hits all the right notes: savory, tangy, herby, with just enough richness to feel indulgent without being heavy. It's the kind of appetizer that makes people feel at home immediately.
A fun fact or historical angle
Cheeseballs actually date back to the 18th century in England, where they were served as a dessert with sweetened cream cheese! The savory version we know today became popular in America during the 1940s and 50s as cream cheese became more widely available.
Flavor or sensory focus
What you'll notice first is that creamy, spreadable texture—it should hold its shape but yield easily to a cracker. Then the sharp cheddar comes through, followed by the herbaceous ranch flavors. Finally, there's the crunch of the nut coating providing textural contrast. It's a perfect balance of creamy, savory, and crunchy.
You Must Know
-
Room temperature ingredients are non-negotiable for smooth blending
-
Chill thoroughly before serving—it makes slicing easier
-
The flavor improves dramatically if made a day ahead
-
Let it warm up slightly before serving for best texture
Frequently Asked Questions
→ Can I make this cheeseball ahead of time?
Absolutely! In fact, it's better made a day ahead. The flavors have time to meld together beautifully. Just wrap it tightly in plastic wrap and store in the refrigerator until you're ready to serve.
→ What's the best way to soften cream cheese?
Leave it on the counter for about an hour. Don't microwave it—that can make it grainy. If you're short on time, you can place the sealed package in warm water for 10-15 minutes.
→ Can I use pre-shredded cheese?
You can, but freshly grated cheese blends much smoother. Pre-shredded cheese has anti-caking agents that can make the texture slightly grainier.
→ What can I use instead of nuts for coating?
Crushed crackers, pretzels, bacon bits, or even chopped fresh herbs work beautifully. For a simpler version, you can roll it in more shredded cheese.
→ How long does it keep in the refrigerator?
About 5-7 days wrapped tightly. The texture might firm up over time—just let it sit out for a bit before serving.
→ Can I freeze the cheeseball?
Yes! Wrap it tightly in plastic wrap, then aluminum foil. Thaw in the refrigerator overnight. The texture might be slightly different after freezing, but still delicious.
Nutrition Facts
per serving
180
Calories
6g
Protein
3g
Carbs
16g
Fat
Taste Profile
Savory, creamy, with herbal notes from ranch seasoning
Ingredient Substitutions
Don't have an ingredient? Try these alternatives
Pepper jack adds spice, Colby is milder
Great for nut allergies, adds different texture
Mix dried dill, parsley, garlic powder, onion powder, salt, and pepper
Recipe Variations
Try these delicious twists on the original
Bacon Cheddar Ranch
Add 1/2 cup cooked crumbled bacon to the cheese mixture
Jalapeño Popper
Mix in 2-3 tablespoons finely chopped jalapeños and use crushed crackers for coating
Everything Bagel
Use everything bagel seasoning instead of ranch, coat with additional seasoning
Common Mistakes to Avoid
Learn from others' mistakes for perfect results
- Using cold cream cheese—results in lumpy texture
- Skipping the chilling step—ball won't hold its shape
- Over-toasting nuts—they burn quickly so watch carefully
- Not letting it warm up before serving—too hard to spread
Meal Prep & Storage
Make Ahead Tips
You can make this cheeseball up to 2 days ahead. The flavors actually improve with time. Just wrap tightly and refrigerate until ready to serve.
Leftover Ideas
Leftover cheeseball makes great sandwiches! Spread on bread with lettuce and tomato, or use as a filling for celery sticks.
Perfect Pairings
Serve this with...
Cooking Timeline
Softening cream cheese and grating cheddar cheese
Mixing all ingredients until smooth and well combined
Shaping into a ball and wrapping tightly in plastic
Chilling in refrigerator until firm enough to handle
Toasting nuts, cooling, then rolling cheeseball in coating

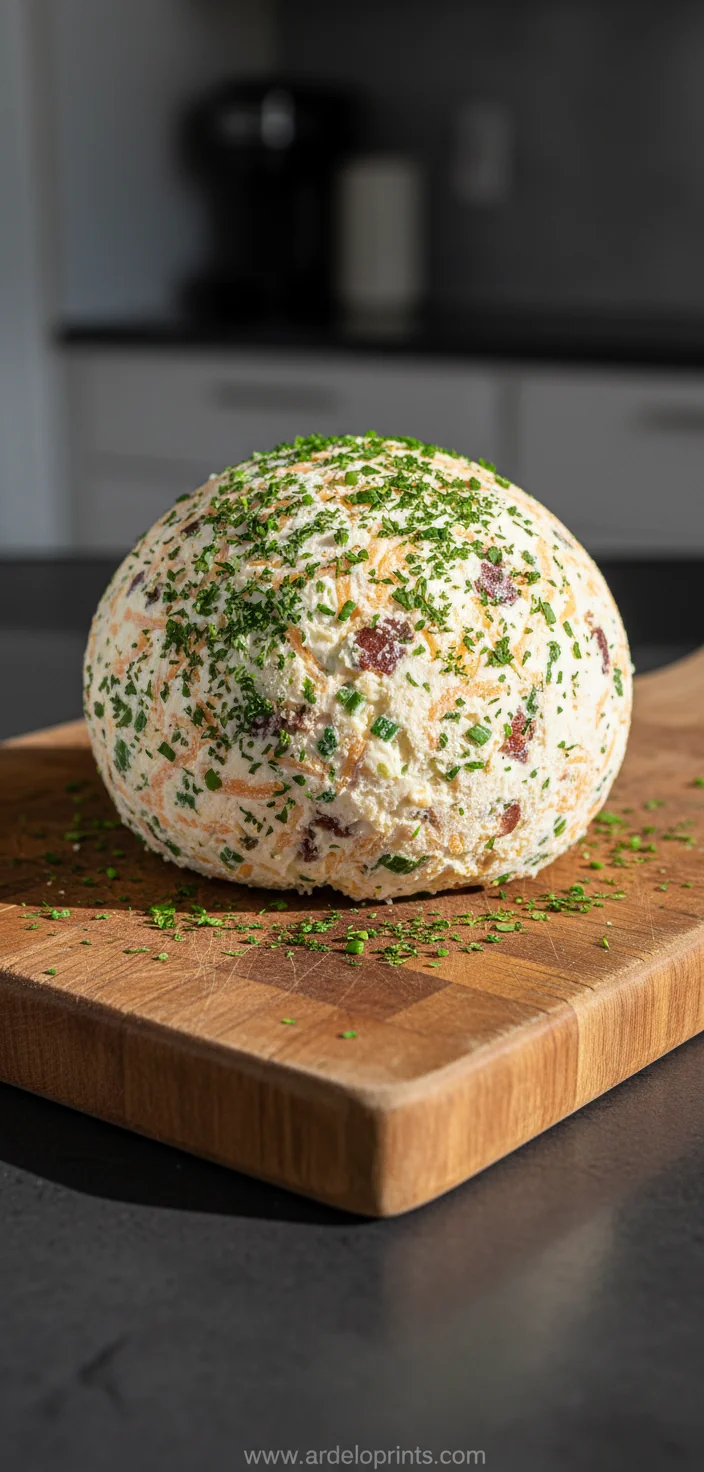
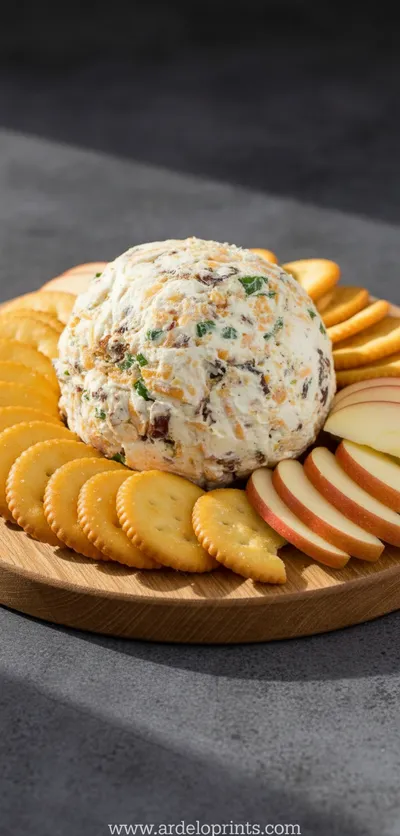
Cheddar Ranch Cheeseball
Make this delicious cheddar ranch cheeseball for your next gathering. Creamy cheese blend with ranch seasoning - perfect finger food.
Timing
Prep Time
15 Minutes
Cook Time
0 Minutes
Total Time
2 Hours 15 Minutes
Recipe Details
Ingredients
Cheeseball Base
-
01
16 ounces cream cheese, softened to room temperature
-
02
8 ounces sharp cheddar cheese, freshly grated
-
03
1 packet (1 ounce) ranch seasoning mix
-
04
1 teaspoon Worcestershire sauce
-
05
1/2 teaspoon garlic powder
-
06
1/4 teaspoon black pepper
For Coating
-
01
1 cup chopped pecans or walnuts
-
02
2 tablespoons fresh parsley, finely chopped
For Serving
-
01
Assorted crackers
-
02
Vegetable sticks (celery, carrots, bell peppers)
-
03
Apple slices
Instructions
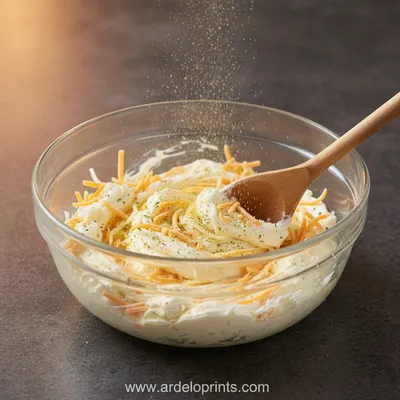
In a large mixing bowl, combine the softened cream cheese, grated cheddar cheese, ranch seasoning, Worcestershire sauce, garlic powder, and black pepper. Use a hand mixer or stand mixer with paddle attachment to beat until completely smooth and well combined. Scrape down the sides as needed.
Transfer the cheese mixture onto a large piece of plastic wrap. Use the wrap to help you shape the mixture into a ball, twisting the ends to secure it tightly. Chill in the refrigerator for at least 2 hours, or until firm enough to handle.
While the cheeseball chills, toast the chopped nuts in a dry skillet over medium heat for 3-4 minutes until fragrant. Let them cool completely, then mix with the chopped parsley on a plate or shallow bowl.
Unwrap the chilled cheeseball and roll it in the nut mixture, pressing gently to help the coating adhere. Cover all sides evenly.
Place the coated cheeseball on a serving plate. cover loosely with plastic wrap and refrigerate until ready to serve. Let it sit at room temperature for 15-20 minutes before serving for optimal spreadability.
Serve with your favorite crackers, vegetable sticks, and apple slices. Enjoy immediately or store leftovers in the refrigerator.
Notes & Tips
-
1
For best results, make sure all ingredients are at room temperature before mixing
-
2
The cheeseball can be made up to 2 days ahead—flavors improve with time
-
3
If the mixture is too soft to shape, chill for 30 minutes before rolling into a ball
-
4
For a smoother texture, grate the cheddar cheese using the small holes of your grater
 Snacks
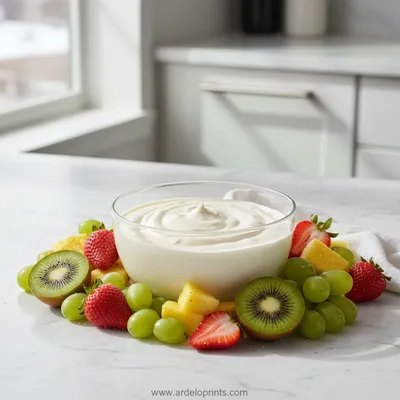
Easy Fruit Dip Recipe
Creamy, easy fruit dip for fresh fruit, perfect for any snack or dessert.
Tools You'll Need
-
Large mixing bowl
-
Hand mixer or stand mixer
-
Plastic wrap
-
Serving plate
-
Skillet (for toasting nuts)
Must-Know Tips
-
Don't rush the softening process—truly room temperature cream cheese is essential for smooth blending
-
Let the cheeseball warm up slightly before serving for perfect spreadability
-
Toast your coating nuts for deeper, richer flavor that complements the cheese
Professional Secrets
-
Room temperature ingredients ensure smooth, lump-free blending
-
Chilling before serving allows flavors to meld and makes slicing cleaner
-
Toasting nuts releases their oils, creating better adhesion to the cheese surface

Recipe by
Oliver Brooks“Every great meal begins with the perfect bite. My passion is crafting irresistible starters that wow.” 🧀🍢
Get Delicious Recipes Weekly
Join 25,000+ home cooks getting our best recipes straight to their inbox.
Free forever • No spam • Unsubscribe anytime