Why You'll Love It
- Incredibly creamy texture without heavy cream
- Packed with protein from the cottage cheese
- Naturally sweetened and customizable
- No ice cream maker needed - so simple
*'I can't believe this is made with cottage cheese! So creamy and rich, my whole family loves it.'*
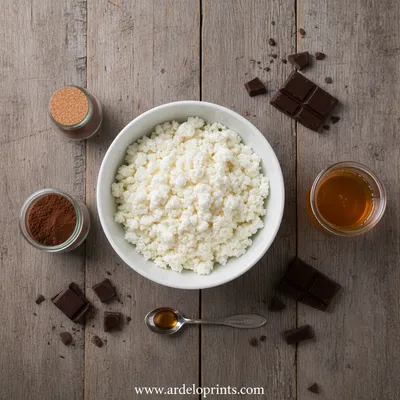
Essential Ingredient Guide
- Cottage Cheese: Full-fat works best for creaminess, but any kind will do. Make sure it's well-blended until completely smooth.
- Cocoa Powder: Use good quality unsweetened cocoa for that deep chocolate flavor. Dutch-processed gives a richer taste.
- Maple Syrup: Adds natural sweetness and helps keep the ice cream soft. You can adjust to your taste.
- Vanilla Extract: Just a splash rounds out the chocolate flavor and adds warmth.
- Salt: A tiny pinch makes the chocolate taste more chocolatey, honestly.
- Chocolate Chips: Optional, but oh so good for little bursts of melted chocolate throughout.
Complete Cooking Process
-
Ingredient Readiness:
Everything needs to be cold – the cottage cheese straight from the fridge, the maple syrup chilled. This helps the ice cream freeze faster and stay creamy.
-
Flavor Development:
The flavors really come together after blending. Letting the mixture sit for a few minutes allows the cocoa to fully hydrate and the vanilla to seep in.
-
Texture Control:
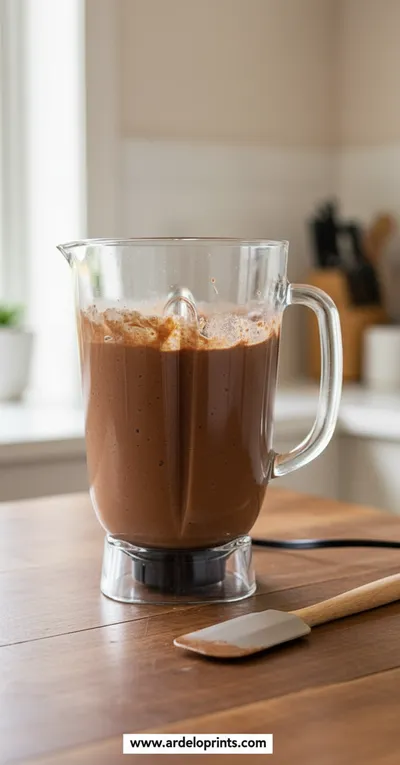
Blending the cottage cheese until it's completely smooth is the secret. No grains, just silkiness. That's what makes it feel like real ice cream.
-
Finishing Touches:
Stirring in chocolate chips right before freezing gives you those lovely little surprises in every bite.
-
Serving Timing:
Let it soften for about 5 minutes on the counter after freezing. It scoops so much better that way.
- Blend in batches if your blender is small
- Taste the mixture before freezing and adjust sweetness
- Use a loaf pan for easy freezing and scooping
- Press plastic wrap directly on the surface to prevent ice crystals
Pro Tips
You know, the first time I made this, I was a bit skeptical. Cottage cheese in ice cream? But wow, the way it transforms in the blender is just magic. It becomes this smooth, rich base that holds the chocolate flavor so well. And honestly, the best part is how versatile it is. After you've mastered the basic recipe, you can start playing around. Maybe swirl in some peanut butter, or add crushed cookies. It's that kind of forgiving recipe that welcomes a little experimentation.
The essence of the dish:
A fun fact or historical angle:
Flavor or sensory focus:
You Must Know
- The cottage cheese MUST be blended until completely smooth
- Don't skip the salt – it's a flavor enhancer
- Freeze in a shallow container for faster, even freezing
- It will be very hard straight from the freezer – let it soften
Frequently Asked Questions
→ Can I taste the cottage cheese?
Not at all! When blended smooth, the cottage cheese provides creaminess without any cheesy flavor. The chocolate completely takes over.
→ Do I need an ice cream maker?
Nope, that's the beauty of it. You just blend and freeze. No special equipment required.
→ How long does it keep in the freezer?
About 2-3 weeks, though it's best within the first week for optimal texture.
→ Can I use low-fat cottage cheese?
Yes, but full-fat will give you the creamiest results. Low-fat might be slightly icier.
→ What can I use instead of maple syrup?
Honey works well, or any liquid sweetener you prefer. Adjust to your taste.
→ Can I add mix-ins?
Absolutely! Chopped nuts, crushed peppermint, or swirls of peanut butter would all be delicious.
Chef's Tips
Blending is key – take your time to get it perfectly smooth.,The ice cream will be very hard straight from the freezer. Patience is worth it for the perfect scoop.,You can double this recipe easily for a crowd.
Nutrition Facts
per serving
180
Calories
12g
Protein
22g
Carbs
6g
Fat
Taste Profile
Rich, deep chocolate with a smooth, creamy finish
Ingredient Substitutions
Don't have an ingredient? Try these alternatives
Adjust to taste as sweetness levels may vary.
Cacao is less processed but may have a stronger, slightly bitter taste.
Adjust sweetness accordingly as these are sweeter than dark chocolate.
Recipe Variations
Try these delicious twists on the original
Peanut Butter Swirl
Swirl 1/4 cup of peanut butter into the blended base before freezing.
Mint Chocolate Chip
Add 1/2 teaspoon peppermint extract and use green food coloring if desired.
Rocky Road
Add 1/4 cup each of mini marshmallows and chopped almonds along with the chocolate chips.
Common Mistakes to Avoid
Learn from others' mistakes for perfect results
- Not blending long enough – graininess results
- Using warm ingredients – slows freezing
- Skipping the plastic wrap – causes ice crystals
- Freezing in too deep a container – uneven freezing
Meal Prep & Storage
Make Ahead Tips
You can make this up to 2 weeks ahead. It freezes beautifully and actually benefits from longer freezing time to develop flavor.
Leftover Ideas
Re-freeze any leftovers immediately. The texture remains good for several freeze-thaw cycles.
Perfect Pairings
Serve this with...
Cooking Timeline
Gather and measure all ingredients
Blend cottage cheese mixture until perfectly smooth
Stir in chocolate chips and transfer to container
Freeze until firm (minimum 4 hours)
Let soften slightly before serving
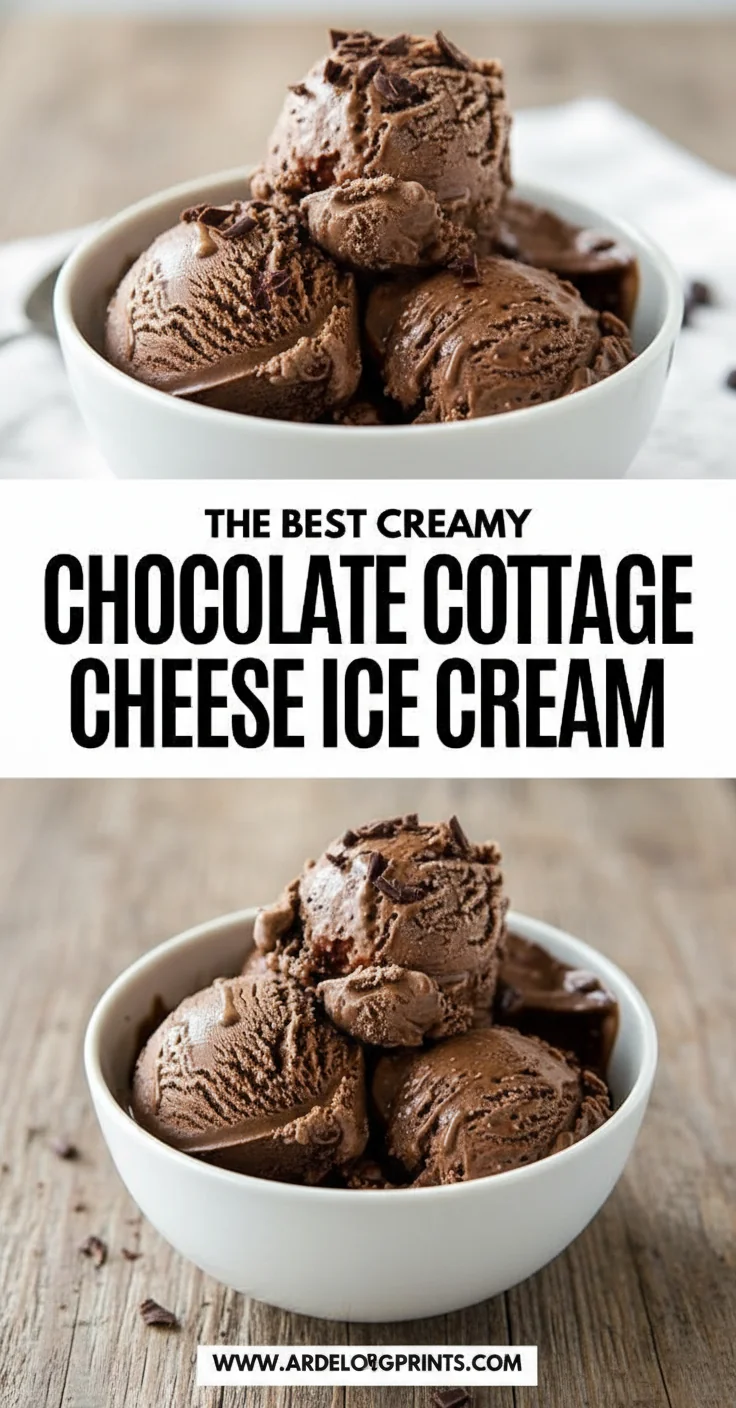
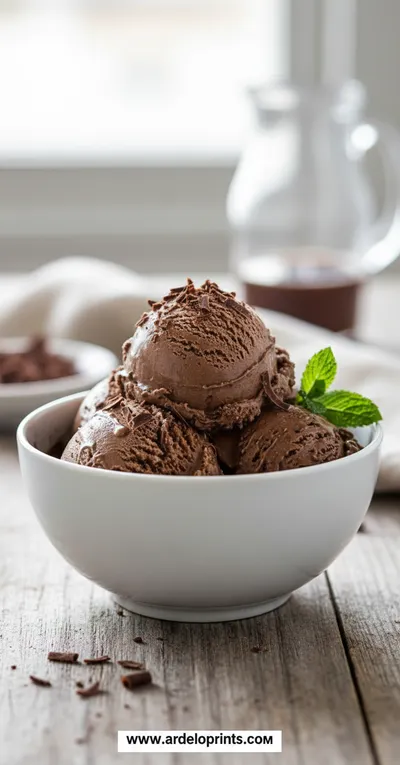
Creamy Chocolate Cottage Cheese Ice Cream
This rich and creamy chocolate cottage cheese ice cream is surprisingly healthy and so simple to whip up. Honestly, it feels like a little miracle how something this decadent can be good for you too.
Timing
Prep Time
10 Minutes
Cook Time
0 Minutes
Total Time
4 Hours 10 Minutes (includes freezing)
Recipe Details
Ingredients
Ice Cream Base
- 01 2 cups full-fat cottage cheese, cold
- 02 1/2 cup unsweetened cocoa powder
- 03 1/2 cup pure maple syrup
- 04 1 teaspoon vanilla extract
- 05 1/4 teaspoon salt
Optional Add-ins
- 01 1/2 cup dark chocolate chips
- 02 Extra chocolate chips for topping
Instructions
Add the cold cottage cheese, cocoa powder, maple syrup, vanilla, and salt to a high-speed blender. Blend on high until completely smooth and creamy, scraping down the sides if needed. This might take a minute or two – you want no grains remaining.
Taste the mixture and adjust sweetness if you like. If you're adding chocolate chips, stir them in by hand with a spatula.
Pour the smooth mixture into a loaf pan or another freezer-safe container. Smooth the top with your spatula.
If you have time, press a piece of plastic wrap directly onto the surface of the ice cream. This prevents ice crystals from forming.
Freeze for at least 4 hours, or until firm. For best results, freeze overnight.
When ready to serve, let the ice cream sit on the counter for 5-10 minutes to soften slightly for easy scooping. Garnish with extra chocolate chips if desired.
Notes & Tips
- 1 Blending is key – take your time to get it perfectly smooth.
- 2 The ice cream will be very hard straight from the freezer. Patience is worth it for the perfect scoop.
- 3 You can double this recipe easily for a crowd.
Tools You'll Need
-
High-speed blender
-
Spatula
-
Loaf pan or freezer-safe container
-
Measuring cups and spoons
Must-Know Tips
- Use cold ingredients for best results
- Taste before freezing – you can always add more sweetness
- A shallow container freezes faster and more evenly
Professional Secrets
- High-speed blending creates the emulsion that mimics cream
- Direct contact plastic wrap prevents freezer burn
- A pinch of salt enhances all the other flavors

Recipe by
Mason Cole“Sweet cravings are my specialty! I turn sugar, chocolate, and imagination into pure dessert magic.” 🍰✨
Get Delicious Recipes Weekly
Join 25,000+ home cooks getting our best recipes straight to their inbox.
Free forever • No spam • Unsubscribe anytime