Ice cream, a timeless treat, traces its roots back to ancient China where snow was mixed with honey and fruit. Over centuries it traveled, evolving into the beloved dessert we savor today. This recipe honors that legacy with a modern, no‑churn twist that lets you capture that cool heritage in your own kitchen.
Why You'll Love It
-
- No ice cream maker required, just a freezer.
-
- Minimal ingredients, maximum flavor.
-
- Creamy texture that rivals store‑bought.
-
- Perfect base for endless mix‑ins.
“The texture is so smooth, I could drink it straight from the bowl—absolutely delightful!”
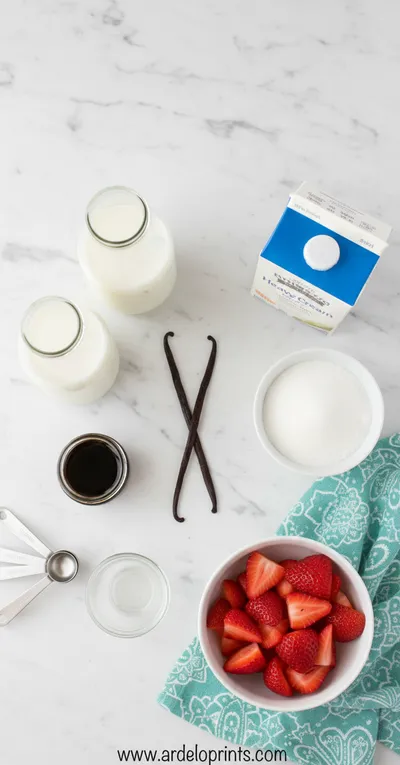
Essential Ingredient Guide
- Heavy Cream: Choose a cream with at least 35% fat; it whips up rich and holds air for a fluffy texture.
- Sweetened Condensed Milk: Provides sweetness and a silky mouthfeel, eliminating the need for cooking sugar.
- Vanilla Extract: Adds aromatic warmth; use pure extract for the best flavor.
- Salt: A pinch balances sweetness and enhances overall flavor.
- Lemon Juice: A small splash brightens the ice cream, preventing it from feeling cloying.
- Optional Mix‑ins (Chocolate Chips, Berries): Fold in after chilling for texture contrast and bursts of flavor.
Complete Cooking Process
-
Ingredient Readiness:
Cool the heavy cream beforehand and whisk the condensed milk until smooth.
-
Flavor Development:
Blend vanilla, salt, and lemon juice into the mixture, letting the aromas mingle.
-
Texture Control:
Whip the cream to soft peaks before gently folding it into the sweet base.
-
Finishing Touches:
Stir in optional mix‑ins and smooth the surface before freezing.
-
Serving Timing:
Allow the ice cream to soften slightly at room temperature for a scoopable consistency.
-
Chill the mixing bowl for extra volume.
-
Cover tightly to prevent ice crystals.
-
Freeze for at least 4 hours for firmness.
-
Scrape the sides halfway through freezing.
Pro Tips
I remember once I let the bowl sit on a cold stone—yeah, a little extra effort but the texture was worth it. So, take a moment to prep your tools; it makes the whole process feel smoother. And if you’re adding fruit, toss it in a bit of sugar first; it releases juices and adds a gentle sparkle to each bite.
 Desserts
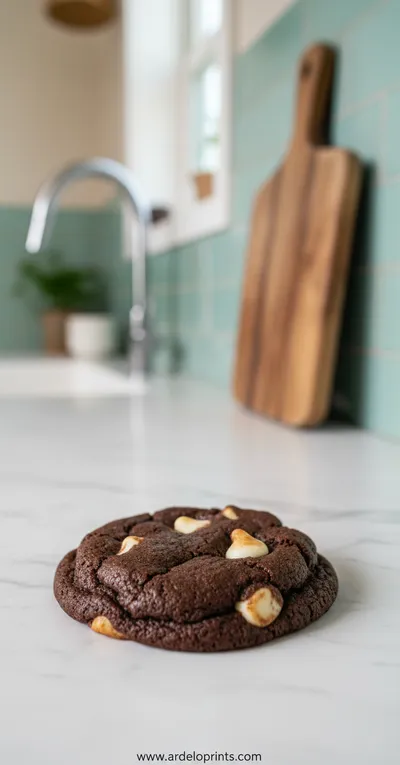
Inside Out Chocolate Chip Cookies
Chewy cookies with crisp edges and a melt‑in‑your‑mouth center.
The essence of the dish:
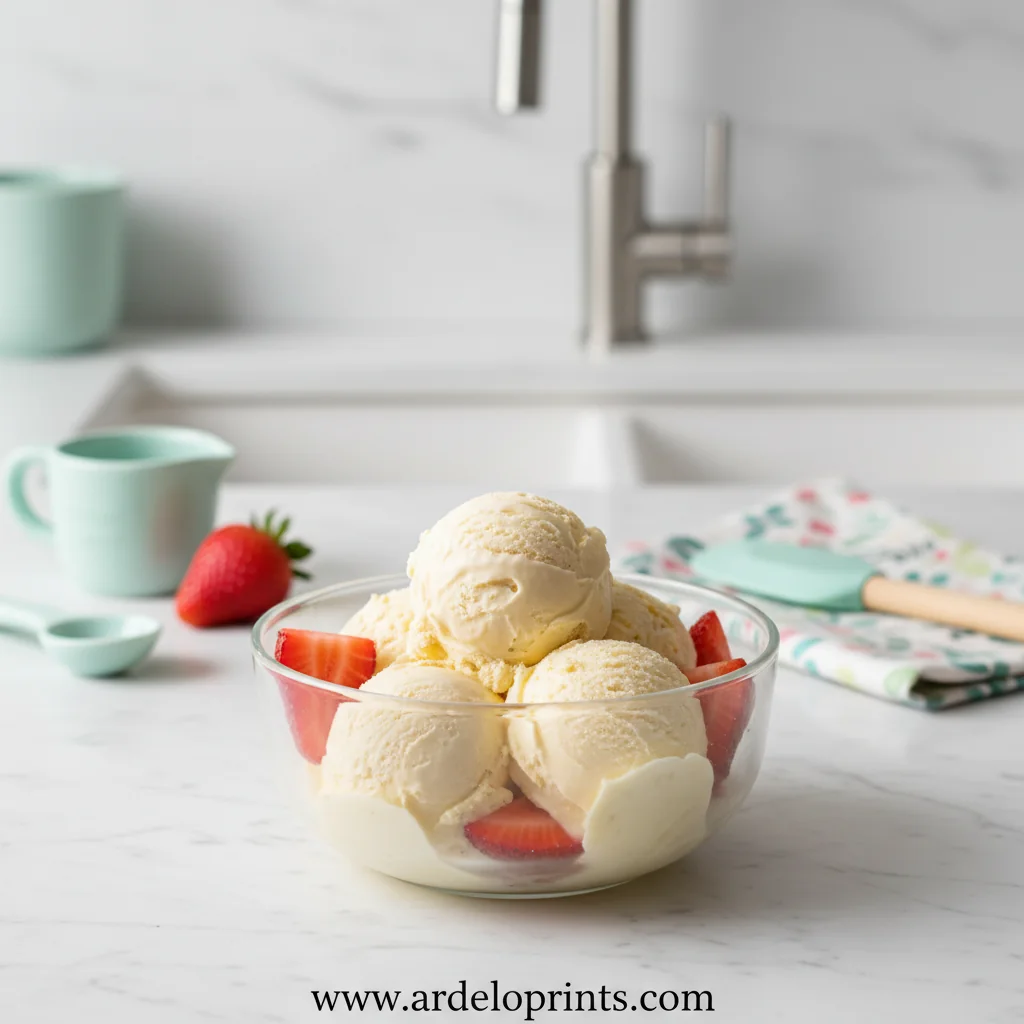
A silky base of sweetened condensed milk meets airy whipped cream, creating a melt‑in‑your‑mouth experience that feels both indulgent and homey.
A fun fact or historical angle:
The first recorded frozen dessert was a combination of snow and fruit syrup in 200 BC China—our no‑churn method mirrors that simple purity.
Flavor or sensory focus:
You’ll notice the cool, buttery smoothness first, followed by a gentle vanilla perfume that lingers on the palate.
You Must Know
-
Use a deep freezer for best results.
-
Don’t over‑whip the cream; soft peaks keep it light.
-
Mix‑ins should be added after the first freeze.
Frequently Asked Questions
→ Can I make this without dairy?
Yes, substitute coconut cream for heavy cream and use a dairy‑free sweetened condensed milk.
→ How long can it be stored?
Keep it sealed in an airtight container for up to two weeks; texture remains enjoyable.
→ Do I need an ice cream maker?
No, this recipe is designed specifically for no‑churn preparation.
→ What mix‑ins work best?
Chocolate chips, toasted nuts, fresh berries, or caramel swirls add delightful contrast.
→ Why does it become icy if not covered well?
Exposure to air leads to ice crystals; a tight seal preserves creaminess.
→ Can I make it ahead of time?
Absolutely—prepare the base, store it in the fridge, then freeze when ready to serve.
Nutrition Facts
per serving
280
Calories
4g
Protein
30g
Carbs
15g
Fat
Taste Profile
Richly sweet with a buttery smoothness
Ingredient Substitutions
Don't have an ingredient? Try these alternatives
Creates a dairy‑free version with a hint of coconut aroma.
Use 1 cup evaporated milk plus ½ cup sugar, dissolve well.
Recipe Variations
Try these delicious twists on the original
Spicy Version
Add a pinch of cayenne pepper and swirl in a dark chocolate drizzle for a subtle heat.
Mediterranean Style
Fold in chopped pistachios and a drizzle of honey for a sweet‑nutty twist.
Common Mistakes to Avoid
Learn from others' mistakes for perfect results
- Over‑whipping the cream leads to a dense, buttery texture.
- Leaving the container uncovered causes ice crystals.
- Adding mix‑ins too early results in soggy bits.
Meal Prep & Storage
Make Ahead Tips
You can whisk the base mixture a day ahead and keep it refrigerated; freeze when ready to serve for even smoother texture.
Leftover Ideas
Scoop into a shallow dish and melt gently over low heat for a quick sauce, or enjoy as a frozen treat.
Perfect Pairings
Serve this with...
Cooking Timeline
Gather and chill all ingredients; whisk condensed milk with vanilla, salt, and lemon.
Whip heavy cream to soft peaks in a cold bowl.
Gently fold whipped cream into the condensed mixture.
Transfer to container, smooth surface, and seal tightly.
Freeze, periodically scraping sides after 2 hours to keep texture smooth.
Fold in optional mix‑ins, refreeze briefly, then serve.
 Desserts
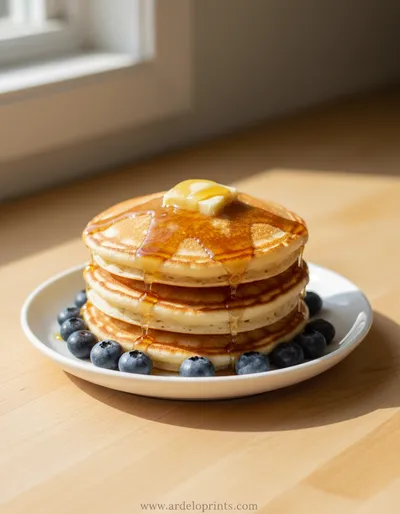
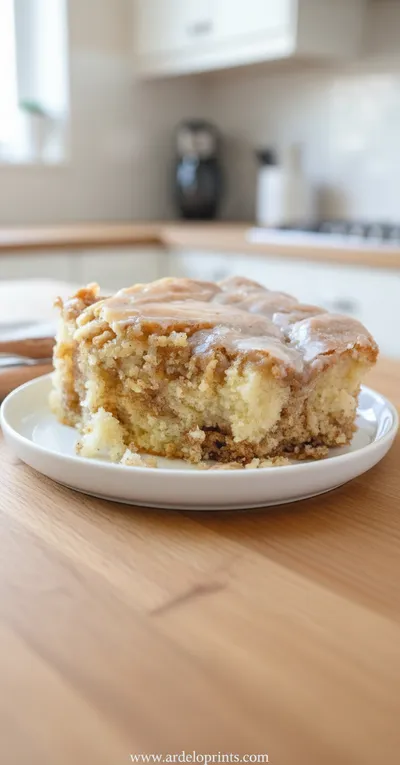
Cinnamon Roll Cake Recipe
Fluffy cinnamon roll cake with caramelized swirl, ideal for breakfast or snack.
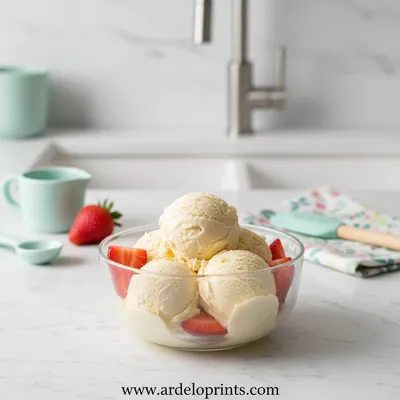
Easy Homemade Ice Cream Recipe
Whip up a velvety, no‑churn ice cream at home that feels like a gentle summer breeze—creamy, smooth, and ready in no time.
Timing
Prep Time
15 Minutes
Cook Time
0 Minutes
Total Time
4 Hours 15 Minutes
Recipe Details
Ingredients
Base
-
01
2 cups heavy cream, chilled
-
02
1 can (14 oz) sweetened condensed milk
-
03
2 teaspoons pure vanilla extract
-
04
1 pinch salt
-
05
1 teaspoon lemon juice
Optional Mix‑ins
-
01
½ cup mini chocolate chips
-
02
¼ cup toasted almond slivers
-
03
½ cup fresh raspberries
Instructions
In a large bowl, whisk the sweetened condensed milk with vanilla, salt, and lemon juice until smooth.
In a chilled mixing bowl, whip the heavy cream to soft peaks using a hand mixer.
Gently fold the whipped cream into the condensed milk mixture, preserving the airy texture.
Transfer the mixture to a freezer‑safe container, smooth the top, and cover tightly.
Freeze for at least 4 hours. After the first two hours, scrape the sides to break any forming ice crystals.
When firm, fold in any optional mix‑ins, then refreeze for another hour before serving.
Notes & Tips
-
1
For extra fluff, chill the bowl and whisk before whipping.
-
2
If the ice cream feels too hard, let it sit 5‑10 minutes before scooping.
-
3
A dash of espresso powder intensifies chocolate flavor in mix‑ins.
 Desserts
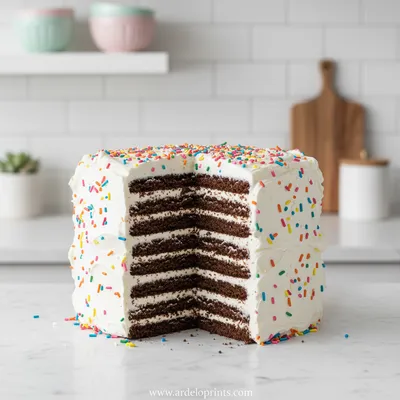
Easy Ice Cream Sandwich Cake
Cool, creamy ice cream sandwich cake that's simple, fun, and perfect for any sweet craving.
Tools You'll Need
-
Large mixing bowl
-
Hand mixer or whisk
-
Spatula
-
Freezer‑safe container with lid
-
Measuring cups and spoons
Must-Know Tips
-
Don’t over‑whip the cream; soft peaks keep it light.
-
Cover tightly to prevent ice crystals.
-
Freeze on a flat surface for even texture.
-
Add mix‑ins after the first freeze for crunch.
Professional Secrets
-
Use a glass bowl; it stays colder longer, aiding volume.
-
Whip cream just until soft peaks form to retain moisture.
-
Fold gently to keep air bubbles intact.

Recipe by
Mason Cole“Sweet cravings are my specialty! I turn sugar, chocolate, and imagination into pure dessert magic.” 🍰✨
Get Delicious Recipes Weekly
Join 25,000+ home cooks getting our best recipes straight to their inbox.
Free forever • No spam • Unsubscribe anytime