Red velvet cake traces its origins to the Victorian era, when cocoa powder was treated with acidic ingredients to create a finer, softer crumb and distinctive reddish hue. The combination of buttermilk and vinegar reacted with natural cocoa anthocyanins, producing that signature color long before food coloring became common. This waffle adaptation captures that historic charm while making it accessible for modern gluten-free diets, bringing a touch of vintage elegance to the breakfast table.
Why You'll Love It
-
Naturally gluten-free without sacrificing flavor or texture
-
Stunning visual appeal that makes breakfast feel special
-
Perfect balance of subtle chocolate flavor and tangy cream cheese
-
Freezer-friendly for quick weekday mornings
'My family can't tell these are gluten-free! The texture is perfect and the flavor takes me back to my grandmother's kitchen.'
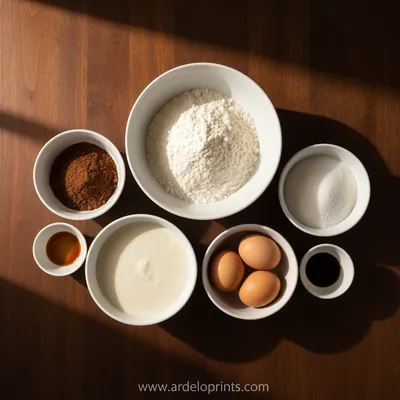
Essential Ingredient Guide
- Gluten-free flour blend: Look for one with xanthan gum already included - it helps bind the batter since we're not using traditional wheat flour. I find the cup-for-cup blends work best for waffles.
- Cocoa powder: Use natural cocoa powder, not Dutch-processed. The acidity in natural cocoa reacts with the other ingredients to enhance that classic red velvet flavor profile.
- Buttermilk: The tanginess is essential for authentic red velvet character. If you don't have buttermilk, you can make a substitute by adding 1 tablespoon vinegar to 1 cup milk and letting it sit for 5 minutes.
- Cream cheese: For the topping - bring it to room temperature so it blends smoothly. The slight tang complements the sweet waffles beautifully.
- Vanilla extract: Use the real thing, not imitation. That warm aroma as it hits the warm waffle iron is just... comforting.
- Maple syrup: Pure maple syrup adds depth to both the batter and the cream cheese glaze. The flavor is more complex than regular pancake syrup.
 Breakfast
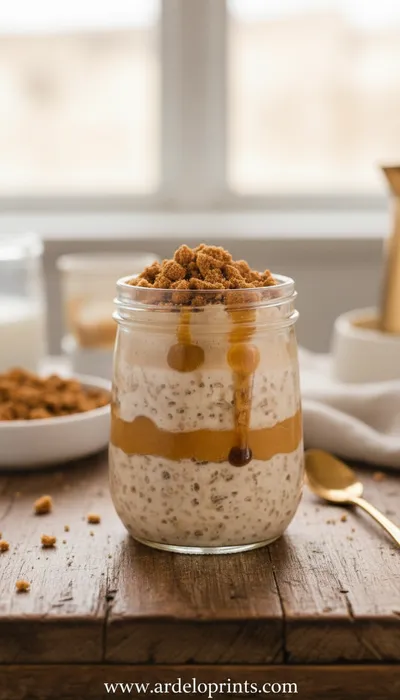
Pumpkin Cheesecake Overnight Oats for Cozy Mornings
Creamy pumpkin-spiced overnight oats with cheesecake flavor - a cozy make-ahead breakfast.
Complete Cooking Process
-
Ingredient Readiness:
Let your eggs and buttermilk come to room temperature - cold ingredients can make the batter seize up. Honestly, I sometimes forget this step and end up with lumpy batter, so I've learned to set things out the night before.
-
Flavor Development:
The magic happens when the cocoa, vinegar, and buttermilk mingle. That chemical reaction creates the distinctive red velvet flavor that's both chocolatey and tangy.
-
Texture Control:
Don't overmix the batter - gluten-free flours can become gummy if worked too much. Just fold until the dry ingredients disappear, even if there are a few lumps.
-
Finishing Touches:
Let the waffles rest for 5 minutes after cooking - they become crispier as they cool slightly. The cream cheese glaze should be drizzled while the waffles are still warm.
-
Serving Timing:
Serve immediately for the crispest texture, though they're still delicious reheated. I often make extras for later in the week - they toast up beautifully.
-
Preheat your waffle iron thoroughly - a hot surface creates that perfect crisp exterior
-
Don't peek! Opening the waffle iron too early can cause sticking
-
Use a ladle for consistent portioning - each waffle will cook evenly
-
Brush the iron with oil between batches for nonstick perfection
Pro Tips
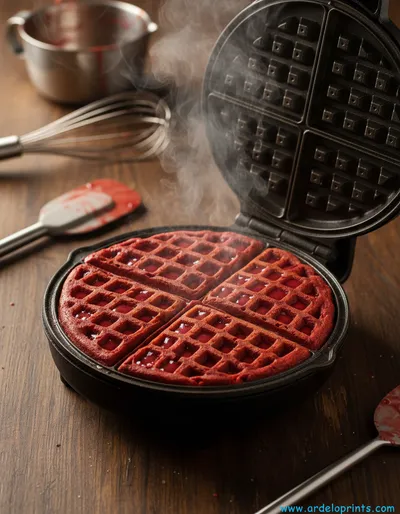
I've burned my share of waffles over the years, learning these lessons the hard way. The first time I made these, I was so nervous about the red color hiding doneness that I kept checking, and well... let's just say we had some interesting-shaped waffles that morning.
Now I trust the process. The steam slowing down is my cue that they're ready. It's become such a relaxing weekend ritual - the rhythmic pouring, the waiting, that satisfying release sound when they're perfectly cooked.
 Breakfast
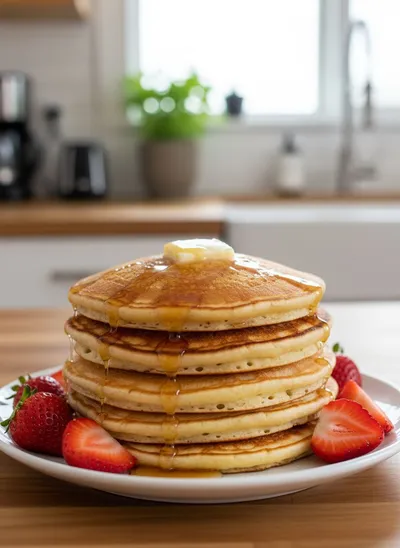
Best Pancakes From Scratch
A step‑by‑step guide to the fluffiest, most comforting pancakes you can create at home, using just pantry staples.
The essence of the dish:
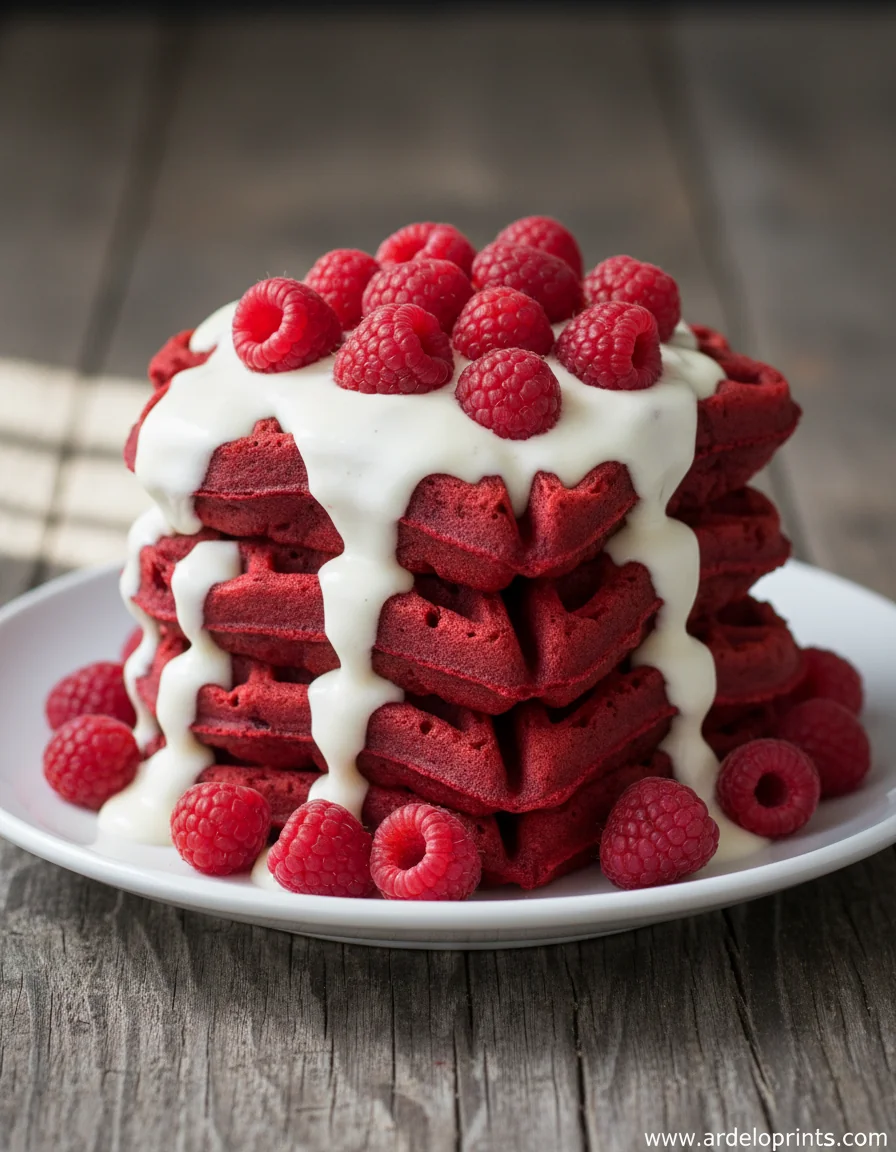
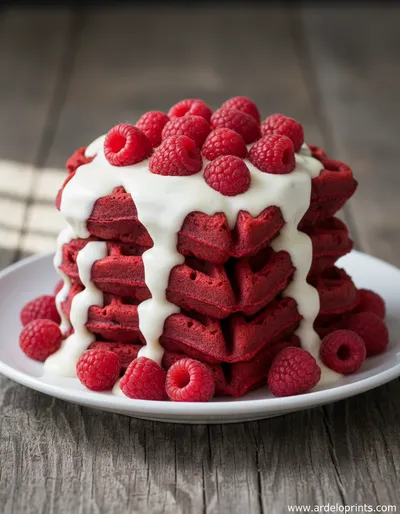
These waffles capture the special occasion feeling of red velvet cake but make it breakfast-appropriate. The rich color, the subtle chocolate notes, the way the cream cheese topping melts into the warm pockets... it turns an ordinary morning into something celebratory.
A fun fact or historical angle:
During World War II, bakers used beet juice to enhance the red color of velvet cakes when food coloring was rationed. Some traditional recipes still include beet puree for natural coloring and moisture.
Flavor or sensory focus:
You'll notice the gentle cocoa fragrance first, then the tangy buttermilk undertones. The texture is crisp outside but remarkably tender inside - that gluten-free blend creates a lovely lightness that doesn't feel heavy.
You Must Know
-
The batter will be thicker than traditional waffle batter - this is normal
-
The color deepens as the waffles cook - don't worry if the raw batter seems bright
-
These freeze exceptionally well for quick breakfasts later
-
Leftovers make amazing waffle sandwiches with teriyaki chicken
Frequently Asked Questions
→ Can I make the batter ahead of time?
You can mix the dry and wet ingredients separately overnight, but combine them just before cooking. The baking powder activates when wet, so waiting ensures maximum lift.
→ What's the best gluten-free flour blend?
I prefer blends with rice flour and tapioca starch - they create the lightest texture. Bob's Red Mill 1-to-1 or King Arthur Measure for Measure both work beautifully.
→ Can I make these without food coloring?
Absolutely! The cocoa gives them a reddish-brown hue naturally. For deeper color, you could add a tablespoon of beet powder instead of food coloring.
→ How do I keep waffles warm for serving?
Place them in a single layer on a baking sheet in a 200°F oven. Don't stack them or they'll steam and lose crispness.
→ Can I use this batter for pancakes?
You'd need to thin it slightly with more buttermilk. The texture will be different - waffle batter has more fat for crispness.
→ What if I don't have a waffle iron?
This makes lovely pancakes! Just thin the batter with an extra 1/4 cup buttermilk and cook on a greased griddle.
Nutrition Facts
per serving
285
Calories
6g
Protein
35g
Carbs
14g
Fat
Taste Profile
Subtly sweet with tangy notes and rich cocoa undertones
Ingredient Substitutions
Don't have an ingredient? Try these alternatives
Let sit 5 minutes before using for similar tanginess
Use refined coconut oil for neutral flavor
Mix 2 tbsp ground flax with 6 tbsp water, let thicken 5 minutes
Recipe Variations
Try these delicious twists on the original
Chocolate Chip Version
Fold in 1/2 cup mini chocolate chips for extra chocolate flavor
Berry Compote Topping
Serve with warm mixed berries instead of cream cheese glaze
Savory Adaptation
Omit sugar and cocoa, add herbs for a base for enchilada fillings
Common Mistakes to Avoid
Learn from others' mistakes for perfect results
- Overmixing the batter resulting in tough waffles
- Not preheating iron sufficiently causing sticking
- Peeking too early and tearing waffles
- Using cold ingredients creating lumpy batter
Meal Prep & Storage
Make Ahead Tips
Mix dry ingredients night before. Wet ingredients can be measured and refrigerated separately. Batter can rest 30 minutes before cooking for better hydration.
Leftover Ideas
Reheat in toaster for crisp texture. Great for waffle sandwiches with cheesesteak filling or as base for eggs Benedict.
Perfect Pairings
Serve this with...
Cooking Timeline
Preheat waffle iron, mix dry ingredients
Whisk wet ingredients, combine batter
Cook waffles in batches, make topping
Serve immediately with toppings
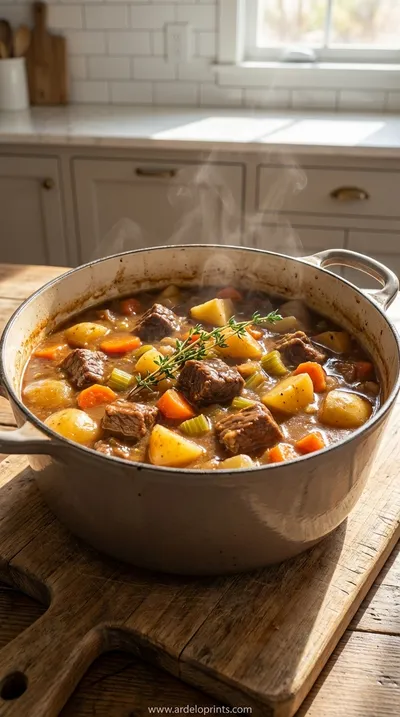 Dinner
One-Pot Autumn Beef Stew: Cozy Fall Dinner Recipe
Hearty beef stew with fall vegetables creates comforting nourishment.
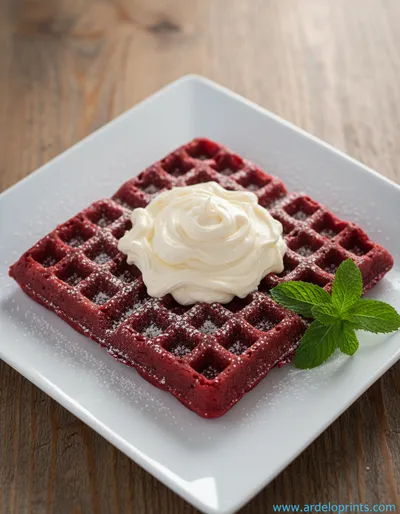
Gluten Free Red Velvet Waffles Recipe
These gluten free red velvet waffles are a delicious breakfast treat with their vibrant color and sweet flavor, perfect for special mornings or lazy weekends.
Timing
Prep Time
15 Minutes
Cook Time
20 Minutes
Total Time
35 Minutes
Recipe Details
Ingredients
Waffle Batter
-
01
2 cups gluten-free flour blend (with xanthan gum)
-
02
1/4 cup natural cocoa powder
-
03
1/4 cup granulated sugar
-
04
2 teaspoons baking powder
-
05
1/2 teaspoon baking soda
-
06
1/2 teaspoon salt
-
07
2 large eggs, room temperature
-
08
1 3/4 cups buttermilk, room temperature
-
09
1/2 cup melted butter, cooled
-
10
2 teaspoons vanilla extract
-
11
1 teaspoon white vinegar
-
12
1-2 teaspoons red food coloring (optional)
Cream Cheese Topping
-
01
4 ounces cream cheese, softened
-
02
1/4 cup powdered sugar
-
03
1/4 cup milk
-
04
1 teaspoon vanilla extract
-
05
Pinch of salt
Instructions
Preheat your waffle iron to medium-high heat. In a large bowl, whisk together the gluten-free flour, cocoa powder, sugar, baking powder, baking soda, and salt. Make sure everything is well combined - I like to sift the cocoa to avoid lumps.
In another bowl, whisk the eggs until frothy. Add the buttermilk, melted butter, vanilla, vinegar, and food coloring if using. Whisk until the mixture is smooth and uniformly colored.
Pour the wet ingredients into the dry ingredients. Gently fold together with a spatula until just combined. Don't overmix - a few lumps are fine. The batter will be thick, which is perfect for crisp waffles.
Lightly grease the waffle iron with butter or nonstick spray. Pour about 1/2 cup batter onto the center (amount varies by iron size). Close and cook until steam stops and waffles are crisp, about 4-5 minutes.
While waffles cook, make the topping: beat cream cheese until smooth. Add powdered sugar, milk, vanilla, and salt. Whip until creamy and drizzle-consistency. Add more milk if needed.
Serve waffles immediately with cream cheese topping drizzled over. They're also wonderful with fresh berries or a side of pulled chicken for a sweet-savory twist.
Notes & Tips
-
1
Leftover waffles freeze beautifully - layer with parchment paper in airtight container
-
2
For extra richness, substitute 1/4 cup of the buttermilk with sour cream
-
3
The vinegar is crucial for authentic red velvet flavor - don't skip it!
-
4
If batter seems too thick, add 1-2 tablespoons more buttermilk
Tools You'll Need
-
Waffle iron
-
Large mixing bowls
-
Whisk
-
Measuring cups and spoons
-
Spatula
-
Cooling rack
Must-Know Tips
-
Don't overmix the batter - gluten-free flour becomes gummy if overworked
-
Let waffles rest 1 minute after cooking for crispier texture
-
Brush waffle iron with oil between batches for perfect release
-
Test one waffle first to adjust cooking time for your iron
Professional Secrets
-
Room temperature ingredients prevent batter from seizing
-
Rest batter 5 minutes after mixing for better hydration
-
High heat creates crispy exterior while keeping interior tender
-
Use a ladle for consistent portioning and even cooking

Recipe by
Emma Fields“Mornings are my magic hour! I create easy, energizing breakfasts that turn sleepy starts into sunshine moments.” ☀️🥞
Get Delicious Recipes Weekly
Join 25,000+ home cooks getting our best recipes straight to their inbox.
Free forever • No spam • Unsubscribe anytime