
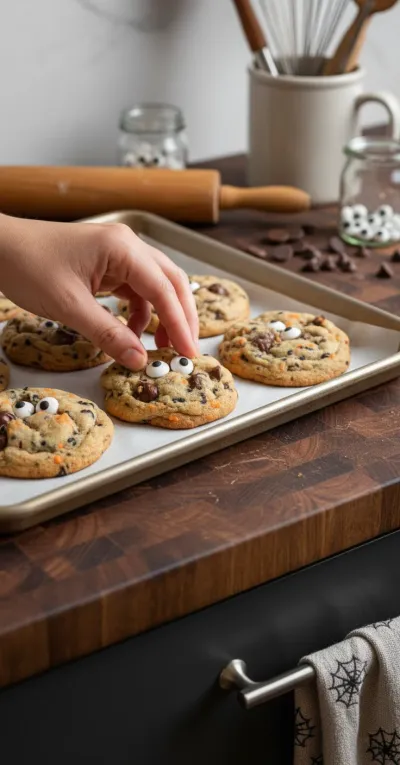
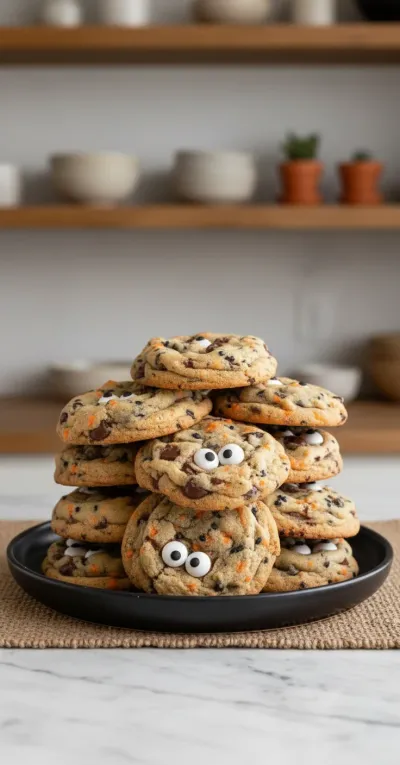
I remember when my kids were little, Halloween was this whirlwind of costume planning and trick-or-treating routes. But my favorite part was always coming home, kicking off our boots, and having a warm treat. One year, I decided our usual chocolate chip cookies needed a little extra oomph. We dug out all the orange and black sprinkles, added some candy eyes, and voilà! Instant magic. It became a little tradition, a quiet moment in the midst of all the spooky chaos, and honestly, it still feels special every time. There's just something about a homemade cookie that makes everything feel right, you know?
Why You'll Adore These Spooky Sweet Cookies
-
They're incredibly easy and quick to whip up – perfect for last-minute Halloween fun!
-
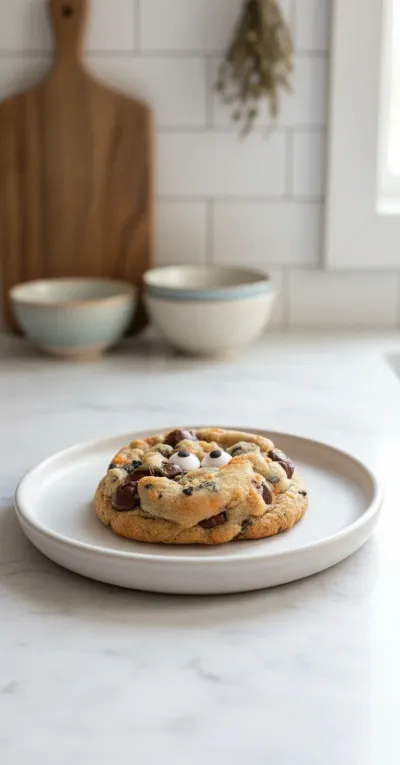
The candy eyes and sprinkles make them ridiculously cute and festive.
-
It's a classic chocolate chip cookie recipe, just dressed up for the holiday. So, comfort food with a twist!
-
A fantastic activity for kids (and adults!) to decorate together. Seriously, the joy is palpable.
-
The ideal treat for Halloween parties, school lunches, or just a cozy, spooky night in. Pure nostalgia!
These cookies are a total hit! My grandkids absolutely adored decorating them, and they tasted incredible. So moist and perfectly chewy. They really made our Halloween party extra special this year! This recipe is definitely a keeper for future Halloweens!
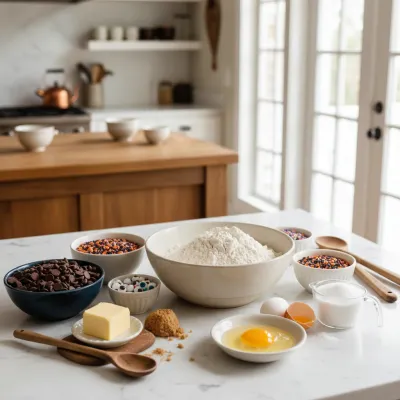
Essential Ingredient Guide
- Unsalted Butter: Make sure your butter is truly softened to room temperature. This is key for a creamy, well-mixed dough that bakes evenly. If it's too cold, your cookies might be dense; too warm, and they could spread too much. About an hour on the counter usually does the trick!
- Brown Sugar: Don't skimp on the brown sugar! It’s what gives these cookies that lovely chewiness and a rich, deep flavor. Light brown sugar is my go-to, but dark brown works too for an even molasses-ier taste. Pack it tightly in your measuring cup, hon.
- Chocolate Chips: I love using semi-sweet, but a mix of milk chocolate, dark chocolate, or even some white chocolate chips would be amazing. Variety adds such a nice texture and flavor profile. Use good quality chips, it really does make a difference!
- Halloween Sprinkles: This is where you can get creative! Look for orange, black, purple, or even fun bat or ghost shapes. Adding some into the dough and then pressing more on top before baking gives them that extra festive pop. Such a simple touch, but wow, it changes everything!
- Candy Eyeballs: These are non-negotiable for the 'spooky cute' factor! You can find them in the baking aisle around Halloween, or online. They literally bring the cookies to life. Press them gently onto the dough before baking, or right after they come out of the oven if you prefer them to sit more on top.
Birria Tacos: Easy & Flavorful Recipe
Tender, slow-braised beef tacos pan-fried to perfection with a rich, savory consomé for dipping.
Complete Cooking Process
-
Gather Your Ingredients & Prep the Stage:
-
First things first, preheat your oven to 375°F (190°C).
-
Line two baking sheets with parchment paper or silicone mats. Trust me, it makes cleanup a breeze.
-
Take out your butter a bit early so it can soften to room temperature. This is a little secret for perfectly fluffy cookies.
-
-
The Mixing Magic Begins:
-
In a medium bowl, whisk together your dry ingredients: the flour, baking soda, and salt. Just set that aside for now.
-
In a separate, larger bowl, using an electric mixer (or a strong arm!), cream together the softened butter, granulated sugar, and brown sugar until it's wonderfully light and fluffy. This takes a good 2-3 minutes, and it's so satisfying to watch it transform.
-
Crack in your eggs, one at a time, beating well after each addition. Then, stir in that lovely vanilla extract. Oh, the smell already!
-
-
Bringing it All Together (with a Spooky Twist!):
-
Gradually add the dry ingredient mixture into your wet ingredients. Mix on low speed until everything is just combined. Don't overmix, sweetie, or your cookies might get tough.
-
Now for the fun part: fold in the chocolate chips and about half of your Halloween sprinkles. Look at all that color!
-
Drop rounded tablespoons of the cookie dough onto your prepared baking sheets, leaving a good couple of inches between each one. They need space to grow!
-
Gently press two candy eyeballs onto the top of each cookie dough ball. You can add a few more sprinkles here too, if you want them to really pop after baking.
-
-
Bake & Admire Your Masterpieces:
-
Pop those baking sheets into the preheated oven and bake for 10-12 minutes.
-
You'll know they're ready when the edges are a beautiful golden brown and the centers are just set. They might look a tiny bit soft in the middle, and that's exactly what we want for a perfectly chewy cookie.
-
Once out of the oven, let them hang out on the baking sheets for about 5 minutes. This helps them set up without falling apart. Then, carefully transfer them to a wire rack to cool completely. Try not to eat them all immediately! (But I totally get it if you do.)
-
Easy Skillet Chicken Thighs Recipe
Garlic cream sauce skillet chicken thighs for a delicious and simple weeknight dinner.
Your Spookiest Cookie Questions, Answered!
→ Can I use different types of sprinkles?
Absolutely! Feel free to use any color combination or shape of sprinkles that speaks to you. If you can't find specific Halloween ones, just classic orange and black will do the trick and still look super festive!
→ Where can I find candy eyeballs?
Candy eyeballs are usually available in the baking aisle of most grocery stores, especially around Halloween. Craft stores with baking sections or online retailers are also great places to find them. They're such a fun little detail!
→ Can I make the dough ahead of time?
Yes, you can! Prepare the dough as instructed, then cover the bowl tightly with plastic wrap and refrigerate for up to 2-3 days. When you're ready to bake, let the dough sit at room temperature for about 15-20 minutes to soften slightly before scooping and decorating.
→ My cookies spread too much! What happened?
There are a few culprits! Your butter might have been too warm, your oven temperature might be a bit off (an oven thermometer is a lifesaver!), or you might have added too much flour/not enough. Sometimes, chilling the dough for 20-30 minutes before baking can help prevent excessive spreading.
→ Can I freeze these cookies?
You bet! You can freeze the baked cookies in an airtight container for up to 3 months. Thaw them at room temperature. You can also freeze the unbaked dough balls (with eyeballs and sprinkles already added!) on a baking sheet, then transfer to a freezer bag. Bake from frozen, adding a couple of extra minutes to the baking time.
Halloween Chocolate Chip Cookies: Easy Recipe
Make these easy Halloween chocolate chip cookies in just 10 minutes! Sprinkles and candy eyes create a deliciously fun treat.
Timing
Prep Time
15 minutes
Cook Time
10-12 minutes
Total Time
25-27 minutes
Recipe Details
Ingredients
Dry Ingredients
-
01
2 1/4 cups all-purpose flour
-
02
1 teaspoon baking soda
-
03
1/2 teaspoon salt
Wet Ingredients & Mix-ins
-
01
1 cup (2 sticks) unsalted butter, softened
-
02
3/4 cup granulated sugar
-
03
3/4 cup packed light brown sugar
-
04
2 large eggs
-
05
1 teaspoon vanilla extract
-
06
1 1/2 cups semi-sweet chocolate chips
-
07
1/2 cup Halloween-themed sprinkles (orange, black, purple)
-
08
About 48 candy eyeballs
Instructions
Preheat your oven to 375°F (190°C). Line two baking sheets with parchment paper or silicone mats. This helps with easy cleanup, hon!
In a medium bowl, whisk together the flour, baking soda, and salt. Just set that aside for a moment.
In a large bowl, using an electric mixer, cream together the softened butter, granulated sugar, and brown sugar until it's light and fluffy. This usually takes about 2-3 minutes. It's so satisfying to watch it transform!
Beat in the eggs one at a time, making sure each one is fully incorporated before adding the next. Then, stir in the vanilla extract. Mmm, that smell!
Gradually add the dry ingredients to the wet ingredients, mixing on low speed until just combined. Be careful not to overmix, okay? We want tender cookies.
Fold in the chocolate chips and about half of your Halloween sprinkles with a spatula. This is where the fun starts!
Drop rounded tablespoons of dough onto your prepared baking sheets, leaving a couple of inches between each cookie. Now for the cute part! Gently press two candy eyeballs onto each cookie dough ball. You can add a few more sprinkles on top here too, if you like a really vibrant look.
Bake for 10-12 minutes, or until the edges are golden brown and the centers are just set. They might look a tiny bit soft in the middle, and that's perfect for a chewy cookie.
Let the cookies cool on the baking sheets for about 5 minutes before transferring them to a wire rack to cool completely. This helps them firm up a bit. Then, enjoy those adorable, spooky treats!
Notes & Tips
-
1
For an even richer flavor, you can brown the butter slightly before creaming it with the sugars. Just cool it slightly first!
-
2
If you don't have parchment paper, you can lightly grease your baking sheets, but parchment helps prevent sticking and makes clean up much easier.
-
3
Feeling extra festive? Add a teaspoon of orange zest to the dough for a citrusy hint that pairs wonderfully with chocolate.
-
4
You can easily double this recipe if you're baking for a larger crowd or want to have extras for freezing.

Easy Slow Cooker Pot Roast
The ultimate set-it-and-forget-it meal. Tender beef and hearty vegetables simmered to perfection in the slow cooker.
Tools You'll Need
-
Large mixing bowl
-
Medium mixing bowl
-
Electric mixer (stand or hand-held)
-
Rubber spatula
-
Measuring cups and spoons
-
Whisk
-
Parchment paper or silicone baking mats
-
Two large baking sheets
-
Wire cooling rack
Must-Know Tips
-
Always use softened butter, not melted, for the best cookie texture.
-
Don't overmix the dough once the flour is added; this keeps them tender.
-
For perfectly round cookies, roll the scooped dough into balls before placing on the baking sheet.
-
Place candy eyeballs before baking, or immediately after they come out of the oven while still warm, so they stick.
-
Allow cookies to cool on the baking sheet for a few minutes before moving to a wire rack; this helps prevent them from breaking.
Professional Secrets
-
A tiny pinch of flaky sea salt sprinkled on top of the dough before baking will really enhance the chocolate flavor. It's subtle, but wow!
-
Use a mix of different chocolate chips (like semi-sweet and milk chocolate) for a more complex flavor profile and texture.
-
For extra chewy cookies, underbake them ever so slightly. They'll continue to cook a bit on the hot baking sheet.
-
To get that bakery-style look, press a few extra chocolate chips and sprinkles onto the tops of the warm cookies right after they come out of the oven. It makes them look so inviting!
-
Consider adding a tiny dash of almond extract (just 1/4 teaspoon!) along with the vanilla for a subtle, unexpected depth of flavor.

Recipe by
Mason Cole“Sweet cravings are my specialty! I turn sugar, chocolate, and imagination into pure dessert magic.” 🍰✨
Get Delicious Recipes Weekly
Join 25,000+ home cooks getting our best recipes straight to their inbox.
Free forever • No spam • Unsubscribe anytime