The concept of portable energy foods dates back centuries, with ancient travelers carrying nutrient-dense mixtures of nuts, seeds, and dried fruits. Modern protein bars evolved from these early energy cakes, becoming popular among athletes in the 1960s who needed quick nourishment during training. Today's homemade versions honor that tradition of simple, wholesome ingredients combined for sustained energy, allowing you to control exactly what goes into your snack without the preservatives found in commercial products.
Why You'll Love It
-
No baking required—just mix and press
-
Customizable with your favorite add-ins
-
Perfect for on-the-go nutrition
-
Uses pantry staples you likely already have
"These bars saved me during my hectic workweek—so much better than store-bought!"
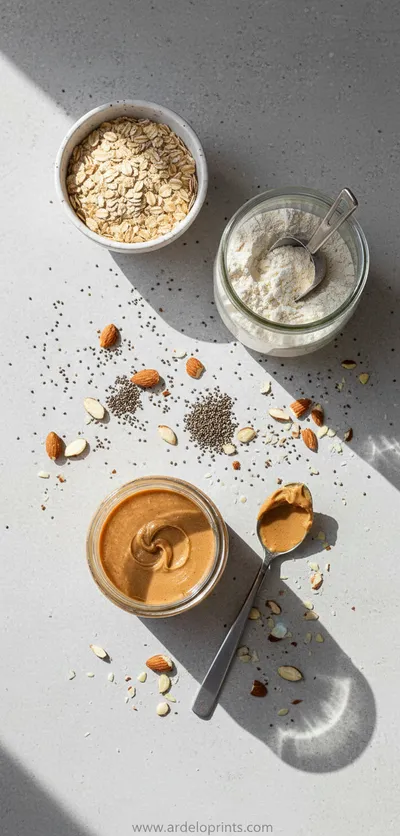
Essential Ingredient Guide
- Rolled oats: Provides the base structure and whole-grain goodness. Use old-fashioned, not quick-cooking, for the best texture that holds together well.
- Protein powder: Choose your favorite vanilla or chocolate variety. This binds the bars and adds the protein punch—whey or plant-based both work beautifully.
- Nut butter: Acts as the natural glue. Almond or peanut butter gives that rich, creamy texture while helping everything stick together without being overly sweet.
- Honey or maple syrup: The gentle sweetener that brings everything together. I like how the honey adds a floral note that balances the nuttiness.
- Mix-ins like nuts or dried fruit: These add texture and little surprises in each bite. Chopped almonds or dried cranberries work wonderfully—you can make them different every time.
- Chia seeds or flaxseed: These tiny powerhouses add nutrition and help with binding. They absorb moisture gently, making the bars hold their shape better.
 Snacks
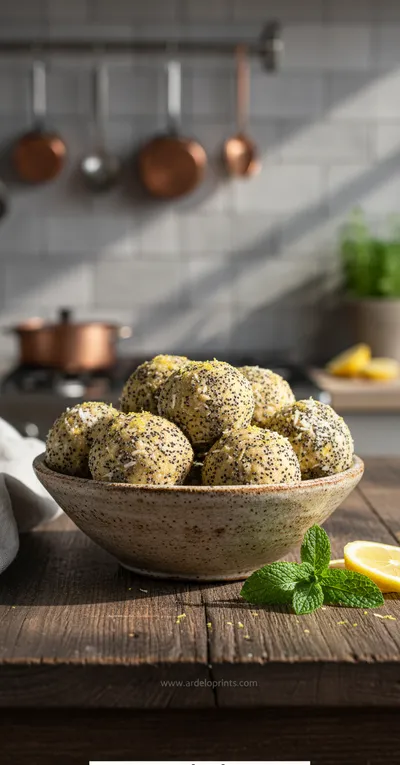
Lemon Bliss Balls: Healthy Energy Protein Snacks
Tangy, no-bake lemon energy balls with poppy seeds, perfect for a quick and healthy snack.
Complete Cooking Process
-
Ingredient Readiness:
Everything should be measured and ready before you start mixing. The nut butter and honey need to be warm enough to flow easily—I sometimes give them a quick zap in the microwave, just until they're pourable.
-
Flavor Development:
The moment you mix the warm nut butter with the oats and protein powder, that's when the magic happens. The aroma fills the kitchen, all nutty and warm. I remember making these during the Halloween season once, and the scent mixed with the crisp autumn air coming through the window—it was just perfect.
-
Texture Control:
Pressing the mixture firmly into the pan is key. You want it compact enough that the bars won't crumble, but not so hard they become tough. I use the back of a measuring cup and press down evenly, feeling the mixture give way under the pressure.
-
Finishing Touches:
The chilling time is crucial. It allows the ingredients to set properly. I usually let mine sit overnight, but even a few hours makes a difference. You'll know they're ready when you press gently and they feel firm but still give slightly.
-
Serving Timing:
These bars are best enjoyed at room temperature after being chilled. They soften just enough to be easy to eat, but still hold their shape beautifully.
-
Line your pan with parchment paper for easy removal
-
Press mixture firmly—this prevents crumbly bars
-
Chill thoroughly before cutting for clean edges
-
Store in airtight container between layers of parchment
Pro Tips
You know, I've made these bars so many times now that the process feels like second nature. The rhythm of measuring, mixing, pressing—it's calming in a way. I sometimes double the batch and keep some in the freezer for busier weeks.
Honestly, the best part is how adaptable they are. Last month I added some pumpkin seeds and dried apples for a fall twist, and they turned out wonderfully. It's like having a little creative project that also happens to be practical.
The essence of the dish:
What makes these bars special is their simplicity and reliability. They're not fancy, but they're exactly what you need when hunger strikes unexpectedly. The combination of chewy oats, creamy nut butter, and little bursts of sweetness from the add-ins creates something that feels both nourishing and comforting.
A fun fact or historical angle:
Portable energy foods have been around since ancient times when travelers carried mixtures of nuts, seeds, and dried fruits. These modern protein bars are really just an updated version of those traditional travel foods, designed for our busy contemporary lives.
Flavor or sensory focus:
When you bite into one of these bars, you'll notice the pleasant chewiness first, then the nutty richness from the butter, followed by little surprises like the crunch of almonds or the sweetness of dried fruit. They're not overly sweet—just enough to satisfy that snack craving.
You Must Know
-
The mixture should be sticky but moldable—add more nut butter if too dry
-
Chilling is non-negotiable for proper setting
-
Cut bars while cold but serve at room temperature
-
These keep well for up to two weeks when stored properly
Frequently Asked Questions
→ Can I use something instead of protein powder?
You can substitute with additional oats or almond flour, but the bars will be less protein-dense and might need adjustment to the wet ingredients.
→ How long do these bars keep?
They'll stay fresh in an airtight container for about two weeks at room temperature, or you can freeze them for up to three months.
→ My mixture seems too dry—what should I do?
Add more nut butter or honey one tablespoon at a time until the mixture holds together when pressed. Different protein powders absorb moisture differently.
→ Can I make these nut-free?
Yes, use sunflower seed butter instead of nut butter, and omit any nut add-ins. The flavor will be different but still delicious.
→ What's the best way to cut the bars?
Use a sharp knife and wipe it clean between cuts. Some people find spraying the knife with cooking spray helps get cleaner slices.
→ Can I add chocolate chips?
Absolutely! Mini chocolate chips work best as they distribute more evenly. You could even drizzle melted chocolate on top for extra decadence, kind of like you might do for Halloween treats.
Nutrition Facts
per serving
210
Calories
12g
Protein
22g
Carbs
10g
Fat
Taste Profile
Nutty and subtly sweet with warm spice notes
Ingredient Substitutions
Don't have an ingredient? Try these alternatives
Flavor will change but texture remains similar
Adjust quantity based on sweetness preference
Not recommended—texture changes significantly
Recipe Variations
Try these delicious twists on the original
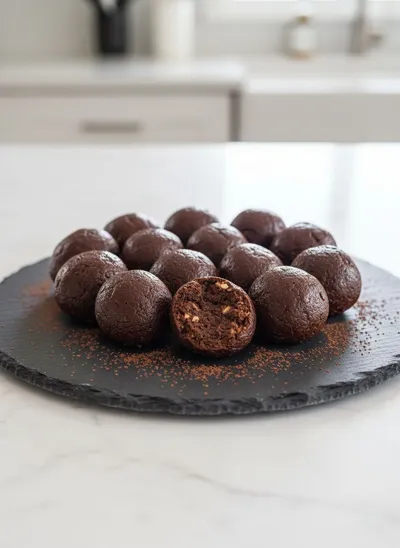
Chocolate Lover's Version
Add 1/4 cup cocoa powder to dry ingredients and use chocolate protein powder for double chocolate bars
Tropical Style
Use coconut butter, add dried pineapple and mango, and sprinkle with toasted coconut on top
Fall Spice Version
Add pumpkin pie spice and dried apples—perfect for autumn, much like some of those healthy Halloween treats you might make
Common Mistakes to Avoid
Learn from others' mistakes for perfect results
- Not pressing mixture firmly enough—results in crumbly bars
- Skipping the chilling step—bars won't hold shape
- Using quick oats instead of old-fashioned—changes texture significantly
- Adding too many wet ingredients—makes bars mushy
Meal Prep & Storage
Make Ahead Tips
These bars are perfect for making ahead! They keep well for weeks and actually improve in texture after a day or two. You can make a double batch and freeze half for future busy weeks.
Leftover Ideas
Leftover bars maintain their texture well. If they become too soft, a quick chill in the refrigerator firms them right up. They're great crumbled over yogurt too.
Perfect Pairings
Serve this with...
Cooking Timeline
Gather and measure all ingredients, line baking pan
Mix dry ingredients, warm wet ingredients, combine everything
Press mixture firmly into pan, smooth surface
Chill in refrigerator to set completely
Remove from pan, cut into bars, store properly
 Snacks
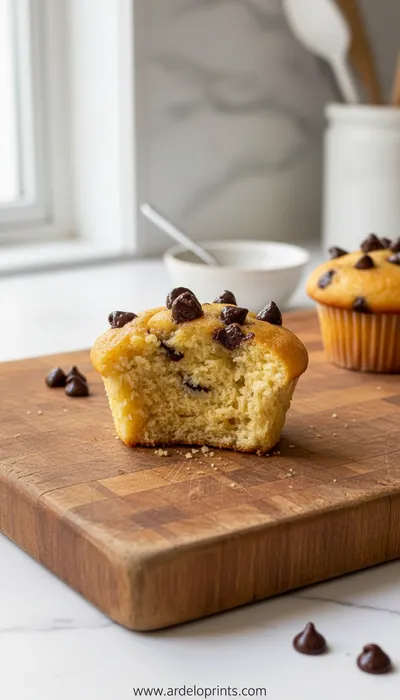
Greek Yogurt Protein Muffins
Fluffy, protein-packed muffins made with Greek yogurt, perfect for a nutritious snack or quick breakfast.
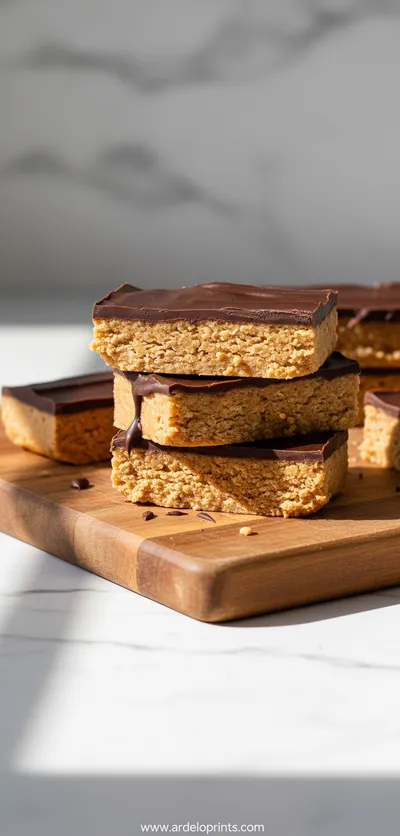
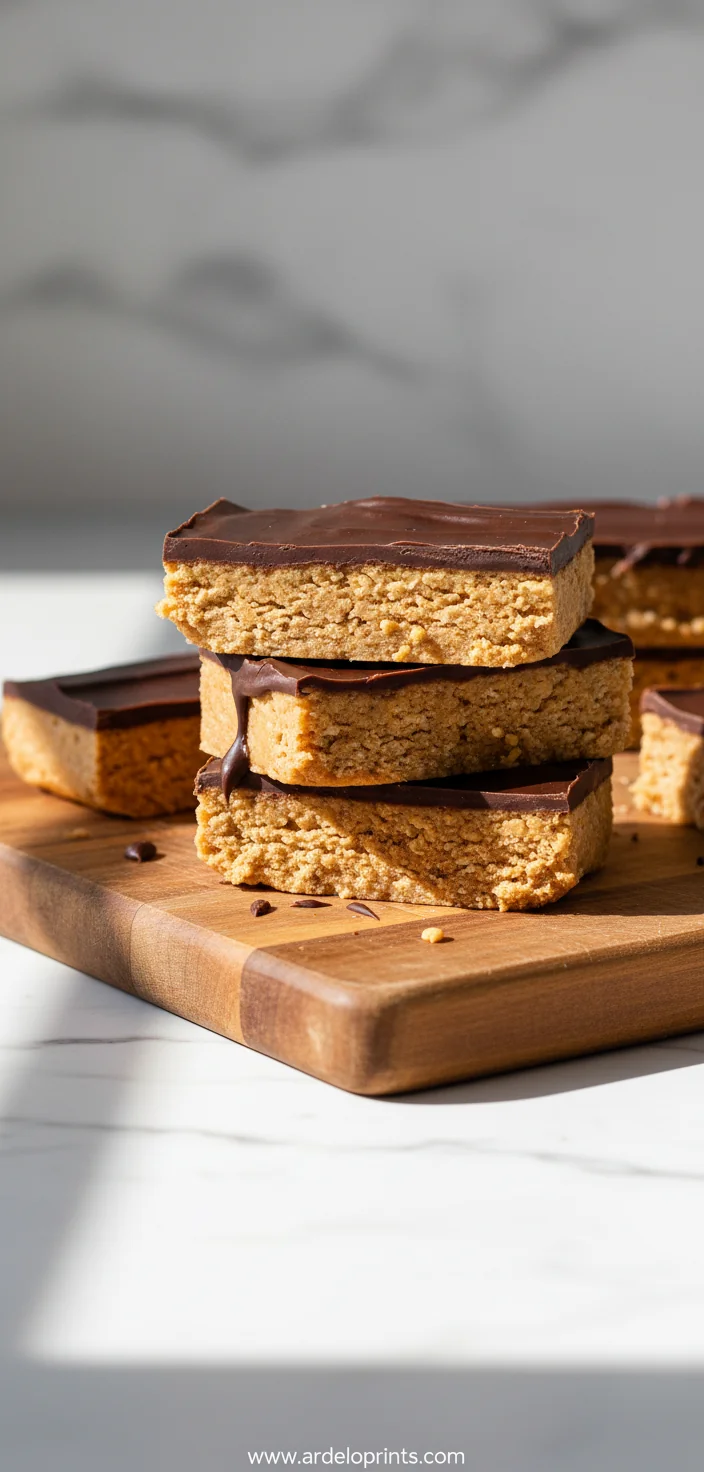
Homemade Protein Bars Recipe For Easy Snacking
Make these simple no-bake homemade protein bars for a quick and nutritious snack anytime. They're packed with wholesome ingredients and perfect for busy days.
Timing
Prep Time
15 Minutes
Cook Time
0 Minutes
Total Time
4 Hours (includes chilling)
Recipe Details
Ingredients
Base Ingredients
-
01
2 cups old-fashioned rolled oats
-
02
1/2 cup protein powder (vanilla or chocolate)
-
03
1/4 cup chia seeds or ground flaxseed
-
04
1/2 teaspoon cinnamon
-
05
1/4 teaspoon sea salt
Wet Ingredients
-
01
3/4 cup almond butter or peanut butter
-
02
1/2 cup honey or maple syrup
-
03
1 teaspoon vanilla extract
Add-ins (Choose 1-2)
-
01
1/2 cup chopped almonds or walnuts
-
02
1/4 cup dried cranberries or raisins
-
03
2 tablespoons pumpkin seeds
-
04
1/4 cup shredded coconut
Instructions
Line an 8x8 inch baking pan with parchment paper, leaving some overhang for easy removal. Honestly, this step seems small but it makes all the difference later.
In a large bowl, combine the oats, protein powder, chia seeds, cinnamon, and salt. Mix them together until everything is evenly distributed. I like to use my hands for this—feeling the different textures blend together.
In a separate microwave-safe bowl, warm the nut butter and honey together for about 30 seconds until they're easily stirrable. Add the vanilla extract and mix until smooth. The warmth helps everything combine better.
Pour the wet ingredients over the dry ingredients and mix thoroughly. It'll seem dry at first, but keep mixing—it'll come together. Add your chosen add-ins and continue mixing until everything is evenly coated.
Transfer the mixture to your prepared pan. Using the back of a measuring cup or your hands, press down firmly and evenly across the entire surface. Really put some weight into this—it's what gives the bars their structure.
Refrigerate for at least 4 hours, or overnight if possible. This allows the ingredients to set properly. When ready, lift the bars out using the parchment paper and cut into 12 equal pieces.
Notes & Tips
-
1
Store in an airtight container between layers of parchment paper
-
2
Bars will soften at room temperature—this is normal
-
3
For firmer bars, use less honey/maple syrup
-
4
Experiment with different add-ins to keep things interesting
 Appetizers
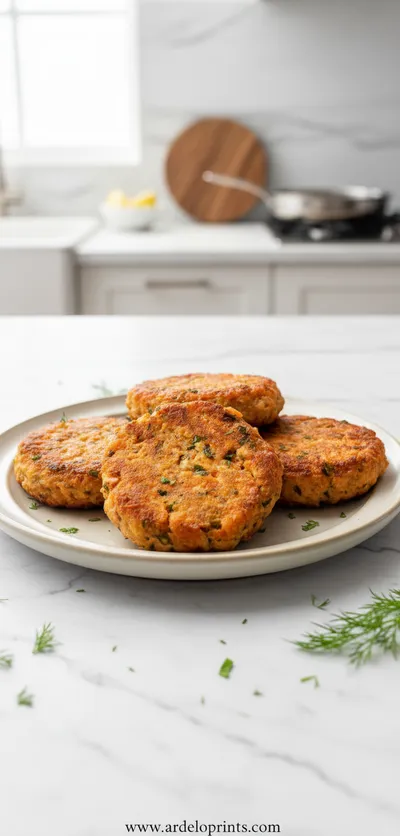
Canned Salmon Patties Recipe
Crispy canned salmon patties perfect for a quick bite.
Tools You'll Need
-
8x8 inch baking pan
-
Parchment paper
-
Large mixing bowl
-
Measuring cups and spoons
-
Spatula
-
Sharp knife
Must-Know Tips
-
Press mixture firmly—this is crucial for bar integrity
-
Chill thoroughly before cutting for clean edges
-
Let bars come to room temperature before serving for best texture
-
Store properly to maintain freshness
Professional Secrets
-
Warm nut butter slightly for easier mixing
-
Use parchment paper overhang for easy removal
-
Cut with a warm knife for cleaner slices
-
Press from center outward to avoid air pockets

Recipe by
Lily_HarperFrom crispy bites to soft nibbles, I’m all about snack-time happiness made simple and delicious.
Get Delicious Recipes Weekly
Join 25,000+ home cooks getting our best recipes straight to their inbox.
Free forever • No spam • Unsubscribe anytime