
Ice cream has traveled from ancient Persian snow‑flavored desserts to modern frozen treats enjoyed worldwide. The concept of a no‑cook version dates back to the early 20th century when households used ice‑salt baths to freeze mixtures without electric freezers. This method allowed families to enjoy a cool dessert even in warm seasons, preserving the joy of a frozen bite without specialized equipment.
Why You'll Love It
-
- No freezer needed, just chill in the fridge
-
- Simple ingredients you already have
-
- Soft, creamy texture that melts on the tongue
-
- Versatile base for endless flavor twists
“The texture was silky, the flavor bright—my kids asked for seconds!”
Essential Ingredient Guide
- Whole milk: Provides richness; choose a cold carton for quicker setting
- Heavy cream: Adds buttery smoothness; whisk until just blended
- Granulated sugar: Balances the dairy; dissolve fully to avoid grainy texture
- Vanilla extract: Adds fragrant warmth; a teaspoon is enough
- Lemon juice: A splash brightens the flavor and helps stabilize the mix
- Optional fruit puree: Creates natural color and subtle fruit notes without extra sweeteners
 Desserts
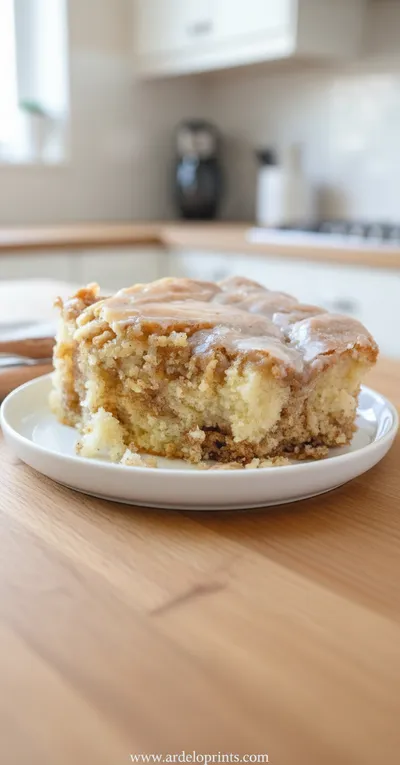
Cinnamon Roll Cake Recipe
Fluffy cinnamon roll cake with caramelized swirl, ideal for breakfast or snack.
Complete Cooking Process
-
Ingredient Readiness:
Measure and chill all dairy components before mixing; this shortens the set time.
-
Flavor Development:
Whisk sugar into milk until dissolved, then stir in vanilla and lemon for a gentle aromatic lift.
-
Texture Control:
Fold in heavy cream carefully to keep air bubbles, ensuring a light mouthfeel.
-
Finishing Touches:
Transfer to a shallow container, cover, and let the fridge work its chill for at least two hours.
-
Serving Timing:
Serve after the mixture is firm yet still soft enough to scoop; garnish with berries if desired.
-
Use a metal bowl for faster chilling
-
Add a pinch of salt to highlight sweetness
-
Stir once halfway through chilling for even texture
-
Serve in chilled bowls to keep the ice cream cold longer
Pro Tips
Well, those little adjustments can make a world of difference. I’ve found that a quick stir halfway through the chilling process keeps the texture uniformly creamy. Also, a chilled serving bowl helps maintain that lovely coolness right up to the last bite.
 Desserts
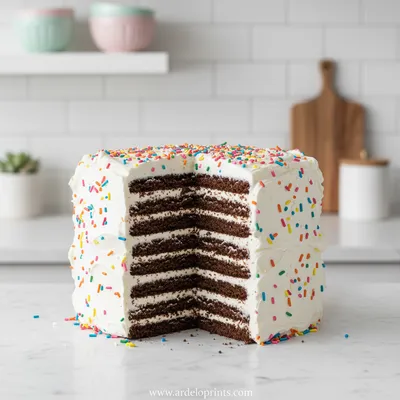
Easy Ice Cream Sandwich Cake
Cool, creamy ice cream sandwich cake that's simple, fun, and perfect for any sweet craving.
The essence of the dish:
It’s the simple balance of sweet milk, rich cream, and a whisper of vanilla that creates a dessert that feels indulgent yet effortless.
A fun fact or historical angle:
Early no‑cook desserts were often frozen with ice from mountain streams, making them a luxury for those near cold sources.
Flavor or sensory focus:
You’ll notice the cool silk of dairy, a gentle vanilla perfume, and a faint citrus note that brightens each spoonful.
You Must Know
-
Keep all ingredients cold before mixing
-
Do not over‑beat the cream
-
Chill the container for best set
Frequently Asked Questions
→ Do I need an ice cream maker?
No, this recipe sets in the refrigerator using only basic kitchen tools.
→ Can I substitute dairy milk?
Yes, almond milk or oat milk works well; just use a full‑fat version for richness.
→ How long does it take to set?
About 2 hours in the fridge, or 1 hour if you chill the bowl first.
→ What flavors can I add?
Try cocoa powder, fruit purees, or a swirl of caramel—keep additions smooth to avoid graininess.
→ Is this recipe suitable for vegans?
Replace dairy with coconut cream and a plant‑based milk; the texture stays creamy.
→ Can I make it ahead of time?
Yes, store the frozen base in an airtight container for up to 3 days.
Nutrition Facts
per serving
250
Calories
5g
Protein
25g
Carbs
14g
Fat
Taste Profile
Creamy, lightly sweet with a hint of citrus
Ingredient Substitutions
Don't have an ingredient? Try these alternatives
Choose a full‑fat almond milk for creaminess.
Provides a subtle coconut aroma while keeping richness.
Recipe Variations
Try these delicious twists on the original
Spicy Version
Add a pinch of cayenne and a drizzle of honey for a warm‑cool contrast.
Mediterranean Style
Stir in chopped pistachios and a splash of rose water for an exotic twist.
Common Mistakes to Avoid
Learn from others' mistakes for perfect results
- Skipping the chill for milk and cream, which lengthens set time significantly.
- Over‑beating the cream, resulting in a dense texture.
- Leaving the container uncovered, causing ice crystals on the surface.
Meal Prep & Storage
Make Ahead Tips
You can blend the base up to 24 hours ahead; keep it covered and refrigerate, then give it a quick stir before the final chill.
Leftover Ideas
Re‑stir the leftovers and enjoy a softer texture, or refreeze for a firmer bite.
Perfect Pairings
Serve this with...
Cooking Timeline
Gather and chill all dairy ingredients; whisk sugar into cold milk.
Add vanilla and lemon juice; fold in heavy cream gently.
Stir in any optional flavorings like fruit puree or cocoa.
Transfer mixture to a shallow metal pan, cover, and place in fridge.
Chill for at least two hours, stirring once after the first hour for even texture.
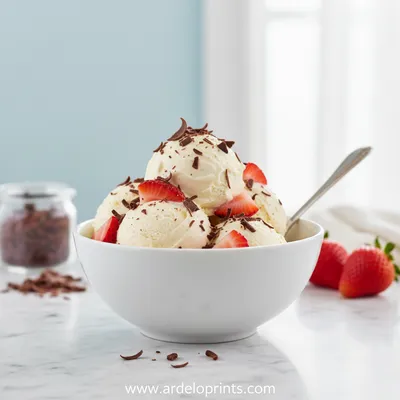
No-Cook Homemade Ice Cream Recipe
Enjoy a creamy, no‑cook homemade ice cream that comes together in minutes. With just a few pantry staples you get a velvety treat that feels like summer in a bowl, all without turning on the oven. Perfect for a quick, refreshing moment when the heat is pressing and you crave something sweet and smooth.
Timing
Prep Time
10 Minutes
Cook Time
0 Minutes
Total Time
2 Hours 10 Minutes
Recipe Details
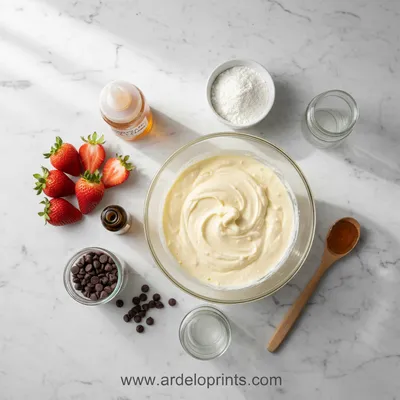
Ingredients
Base
-
01
2 cups whole milk, cold
-
02
1 cup heavy cream, cold
-
03
1/2 cup granulated sugar
-
04
1 tsp vanilla extract
-
05
1 tsp fresh lemon juice
Optional Add‑ins
-
01
1/4 cup fruit puree (strawberry, mango, etc.)
-
02
2 tbsp cocoa powder
-
03
A pinch of sea salt
Instructions
In a medium bowl whisk the cold milk and sugar together until the sugar dissolves completely; the mixture should look smooth and slightly glossy.
Stir in the vanilla extract and lemon juice; the scent will fill the kitchen with a gentle citrus‑vanilla aroma.
Gently fold the cold heavy cream into the milk mixture, being careful not to over‑beat; you want to keep the air bubbles that give a light texture.
If using optional add‑ins, whisk them in now—whether it’s fruit puree or cocoa—just until fully incorporated.
Pour the blend into a shallow metal pan, cover tightly with plastic wrap, and place in the refrigerator for at least two hours, stirring once after the first hour.
When firm but scoopable, serve into chilled bowls; garnish with fresh berries or a drizzle of honey if desired.
Notes & Tips
-
1
For an even quicker set, place the metal pan on a tray of ice cubes while chilling.
-
2
If the ice cream is too soft after chilling, give it another 30 minutes in the fridge.
-
3
A dash of sea salt can heighten the sweetness without making it salty.
 Desserts
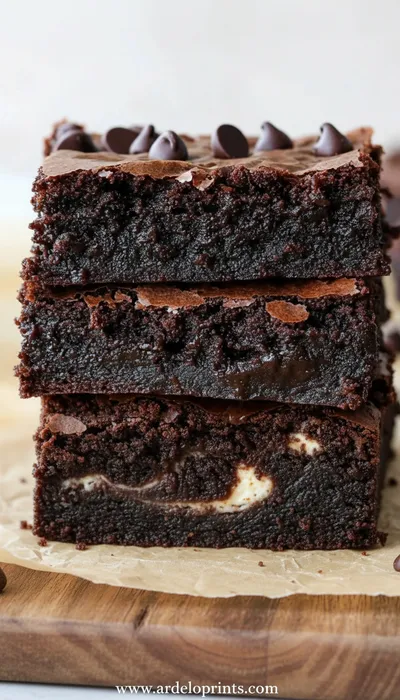
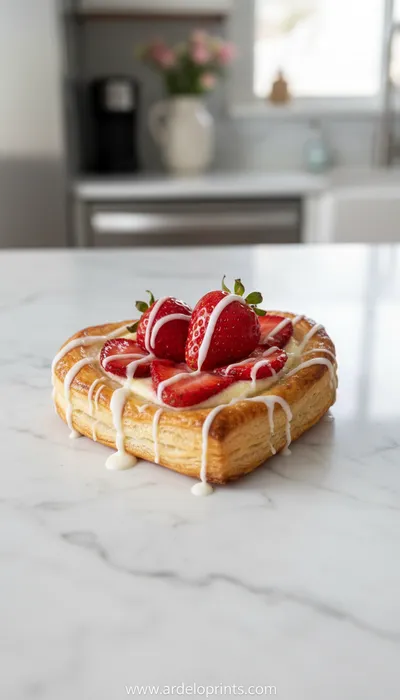
Strawberry Puff Pastry Danishes Recipe
Flaky puff pastry filled with sweet strawberry filling, perfect for a special breakfast or dessert.
Tools You'll Need
-
Medium mixing bowl
-
Whisk
-
Spatula
-
Shallow metal pan
-
Plastic wrap
Must-Know Tips
-
Keep all dairy ingredients cold before mixing, this speeds up setting.
-
Fold the cream gently to retain air for a soft texture.
-
Stir once midway through chilling for even consistency.
Professional Secrets
-
Use a chilled metal pan; metal conducts cold better than glass.
-
Add a tiny pinch of salt to amplify the vanilla flavor.
-
Cover tightly to prevent ice crystals from forming on the surface.

Recipe by
Mason Cole“Sweet cravings are my specialty! I turn sugar, chocolate, and imagination into pure dessert magic.” 🍰✨
Get Delicious Recipes Weekly
Join 25,000+ home cooks getting our best recipes straight to their inbox.
Free forever • No spam • Unsubscribe anytime