The concept of the cheesecake itself dates back to ancient Greece, though it began as a simple mixture of fresh cheese and honey. Over centuries, the dessert evolved into the rich, creamy custard known today, eventually crossing oceans to become a staple of American celebrations. The move toward "no-bake" versions represents a modern shift toward convenience, allowing the tang of the cream cheese to shine without the risk of overcooking.
Integrating the Oreo cookie into this tradition creates a bridge between classic confectionery and the beloved snack culture of the 20th century. The deep cocoa notes of the cookie crust provide a necessary earthy balance to the sweetness of the filling, turning a simple dessert into a sophisticated study of textures.
These oreo no-bake cheesecake cups reflect a cultural love for individual portions—small, curated experiences that feel special. By moving away from the traditional large tart, the dessert becomes more intimate, emphasizing the harmony between the buttery crumbs and the light, airy whipped topping that defines the contemporary American treat.
Why You'll Love It
-
- Honestly, the fact that there is no oven involved is just a dream, especially on those warm afternoons when you don't want to heat up the whole house.
-
- I mean, that buttery crunch from the 1 ½ cups Oreo cookie crumbs paired with the smooth filling is just a little slice of heaven, really.
-
- It's so wonderful to have these as individual cups; it makes things so much tidier than slicing a whole cake, and the kids just love them.
-
- Well, look, there is something so comforting about that creamy, tangy flavor that just feels like a little hug for your taste buds.
"Honestly, these are the only desserts my kids actually ask for by name. Just absolutely divine!"
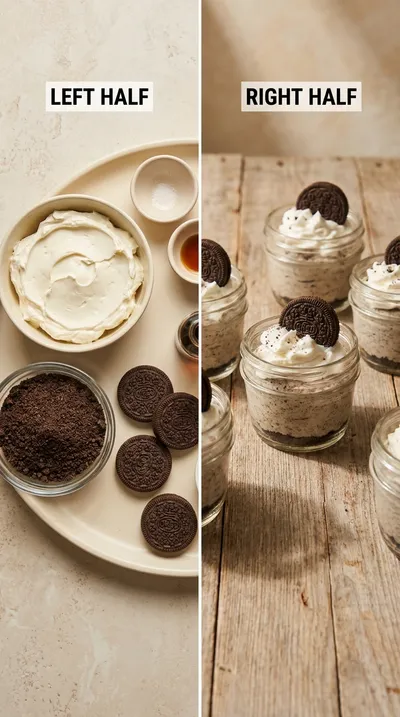
Essential Ingredient Guide
- 16 ounces cream cheese, softened: This is the heart of the treat, so please, make sure it's truly soft. I remember once leaving mine too cold and, oops, I had the tiniest lumps in my filling.
- 1 ½ cups Oreo cookie crumbs: These give us that lovely, dark crunch. Just crush them until they're fine enough to press firmly into the liners so they don't crumble away.
- 4 whole Oreo cookies, coarsely chopped: These are just for the top, but they add such a nice visual touch. It makes the cups look so professional and inviting.
- 1 teaspoon vanilla extract: Just a splash, but it rounds out all the richness. It adds a gentle warmth that you don't necessarily see, but you certainly taste.
- 5 tablespoons unsalted butter, melted: The melted butter binds those crumbs together. It gives the crust that rich, savory-sweet flavor that balances the creamy top.
- 1 cup powdered sugar: I find powdered sugar blends in so much smoother than granulated. It gives the cheesecake that velvety texture we're all looking for.
Complete Cooking Process
-
Getting Ready:
Start by letting your 16 ounces cream cheese, softened sit out for a bit. You'll also want to thaw your 8 ounces frozen whipped topping, thawed so it folds in just right.
-
Building the Base:
Mix those 1 ½ cups Oreo cookie crumbs with the 5 tablespoons unsalted butter, melted. Press them firmly into the liners to create a sturdy little floor for the filling.
-
Creating the Cream:
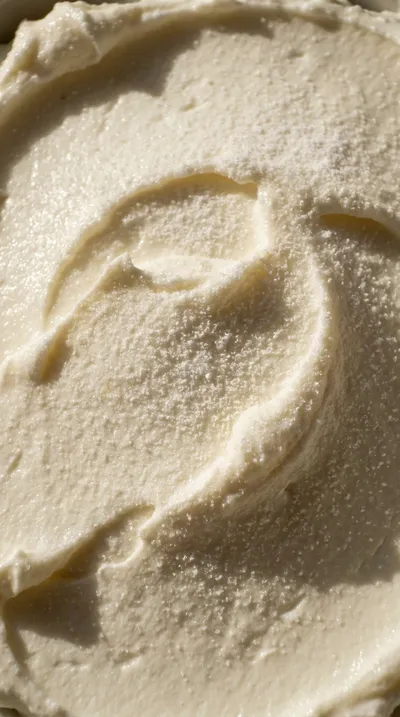
Beat the cream cheese until it's perfectly smooth, then slowly stir in the 1 cup powdered sugar and vanilla. Gently folding in the whipped topping is the secret to that light, airy feel.
-
The Finishing Touch:
Spoon the filling right to the brim of each cup. Sprinkle those 4 whole Oreo cookies, coarsely chopped over the top for a bit of a crunch.
-
The Patient Wait:
Now comes the hard part—chilling them for at least 4 hours. This lets everything set properly so the cups hold their shape when you peel the liners off.
-
Leave your cream cheese at room temperature for 30-60 minutes to avoid any lumps.
-
Be very gentle when folding in the thawed whipped topping so you don't lose that fluffiness.
-
Don't rush the chilling time; overnight is honestly the best way to get a perfect texture.
-
Try using Golden Oreos if you'd like a slightly different, more intense flavor profile.
Pro Tips
Just trust your instincts and enjoy the process, you've got this!
 Dinner
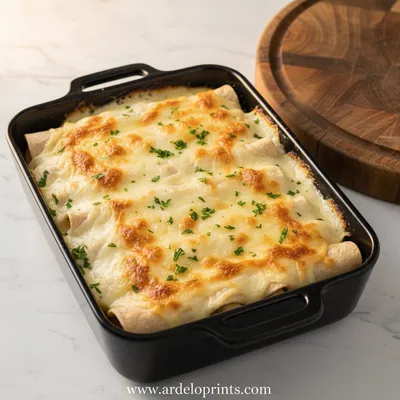
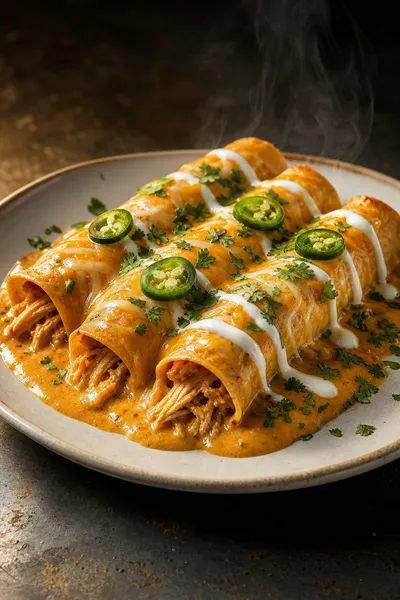
Easy White Chicken Enchiladas with Creamy Sauce
Quick white chicken enchiladas ready in 30 minutes with a luscious creamy sauce.
Better For You Treats
Ways to Make it Your Own
Serving Suggestions
Frequently Asked Questions
→ Can I make these without a mixer?
You can, but it's a lot more work to get the cream cheese smooth. Honestly, the electric mixer just saves your arms and ensures there are no lumps.
→ How long do these stay fresh in the fridge?
They'll keep beautifully for up to 2 days in the refrigerator. Just keep them covered so they don't pick up any other flavors from the fridge.
→ Can I freeze these for later?
Yes, you certainly can! Just wrap each little cup in plastic wrap and tuck them in an airtight container for up to a month.
Nutrition Facts
per serving
380
Calories
5g
Protein
32g
Carbs
22g
Fat
Taste Profile
A rich, sweet chocolate and vanilla harmony with a slight tang from the cream cheese.
Ingredient Substitutions
Don't have an ingredient? Try these alternatives
Beat heavy cream with powdered sugar and a bit of gelatin for a similar hold.
Use any chocolate sandwich cookie you have on hand.
Recipe Variations
Try these delicious twists on the original
Mint Oreo Cheesecake Cups
For a refreshing, minty twist, just stir in ½ teaspoon of peppermint extract to your cheesecake filling.
Dark Chocolate Drizzle
Make it extra decadent by drizzling melted dark chocolate over the finished cups before serving.
Common Mistakes to Avoid
Learn from others' mistakes for perfect results
- Using cold cream cheese, which leads to a lumpy filling.
- Overmixing the whipped topping, causing the filling to lose its fluffiness.
- Skipping the 4-hour chill time, resulting in a cheesecake that doesn't hold its shape.
Meal Prep & Storage
Make Ahead Tips
These are actually better when made ahead! You can prepare them the night before and let them set in the fridge overnight.
Leftover Ideas
Store any remaining cups in the refrigerator for up to 2 days. For longer, wrap them in plastic and freeze for a month.
Perfect Pairings
Serve this with...
Cooking Timeline
Crush cookies and mix with melted butter for the crust.
Press the crust into muffin liners and prepare the cream cheese base.
Mix in powdered sugar and vanilla, then fold in the whipped topping.
Fill the cups and add the cookie garnish.
Refrigerate until completely set and firm.
 International_Cuisine
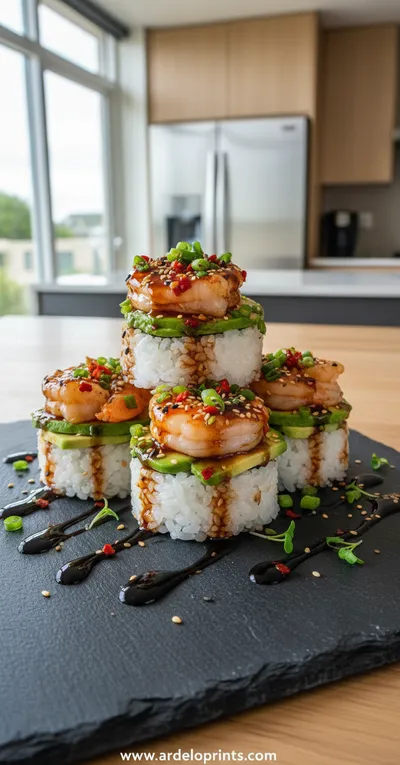
Spicy Shrimp Sushi Stacks
A fresh, vibrant bite combining seasoned shrimp, rice, and crisp toppings.

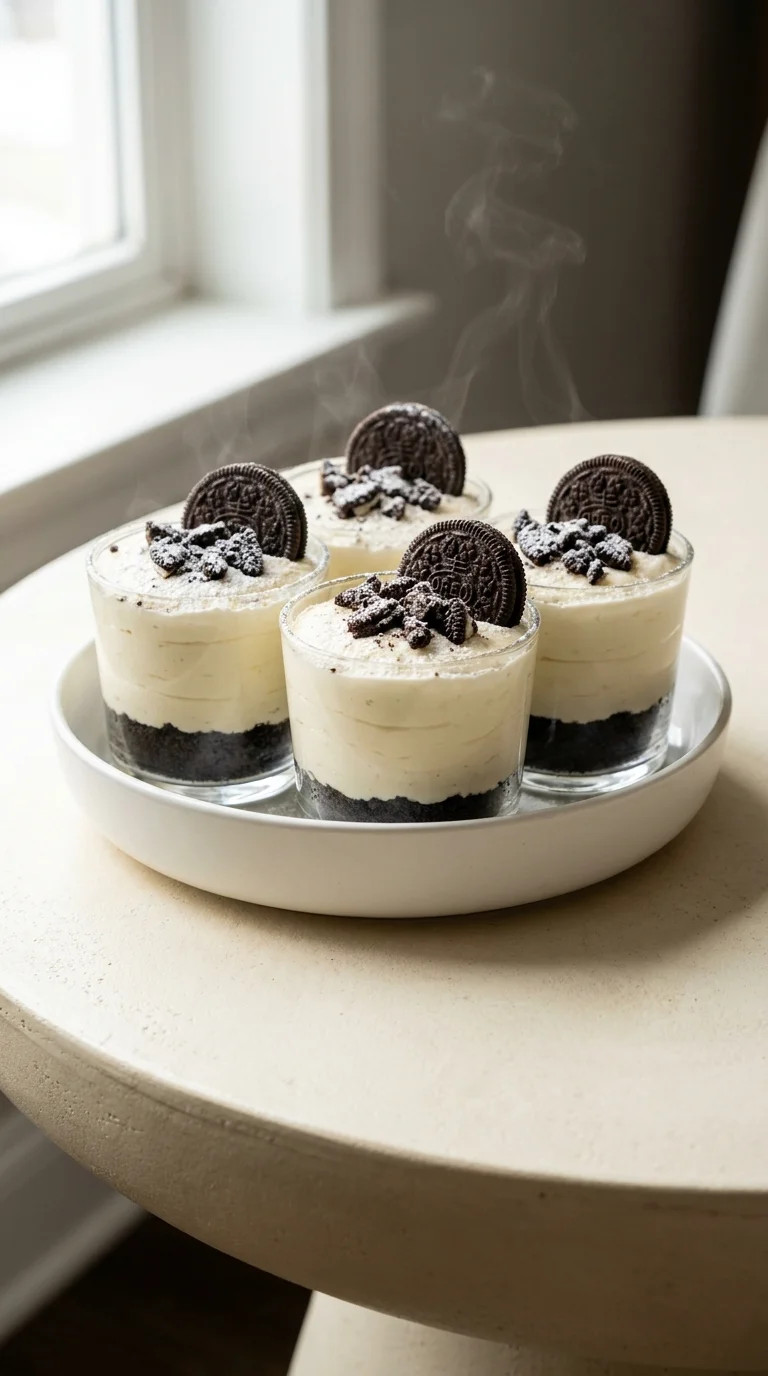
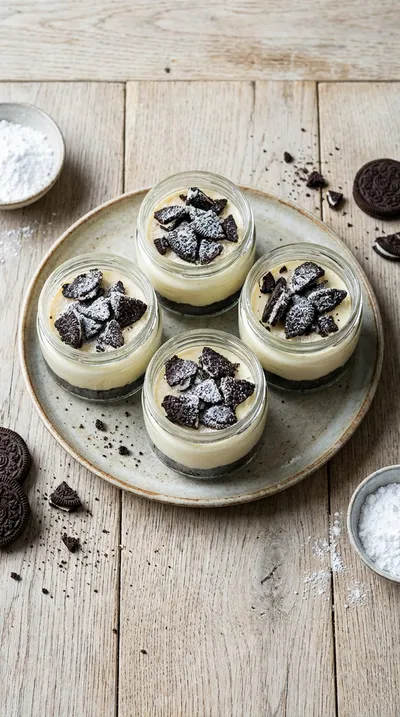
Oreo No-Bake Cheesecake Cups
Savor the contrast of a buttery, dark chocolate crust and a cloud-like filling with these oreo no-bake cheesecake cups. It is a rich, creamy treat that feels like a celebration in every single bite.
Timing
Prep Time
20 Minutes
Cook Time
0 Minutes
Total Time
20 Minutes
Recipe Details
Ingredients
The Crust
-
01
1 ½ cups Oreo cookie crumbs (about 36 cookies, crushed)
-
02
5 tablespoons unsalted butter, melted
The Filling
-
01
16 ounces cream cheese, softened
-
02
1 cup powdered sugar
-
03
1 teaspoon vanilla extract
-
04
8 ounces frozen whipped topping, thawed (such as Cool Whip)
The Garnish
-
01
4 whole Oreo cookies, coarsely chopped (for garnish)
Instructions
First, let's get that lovely crust ready. In a medium bowl, just combine your 1 ½ cups Oreo cookie crumbs and those 5 tablespoons unsalted butter, melted. Mix it all together well until the crumbs are evenly moistened and look like wet sand.
Now, take your muffin tin and liners. Gently press about 2 tablespoons of that chocolatey Oreo crumb mixture firmly into the bottom of each muffin liner. You want a nice, solid base for your cheesecake cups to sit on.
Time for the creamy part. In a large bowl, beat the 16 ounces cream cheese, softened, with your electric mixer. Keep going until it's just smooth and creamy; honestly, make sure there aren't any lumps left behind.
Slowly, just gradually add the 1 cup powdered sugar to the cream cheese. Keep the mixer on low speed so you don't end up with a sugar cloud in your kitchen, and beat in that 1 teaspoon vanilla extract for a little warmth.
Now, here is the delicate part. Gently fold in the 8 ounces frozen whipped topping, thawed. Use a soft touch here—be careful not to overmix, as we want the filling to stay light and fluffy.
Spoon that velvety cheesecake filling evenly into your prepared Oreo crumb crusts. Go ahead and fill each cup right to the top.
For a little bit of crunch, sprinkle those 4 whole Oreo cookies, coarsely chopped, over the top of each cup. It just looks so inviting, doesn't it?
The hardest part is the waiting. Cover the muffin tin with plastic wrap and pop them in the refrigerator for at least 4 hours, or preferably overnight. They really need this time to set completely.
When you're ready to enjoy, carefully lift the Oreo no-bake cheesecake cups from the muffin tin and gently peel off those liners before serving.
Notes & Tips
-
1
Room temperature cream cheese is a must for a smooth filling.
-
2
Don't rush the chilling process or the cakes might be too soft.
-
3
Using a rubber spatula for folding keeps the air in the filling.
Tools You'll Need
-
9-inch pie plate or food processor for crushing those cookies
-
Large and medium mixing bowls for your ingredients
-
Electric mixer, either handheld or a stand mixer, to get things creamy
-
Rubber spatula for gentle folding
-
12 muffin liners and a sturdy muffin tin
Must-Know Tips
-
Softened Cream Cheese, Leaving your cream cheese out for 30-60 minutes ensures a lump-free filling.
-
The Chill Time, This is absolutely crucial for the texture to set properly.
-
Cookie Variety, You can use Golden Oreos for a different, slightly more intense flavor profile.
Professional Secrets
-
The folding technique prevents the whipped topping from collapsing, maintaining a mousse-like texture.
-
Firmly pressing the crust prevents the base from crumbling when the liner is removed.
-
Gradual sugar addition prevents aeration gaps and keeps the filling dense yet creamy.

Recipe by
Mason Cole“Sweet cravings are my specialty! I turn sugar, chocolate, and imagination into pure dessert magic.” 🍰✨
Get Delicious Recipes Weekly
Join 25,000+ home cooks getting our best recipes straight to their inbox.
Free forever • No spam • Unsubscribe anytime