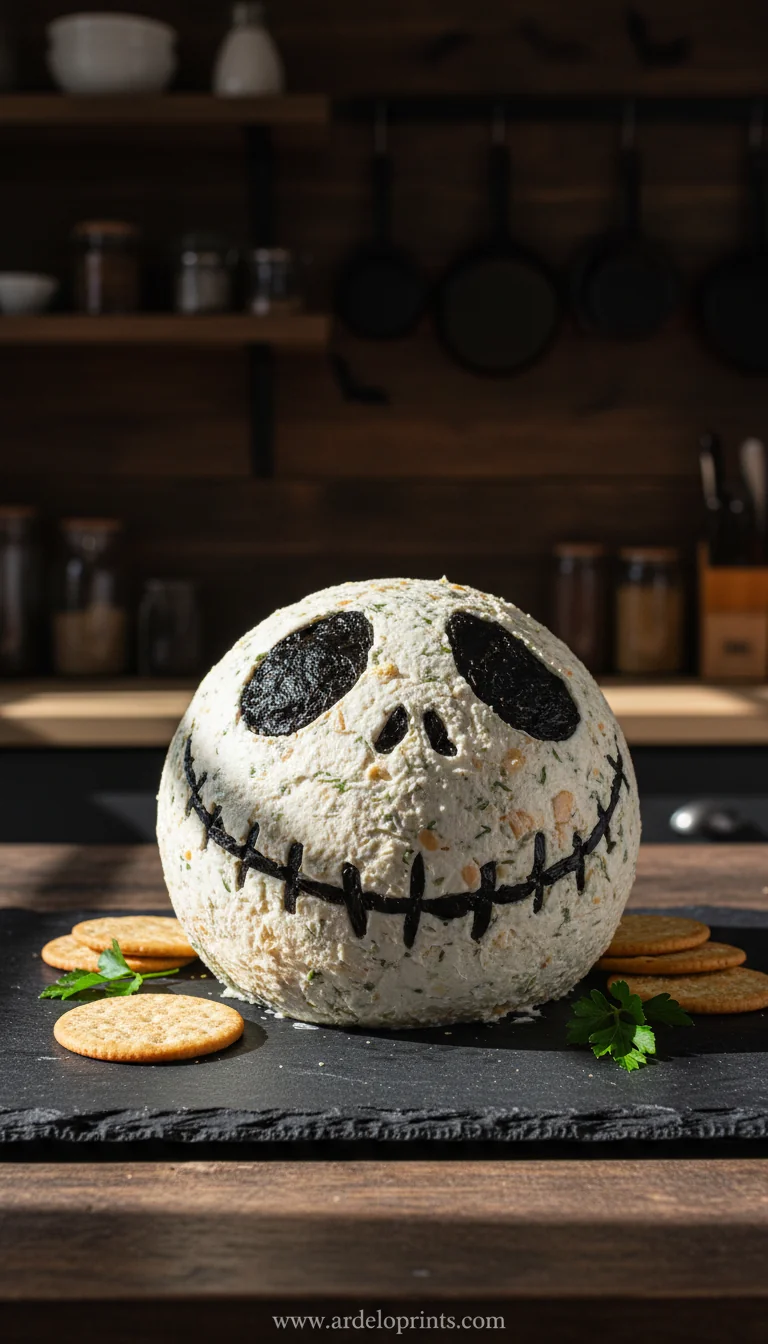
I first made this for a get-together years ago, on a whim. The kids' eyes lit up, and even the adults couldn't help but chuckle. It was a sweet reminder that cooking doesn't always have to be so serious. Sometimes, it’s just about creating a small, shared moment of joy. Now, this familiar little face shows up at our parties every year. It feels like tradition.
Why You'll Love This Little Guy
-
It’s so incredibly simple to make, no cooking needed.
-
A guaranteed conversation starter at any party.
-
The flavor is perfectly creamy, savory, and a little bit tangy.
-
It's just as fun for adults as it is for the kids.
-
You can make it a day ahead, which is a lifesaver for party prep.
-
Honestly, it's just really, really cute.
Wow, I brought this to my office potluck and it was the absolute star of the show! Everyone thought it was so clever and adorable, and the flavor was incredible. It was gone in minutes!
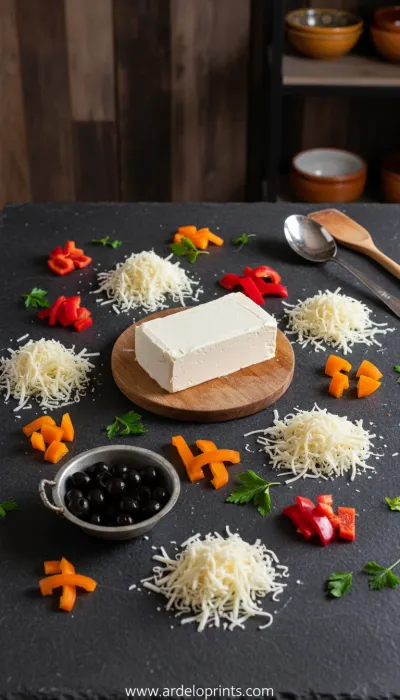
Essential Ingredient Guide
- Cream Cheese: Please use the full-fat blocks of cream cheese. The whipped kind in a tub is too soft and won't hold its shape. Letting it soften on the counter for an hour makes mixing a dream.
- Sharp Cheddar: A good sharp cheddar gives this cheese ball its wonderful flavor. I always suggest shredding it yourself from a block. The texture is just so much better and creamier than the pre-shredded kind.
- Black Olives: These are the key to his personality! Just a couple of simple, canned black olives are all you need. One slice for each eye and a few slivers for that classic stitched smile.
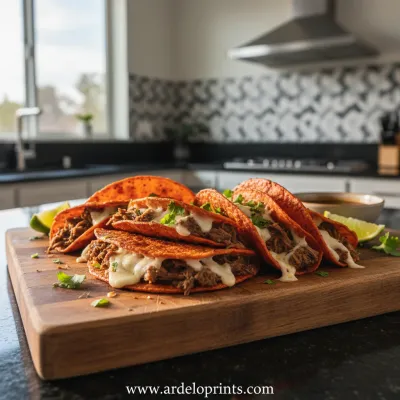
Birria Tacos: Easy & Flavorful Recipe
Tender, slow-braised beef tacos pan-fried to perfection with a rich, savory consomé for dipping.
Complete Cooking Process
-
Mixing the Cheese Base:
-
First, make sure your cream cheese is nice and soft. It makes everything easier.
-
In a big bowl, just combine the cream cheese, shredded cheddar, and all the seasonings.
-
Mix it all together until it’s smooth and uniform. A simple spatula works perfectly.
-
-
Shaping and Chilling:
-
Scoop the mixture onto a big piece of plastic wrap.
-
Use the wrap to gently guide the cheese into a nice round ball shape. It doesn’t have to be perfect.
-
Wrap it up tight and pop it in the fridge. It needs at least an hour to get firm.
-
-
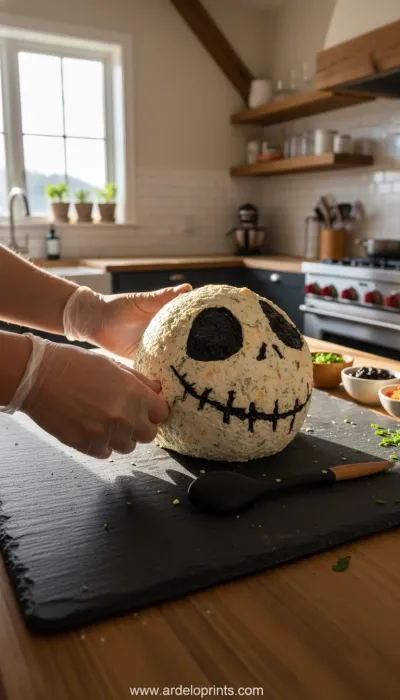
Bringing Him to Life:
-
When you're ready to serve, unwrap your cheese ball and put it on a platter.
-
Carefully slice your olives for the eyes and mouth.
-
Gently press them into the cheese. This is the fun part! There he is.
-
Arrange your favorite crackers all around and it's ready.
-
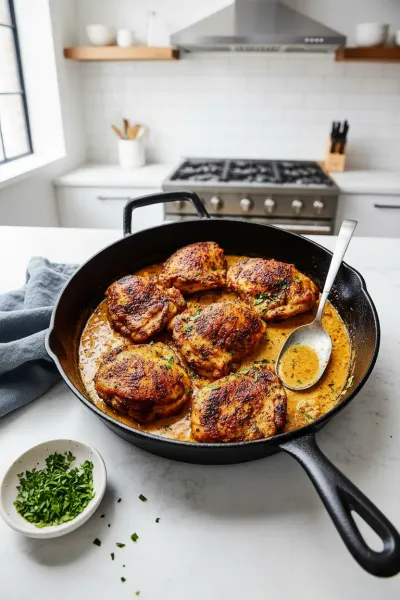
Easy Skillet Chicken Thighs Recipe
Garlic cream sauce skillet chicken thighs for a delicious and simple weeknight dinner.
A Few Common Questions
→ Can I make this cheese ball ahead of time?
Yes, absolutely! I actually recommend it. You can make the cheese ball (without the face) up to two days in advance. Just keep it wrapped tightly in the fridge and add the olive face right before serving so it looks fresh.
→ What should I serve with it?
Oh, so many things work well. Sturdy crackers are the classic choice. I also love serving it with pretzel thins, pita chips, or even fresh vegetable sticks like carrot, celery, and bell pepper.
→ Can I use different types of cheese?
Of course. This recipe is very forgiving. You could swap the cheddar for Monterey Jack, Colby, or even add a little crumbled feta for a different taste. Just make sure the total amount of shredded cheese is about the same.
→ My cheese mixture is too sticky to shape. What do I do?
No worries, that can happen if the kitchen is warm. Just cover the mixing bowl and chill the mixture in the fridge for about 20-30 minutes. It will firm up enough to be easily shaped.
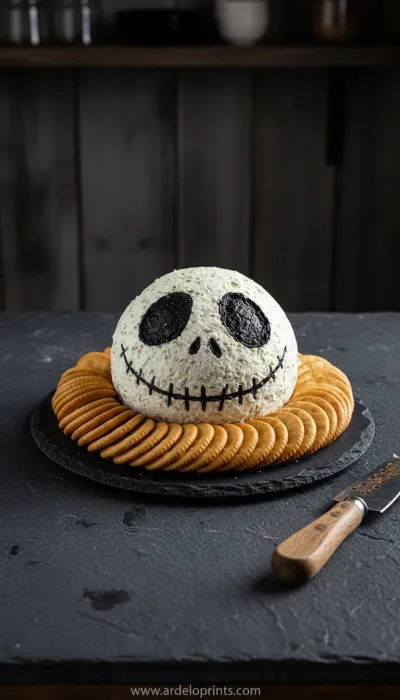

Skellington Cheese Ball Appetizer Recipe
Make a festive skellington cheese ball appetizer! This easy recipe is perfect for parties and gatherings. Get the recipe now!
Timing
Prep Time
20 minutes
Cook Time
0 minutes
Total Time
20 minutes
Recipe Details
Ingredients
For the Cheese Ball
-
01
16 ounces (2 blocks) cream cheese, softened to room temperature
-
02
2 cups shredded sharp cheddar cheese
-
03
1 tablespoon Worcestershire sauce
-
04
1 teaspoon onion powder
-
05
1/2 teaspoon garlic powder
-
06
1/4 teaspoon black pepper
For the Face
-
01
2-3 large pitted black olives
For Serving
-
01
Crackers, pretzel thins, or vegetable sticks
Instructions
In a large mixing bowl, combine the softened cream cheese, shredded cheddar cheese, Worcestershire sauce, onion powder, garlic powder, and black pepper.
Mix with a spatula or an electric mixer on low speed until all ingredients are well combined and smooth.
Lay a large piece of plastic wrap on your counter. Scrape the cheese mixture onto the center of the wrap.
Use the plastic wrap to help you form the mixture into a smooth, round ball. Wrap it tightly.
Chill the cheese ball in the refrigerator for at least 1-2 hours, or until firm. This step is important for it to hold its shape.
Just before serving, unwrap the cheese ball and place it on your serving platter.
Slice the black olives to create two large round eyes and several small, thin strips for the stitched mouth.
Gently press the olive pieces into the cheese ball to create the Skellington face.
Serve immediately with your favorite crackers, pretzels, or fresh veggies. Enjoy the smiles!
Notes & Tips
-
1
Using freshly shredded cheese from a block will result in a creamier texture, as pre-shredded cheeses often contain anti-caking agents.
-
2
If you're out of Worcestershire sauce, a teaspoon of soy sauce or tamari can work in a pinch.
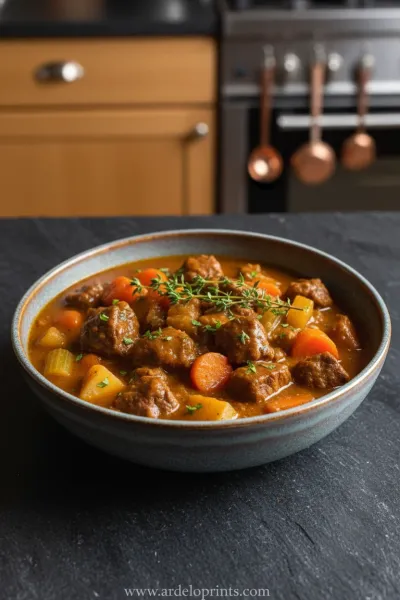
Easy Slow Cooker Pot Roast
The ultimate set-it-and-forget-it meal. Tender beef and hearty vegetables simmered to perfection in the slow cooker.
Tools You'll Need
-
Large mixing bowl
-
Electric hand mixer or sturdy spatula
-
Plastic wrap
-
Small sharp knife
-
Serving platter
Must-Know Tips
-
Let the cream cheese soften completely at room temperature. This is key for a smooth, lump-free texture.
-
Don't skip the chilling time! It's essential for the cheese ball to firm up and hold its iconic round shape.
-
Use a very sharp, small knife to cut the olive pieces. It makes creating the face much neater and easier.
-
Gently press the olive pieces into the cheese; you don't need to push too hard.
Professional Secrets
-
For a little extra depth, add a tiny pinch of smoked paprika to the cheese mixture. It adds a subtle warmth.
-
To create a different texture, you can gently roll the chilled cheese ball in finely chopped fresh parsley or toasted pecans before adding the face.
-
Serve the cheese ball on a dark-colored plate or slate board. The contrast makes the white cheese ball really stand out.
-
A tiny drop of black food coloring mixed with a bit of water can be painted on with a toothpick for more defined stitches if you're feeling extra artistic.

Recipe by
Oliver Brooks“Every great meal begins with the perfect bite. My passion is crafting irresistible starters that wow.” 🧀🍢
Get Delicious Recipes Weekly
Join 25,000+ home cooks getting our best recipes straight to their inbox.
Free forever • No spam • Unsubscribe anytime