I remember making these for the first time with my daughter, years ago. She was absolutely captivated by the idea of 'witch fingers.' We spent an afternoon shaping each one, giggling at how grotesque yet tempting they looked. It became our little ritual, a way to usher in the spooky season. Every year now, when October rolls around, the kids ask, 'Mom, can we make the fingers?' And I just can't say no. Seeing their faces light up, or even pretend to be a little scared, well, it's just the best. These cookies are more than just a treat; they're a tiny piece of autumn nostalgia.
Why You'll Adore These Creepy-Cute Finger Cookies
-
They're a guaranteed showstopper at any Halloween party – everyone will talk about them!
-
The buttery cookie base is absolutely delicious, so they taste as good as they look spooky.
-
Making them is a fun, creative activity for the whole family, especially with little helpers.
-
The 'witchy' details are surprisingly easy to achieve, even if you're not a pro baker.
-
You can customize the 'blood' with jam, food gel, or even melted chocolate for different effects.
-
They evoke such lovely childhood Halloween memories for me, and I hope they do for you too.
My daughter brought these to her school Halloween party and they were the absolute hit! Everyone was talking about how creepy and delicious they were. You nailed it with this recipe, Clara!
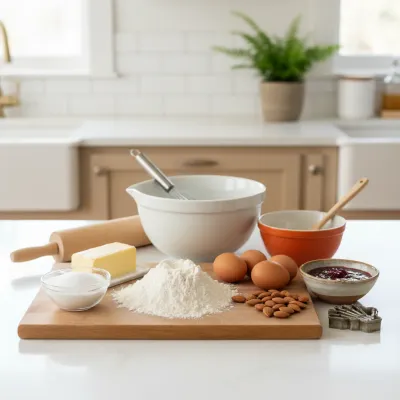
Essential Ingredient Guide
- Unsalted Butter: Make sure your butter is truly softened to room temperature. This is crucial for creaming it properly with the sugar, which creates that light, airy texture in your cookies. If it's too cold, it won't cream well; if it's melted, your dough will be too greasy.
- Almonds: You want whole blanched almonds for the best 'fingernail' effect. They have that perfect shape and pale color. If you can only find unblanched, you can blanch them yourself by boiling them for a minute, then slipping off the skins. If you're out of almonds, you could try green pumpkin seeds for a monstrous twist!
- Red Food Gel or Jam: This is where the 'blood' comes in! Red food gel offers a more vibrant, intense color. Raspberry jam, on the other hand, gives a more natural, gooey 'blood' look and adds an extra layer of fruity flavor. Choose what speaks to your inner ghoul!
- Vanilla & Almond Extract: Vanilla is a must, of course! But a tiny touch of almond extract really elevates the flavor here, giving the cookies a lovely, almost marzipan-like depth. It pairs beautifully with the almond 'nails' too. Don't skip it if you have it!
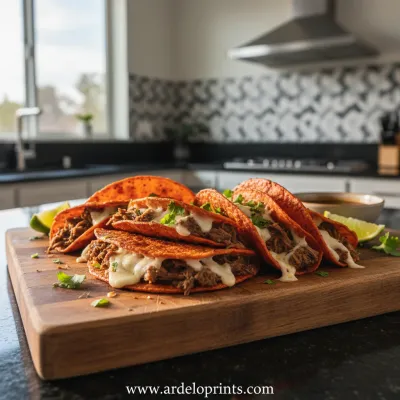
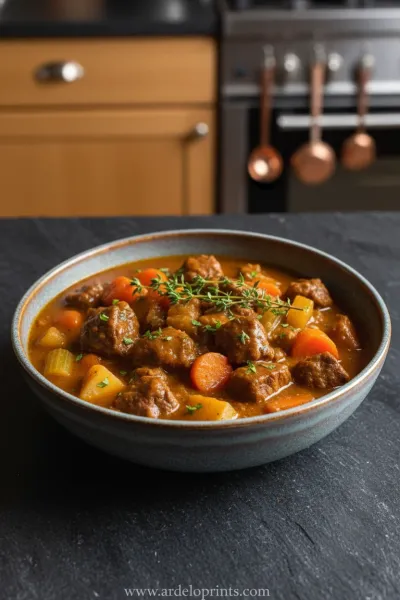
Birria Tacos: Easy & Flavorful Recipe
Tender, slow-braised beef tacos pan-fried to perfection with a rich, savory consomé for dipping.
Complete Cooking Process
-
Making the Perfect Cookie Dough:
-
Start by creaming softened butter and sugar until it's light and fluffy, like a cloud! This incorporates air, which is key for a tender cookie.
-
Add the egg and extracts, mixing until everything is smooth and happy. Don't rush this part.
-
Gently fold in your dry ingredients. Remember, less mixing equals more tender cookies, so stop just when the flour disappears.
-
Chill your dough! This isn't just a suggestion; it really helps the cookies hold their shape and makes them easier to sculpt.
-
-
Shaping the Spooky Fingers:
-
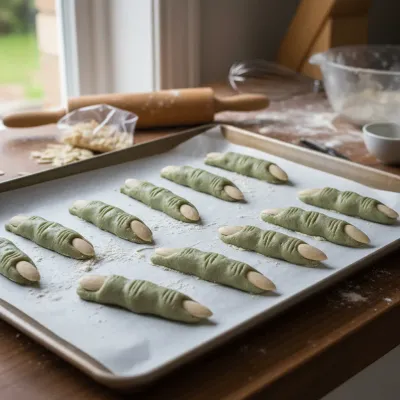
Roll small portions of dough into finger-like logs. Think about varying widths and lengths for a more natural, eerie look.
-
Use your fingers or the back of a knife to gently create 'knuckles' by pressing and indenting the dough. A slight bend in the middle really sells the effect.
-
Carefully press a blanched almond onto one end for the 'fingernail.' If the dough splits, just pinch it back together – character, right?
-
Arrange them on parchment-lined baking sheets, giving each finger a little breathing room.
-
-
Baking and Adding the Gruesome Details:
-
Bake until the edges are just golden. You don't want them too dark, a pale, sickly look is perfect for these!
-
Let them cool completely on a wire rack. Patience is a virtue, especially when waiting to get your spooky on.
-
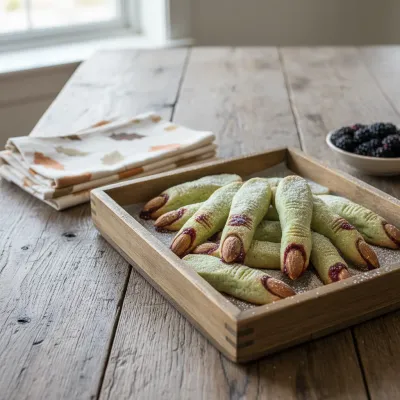
For the 'blood,' carefully lift an almond, dab some red food gel or jam underneath, and press it back down. This is the moment where they really transform from cookies to creepy treats!
-
Arrange them on a platter and watch as everyone reaches for one... if they dare! Wink.
-
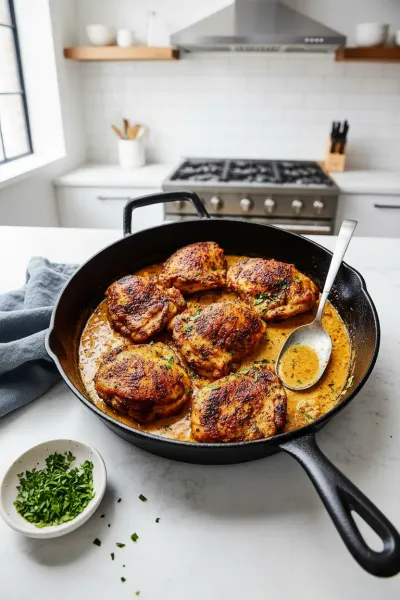
Easy Skillet Chicken Thighs Recipe
Garlic cream sauce skillet chicken thighs for a delicious and simple weeknight dinner.
Your Creepy Cookie Questions Answered!
→ Can I make these cookies ahead of time?
Absolutely! The dough can be made up to 3 days in advance and stored in the refrigerator, or even frozen for up to a month. Just let it thaw in the fridge before shaping. Once baked, the undecorated cookies stay fresh in an airtight container for about 3-4 days at room temperature.
→ What if I don't have blanched almonds?
No worries! You can use unblanched almonds, though the color might be a bit darker. Or, for a different look, try using a green pumpkin seed, a cashew, or even shaping a small piece of dough into a 'nail' and scoring it. Get creative!
→ My cookies spread too much! What happened?
This usually means your dough wasn't chilled enough, or your butter was too soft/warm. Make sure to chill the dough for the full 30 minutes (or longer!) and work quickly. Also, ensure your oven isn't too hot, as that can make them spread quickly too.
→ Can I use food coloring instead of food gel for the 'blood'?
Food coloring can work, but food gel typically has a more concentrated pigment and won't thin out the jam as much, giving a more vivid 'blood' effect. If using liquid food coloring, use just a tiny drop.
→ How can I make these gluten-free?
You can try substituting the all-purpose flour with a 1:1 gluten-free baking flour blend that contains xanthan gum. The texture might be slightly different, but it should still be delicious and spooky!

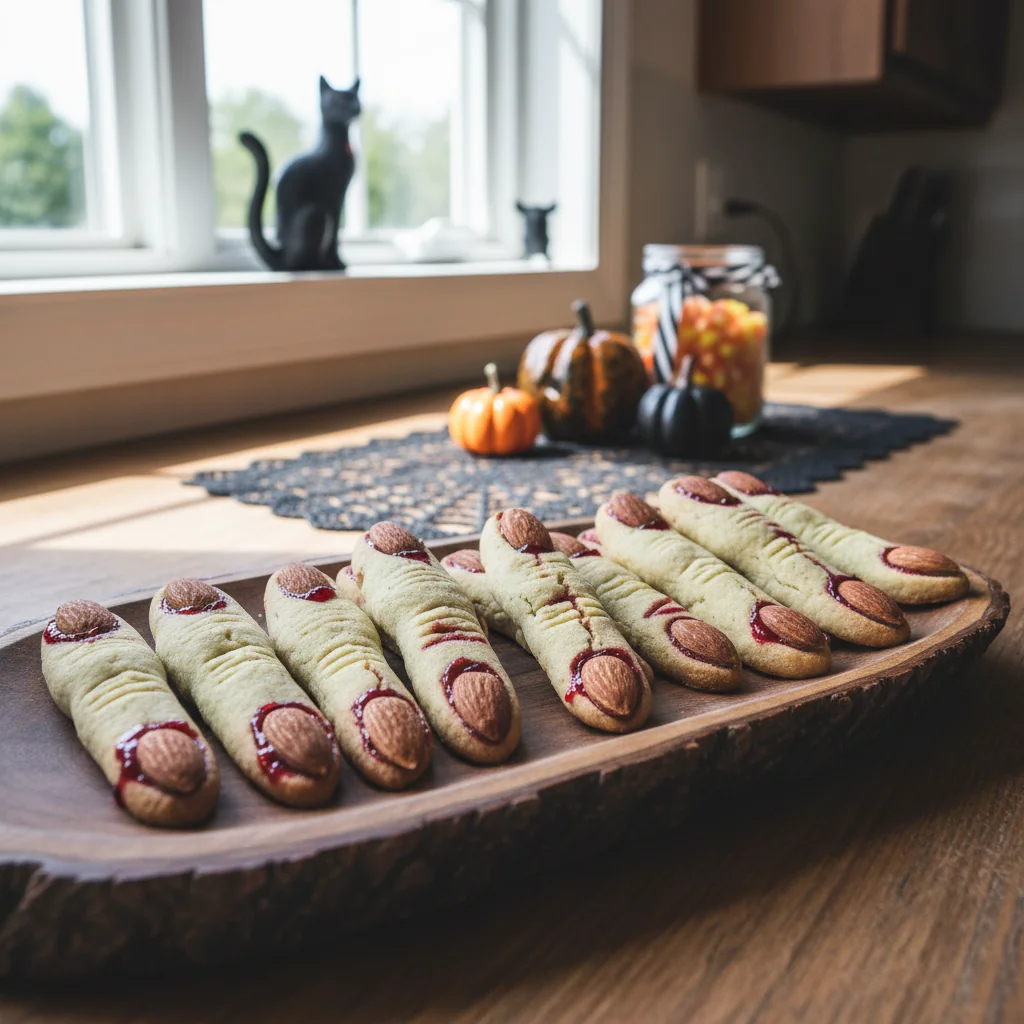
Spooky Halloween Finger Cookies: Witch Treats
Spooky Halloween finger cookies are the ultimate treat! Buttery cookies with almond nails are perfect for Halloween parties and dessert tables.
Timing
Prep Time
45 minutes
Cook Time
12-15 minutes
Total Time
1 hour 30 minutes
Recipe Details
Ingredients
For the Cookie Dough
-
01
1 cup (2 sticks) unsalted butter, softened
-
02
1 cup granulated sugar
-
03
1 large egg
-
04
1 teaspoon vanilla extract
-
05
1/2 teaspoon almond extract (optional, but lovely!)
-
06
2 3/4 cups all-purpose flour
-
07
1 teaspoon baking powder
-
08
1/2 teaspoon salt
For Assembly & Decoration
-
01
About 30 whole blanched almonds (for fingernails)
-
02
Red food gel or raspberry jam (for 'blood')
Instructions
In a large bowl, cream together the softened butter and granulated sugar until light and fluffy. This should take about 3-4 minutes with an electric mixer, scraping down the sides as you go. You want it nice and airy.
Beat in the egg, vanilla extract, and almond extract (if using) until well combined. Scrape down the bowl again, making sure everything is incorporated.
In a separate bowl, whisk together the flour, baking powder, and salt. Gradually add the dry ingredients to the wet ingredients, mixing on low speed until just combined and a soft dough forms. Don't overmix, or your cookies might get tough.
Divide the dough into two halves, flatten each into a disk, wrap tightly in plastic wrap, and refrigerate for at least 30 minutes. This chilling step is important, hon, it helps prevent spreading and makes the dough easier to work with.
Preheat your oven to 325°F (160°C). Line two baking sheets with parchment paper. This helps with easy cleanup, yay!
Take one disk of chilled dough from the fridge. Roll small pieces of dough into 'finger' shapes, about 3-4 inches long and slightly thinner than an actual finger. Use your knuckles to create two 'knuckles' in each finger, gently bending and pressing to give them that realistic, bony look. Imperfection is key here – no two witch fingers are exactly alike!
Press a blanched almond firmly onto one end of each finger to create the 'fingernail.' If the dough cracks, just gently pinch it back together. Place the shaped fingers about 1 inch apart on your prepared baking sheets.
Bake for 12-15 minutes, or until the edges are lightly golden. They might still feel a little soft when you take them out, but they'll firm up as they cool. Let them cool on the baking sheets for 5 minutes before transferring them to a wire rack to cool completely.
Once completely cool, if you want extra creepiness, you can carefully lift the almond 'fingernail' on some of the cookies, dab a little red food gel or jam underneath, and then press the almond back into place. This gives a wonderfully gruesome 'bloody' effect. Serve them up and enjoy the delighted shrieks!
Notes & Tips
-
1
You can substitute butter for a dairy-free alternative if needed, though the texture might vary slightly.
-
2
For a less intense almond flavor, you can omit the almond extract.
-
3
Get creative with the 'blood'! Chocolate syrup or green icing can also make for fun, grotesque effects.
-
4
If you want extra crispiness, you can roll the dough logs in granulated sugar before shaping and baking.
-
5
Have fun with it! The more imaginative you get, the better these spooky treats will be.
Easy Slow Cooker Pot Roast
The ultimate set-it-and-forget-it meal. Tender beef and hearty vegetables simmered to perfection in the slow cooker.
Tools You'll Need
-
Large mixing bowls
-
Electric mixer (stand or hand-held)
-
Measuring cups and spoons
-
Rubber spatula
-
Plastic wrap
-
Baking sheets
-
Parchment paper
-
Wire cooling rack
Must-Know Tips
-
Always chill your dough for at least 30 minutes; it prevents spreading and makes shaping easier.
-
Don't aim for perfection in shaping the fingers; the more gnarled and bumpy, the creepier and better!
-
Press the almond 'nail' firmly into the dough BEFORE baking so it adheres well.
-
Bake until just lightly golden at the edges to maintain a paler, 'flesh-like' color.
-
Let cookies cool completely before adding the 'blood' to prevent smearing.
Professional Secrets
-
For extra realism, brush a tiny bit of cocoa powder lightly into the 'knuckle' creases after baking to give them a bruised look.
-
Use different shades of red food gel or jam to create varied 'blood' effects, from fresh red to a darker, dried look.
-
If your almonds keep popping off, dab a tiny bit of corn syrup on the back before pressing them into the raw dough.
-
A tiny pinch of cinnamon or nutmeg in the dough can add a subtle, warming flavor that complements the vanilla and almond.
-
Present them in a 'graveyard' setting on a platter with crushed Oreo 'dirt' for an ultimate spooky display.

Recipe by
Mason Cole“Sweet cravings are my specialty! I turn sugar, chocolate, and imagination into pure dessert magic.” 🍰✨
Get Delicious Recipes Weekly
Join 25,000+ home cooks getting our best recipes straight to their inbox.
Free forever • No spam • Unsubscribe anytime