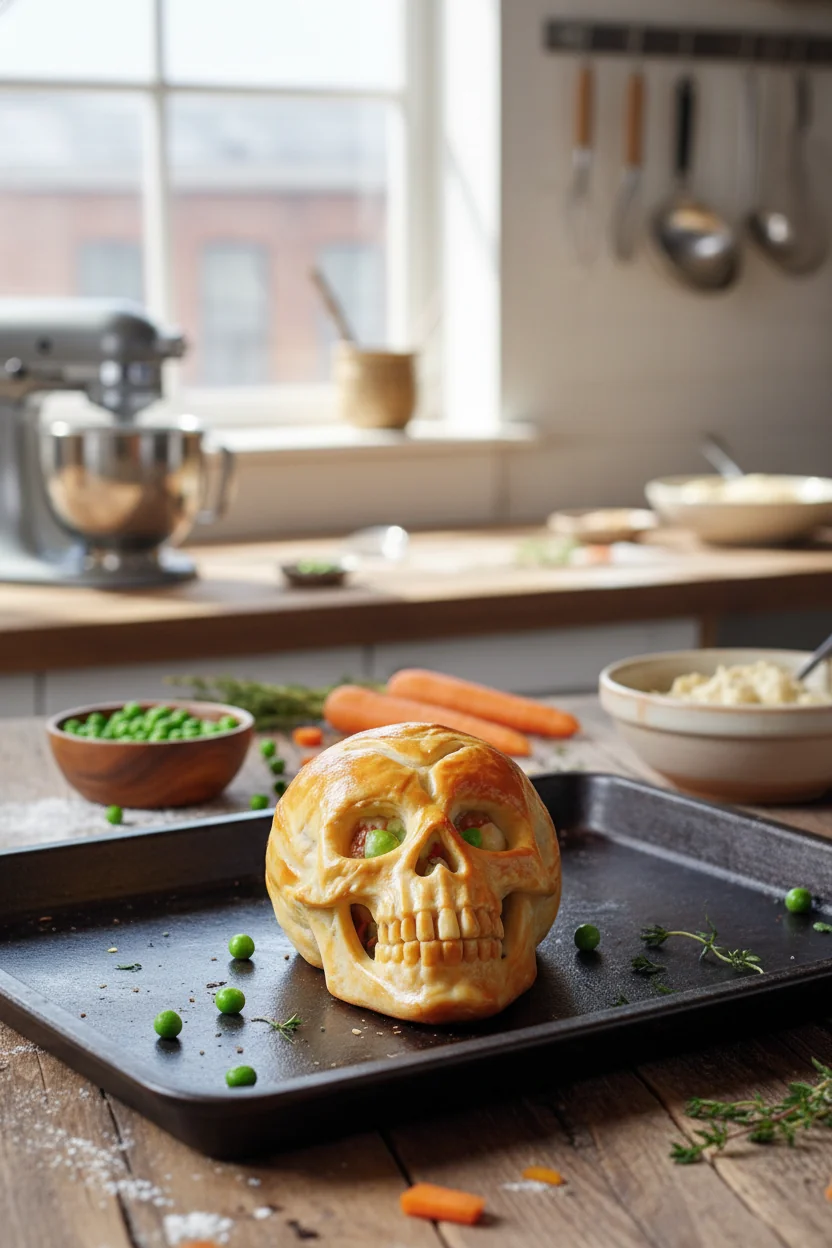
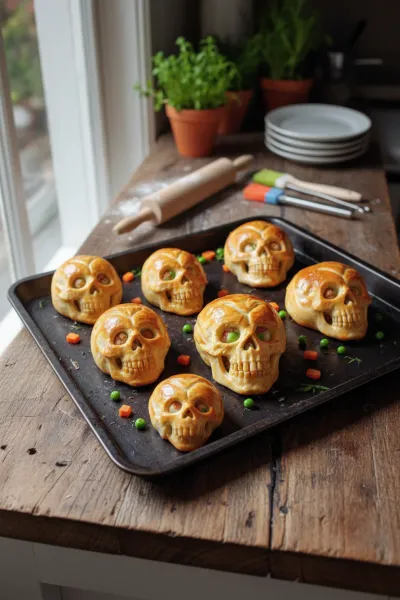
I remember thinking about Halloween dinners and wanting something that felt special, not just another quick meal before trick-or-treating. I love the idea of turning something classic into a little themed moment. I stumbled upon these skull molds one day, and honestly, a lightbulb just went off! Chicken pot pie is such a comforting, familiar hug in a bowl, and giving it that playful, spooky top? It just adds a touch of whimsy. The first time I made them, I worried the pastry wouldn't quite hold its shape, but you know what? Those little imperfections, those slightly wonky smiles on the 'skulls,' they made them even more charming. It's about the heart, not just the perfect presentation, right?
Why You'll Adore These Spooky Pot Pies
-
So much fun for Halloween, right? They're just adorable!
-
It's a complete, hearty meal in one charming, individual package.
-
The classic, comforting flavors of chicken pot pie everyone loves.
-
Perfect for using up leftover roasted chicken—such a clever trick!
-
That creamy filling and flaky, golden crust? Pure, cozy heaven on a cool autumn night.
My goodness, these were a hit at our Halloween party! Everyone commented on how adorable and spooky they were, and then just raved about the delicious filling. It felt so special, but was actually so easy to pull off. Definitely making these every year!
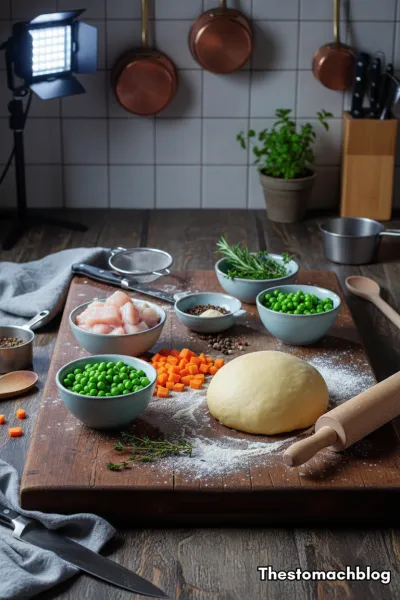
Essential Ingredient Guide
- Cooked Chicken: A rotisserie chicken is your best friend here, honestly. Quick, flavorful, and easy to shred. But leftover roasted or poached chicken works perfectly too! Just make sure it's tender and shredded into bite-sized pieces.
- Fresh Vegetables: Onions, carrots, and celery are the classic 'mirepoix' base for a reason—they build so much flavor. Using fresh really makes a difference, but you can certainly use a frozen mix in a pinch. Just thaw it first, hon.
- Refrigerated Pie Crusts: To keep things simple and fun, store-bought pie crusts are totally okay! They save so much time and still bake up beautifully flaky. You'll want about two boxes for this recipe, so you have enough for the top and bottom.
- Skull Molds or Cutters: This is where the magic happens! You can find these online or at most craft stores around Halloween. If you don't have them, no worries, just make regular mini pot pies or one big one and cut spooky shapes into the top crust before baking. Get creative!
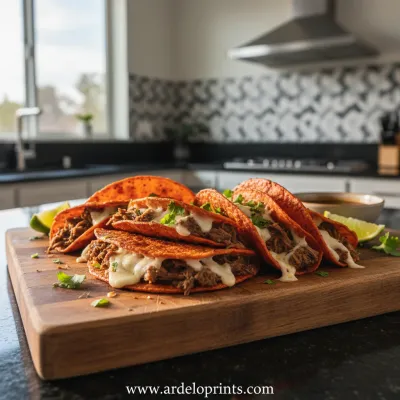
Birria Tacos: Easy & Flavorful Recipe
Tender, slow-braised beef tacos pan-fried to perfection with a rich, savory consomé for dipping.
Complete Cooking Process
-
Gather & Prep Your Goodies:
-
Preheat your oven and get your ramekins or skull molds ready.
-
Chop your onion, carrots, and celery into small, even pieces.
-
Shred your cooked chicken—this is where leftover chicken shines!
-
Have your pie crusts chilling in the fridge until you're ready to use them.
-
-
Craft That Creamy Filling:
-
Melt the butter in a big pot and sauté those lovely veggies until they're tender and fragrant.
-
Toss in the peas and then sprinkle in the flour, stirring it into a thick roux. This is the secret to a luscious sauce!
-
Gradually whisk in the chicken broth and milk. Watch it thicken into a beautiful, creamy base. So satisfying!
-
Stir in your shredded chicken, thyme, salt, and pepper. Give it a taste and adjust—it should be perfectly seasoned and comforting.
-
-
Assemble the Spooky Pies:
-
Unroll your pie crusts. Gently press one crust into each ramekin or skull mold to form the bottom layer. Trim the edges, of course.
-
Spoon that glorious chicken filling into each crust-lined dish. Fill 'em up, but leave a little room for the top crust.
-
Now for the fun part: use your skull cutters to create the top crusts from the remaining pie dough. If you don't have cutters, just use a round cookie cutter and make little slashes for eyes and a mouth.
-
Carefully place your skull crusts over the filling. Press the edges to seal them. Brush with that lovely egg wash—it makes all the difference for a golden glow.
-
-
Bake 'Em Up & Serve:
-
Pop your filled dishes onto a baking sheet (just in case of any happy overflows!) and slide them into the preheated oven.
-
Bake until those crusts are a beautiful golden brown and the filling is bubbling invitingly, about 35-40 minutes. Keep an eye on them!
-
Let them cool for about 10 minutes before diving in. That creamy filling will be piping hot, so patience is a virtue here, darling. Serve and watch the happy, spooky faces!
-
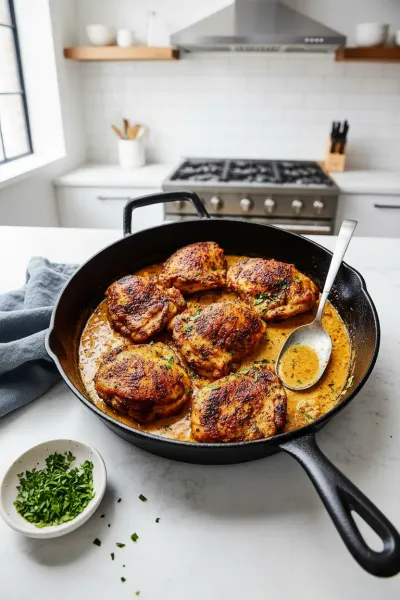
Easy Skillet Chicken Thighs Recipe
Garlic cream sauce skillet chicken thighs for a delicious and simple weeknight dinner.
Your Spooky Pot Pie Questions Answered
→ Can I use store-bought rotisserie chicken for this recipe?
Oh, absolutely! That's my go-to, honestly. A rotisserie chicken saves so much time and adds a lovely depth of flavor without extra fuss. Just shred it up and you're good to go!
→ Where can I find skull molds or cutters?
You can usually find silicone skull molds or metal cookie cutters at craft stores, party supply stores, or online retailers, especially around Halloween season. If you can't find them, don't fret! Just use a round cookie cutter for the top crust and cut little eye and nose holes with a small knife or toothpick—it'll still be wonderfully spooky!
→ Can I make the filling ahead of time?
Yes, you totally can! The chicken pot pie filling can be made up to 2 days in advance and stored in an airtight container in the refrigerator. Just be sure to warm it slightly before assembling the pies, as it will thicken as it cools. That makes Halloween dinner even easier!
→ What if I don't have individual ramekins or skull molds?
No problem at all! You can easily make this a large, traditional pot pie in a 9x13 inch baking dish. Just use one whole pie crust for the bottom and one for the top, and cut some fun spooky shapes into the top crust before baking. It'll still be delicious and festive!
→ Can I add other vegetables to the filling?
Definitely! This recipe is so forgiving. Feel free to add diced potatoes, green beans, corn, or even a handful of spinach. Just remember to cook any tougher vegetables (like potatoes) until tender before adding the flour.
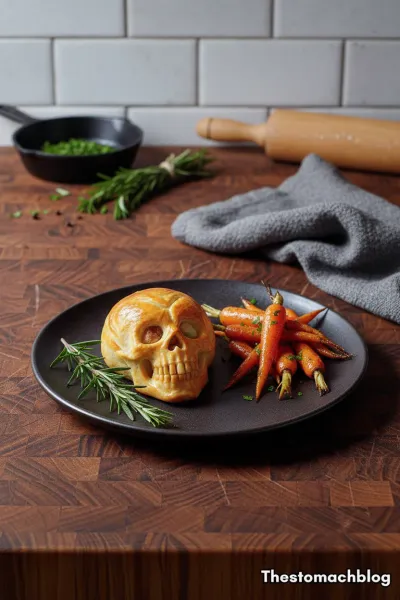

Spooky Skull Chicken Pot Pies for Halloween Dinner
Bring spooky fun to Halloween with these comforting skull chicken pot pies. A festive and filling dish, perfect for a themed dinner party.
Timing
Prep Time
30 minutes
Cook Time
35-40 minutes
Total Time
1 hour 5 minutes - 1 hour 10 minutes
Recipe Details
Ingredients
For the Filling
-
01
2 tablespoons unsalted butter
-
02
1 cup chopped yellow onion (about 1 medium)
-
03
1 cup chopped carrots (about 2 medium)
-
04
1 cup chopped celery (about 2 stalks)
-
05
1/2 cup frozen green peas
-
06
1/2 cup all-purpose flour
-
07
2 cups chicken broth
-
08
1 cup whole milk or heavy cream
-
09
2 cups cooked, shredded chicken (rotisserie chicken works great!)
-
10
1 teaspoon dried thyme
-
11
1/2 teaspoon salt, or to taste
-
12
1/4 teaspoon black pepper, or to taste
For the Crust
-
01
2 boxes (14.1 ounces each) refrigerated pie crusts (4 crusts total)
-
02
1 large egg, beaten (for egg wash)
Instructions
Preheat your oven to 400°F (200°C). If using individual ramekins or small pie dishes, have them ready. If you have skull-shaped silicone molds, fantastic! Lightly grease them if not non-stick.
Melt butter in a large saucepan or Dutch oven over medium heat. Add chopped onion, carrots, and celery. Cook, stirring occasionally, until vegetables are tender, about 8-10 minutes. Stir in the frozen green peas for the last minute.
Sprinkle the flour over the cooked vegetables and stir constantly for 1-2 minutes to create a roux. This helps thicken our lovely sauce, hon.
Gradually whisk in the chicken broth and then the milk (or cream) until the mixture is smooth and begins to thicken, about 3-5 minutes. It should be a creamy, bubbling dream.
Remove from heat and stir in the shredded chicken, dried thyme, salt, and pepper. Taste and adjust seasonings. This is your comforting, hearty filling.
Unroll one pie crust. Cut out shapes using skull cookie cutters or a knife for the top crusts. If using individual ramekins, cut rounds slightly larger than the ramekin openings. For the bottom crusts, gently press pie crusts into the bottom of your ramekins or skull molds. If using skull molds, be sure the crust conforms to the shape. Trim any excess.
Spoon the chicken filling evenly into your prepared ramekins or skull molds, almost to the top. Don't overfill, or it might bubble over, oops!
Place your skull-shaped crusts or pie rounds over the filling. Press the edges to seal them, crimping if using ramekins. For skull molds, just make sure the top crust fits snugly over the filling. Cut small slits in the top crusts (unless they already have eye/nose holes from the cutter) to allow steam to escape.
Brush the tops of the pies with the beaten egg wash. This gives them that beautiful, golden-brown finish. Place the ramekins/molds on a baking sheet to catch any drips.
Bake for 35-40 minutes, or until the crust is golden brown and the filling is bubbly. If the crust starts browning too quickly, you can loosely tent with foil. Let them cool for about 10 minutes before serving. Enjoy your spooky, cozy dinner!
Notes & Tips
-
1
If you want to make a vegetarian version, swap the chicken for cooked lentils or mushrooms and use vegetable broth. It’s still so comforting!
-
2
Add a dash of hot sauce to the filling if you like a little warmth; it’s a fun surprise!
-
3
You can mix up the herbs too—a pinch of fresh rosemary or sage would be lovely for autumn.
-
4
Letting the pies rest for 10 minutes after baking is key. It helps the filling set and prevents burnt tongues, hon.
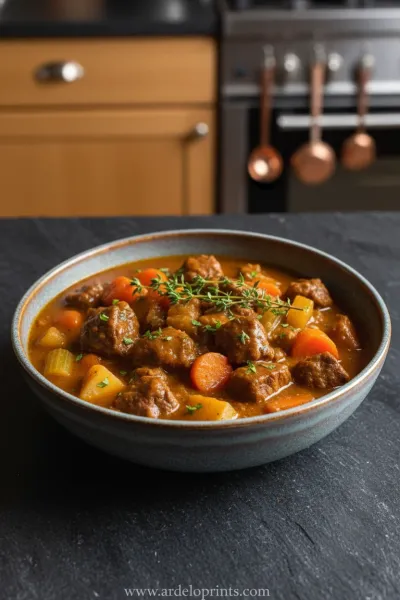
Easy Slow Cooker Pot Roast
The ultimate set-it-and-forget-it meal. Tender beef and hearty vegetables simmered to perfection in the slow cooker.
Tools You'll Need
-
Large saucepan or Dutch oven
-
Measuring cups and spoons
-
Whisk
-
Cutting board and sharp knife
-
Individual ramekins (6-8 ounce) or skull molds
-
Baking sheet
-
Pastry brush
-
Skull cookie cutters (optional, but so fun!)
Must-Know Tips
-
Always pat your shredded chicken dry before adding it to the filling if it seems a bit wet—it helps prevent a watery sauce.
-
Don't overfill your ramekins or skull molds; leave a little space for the top crust and for the filling to bubble up gracefully.
-
For the flakiest crust, handle the pie dough as little as possible. Keep it cool!
-
An egg wash is your best friend for a beautiful, golden-brown, shiny crust. Don't skip it!
-
If your crust starts browning too quickly, loosely tent the pies with aluminum foil. We want golden, not burnt, right?
Professional Secrets
-
A tiny splash of dry sherry or white wine (about 1/4 cup) added after sautéing the vegetables can deepen the flavor profile beautifully.
-
For an extra rich crust, brush the inside of the bottom pie crusts with a very thin layer of egg white before adding the filling. It creates a subtle barrier that helps keep the bottom from getting soggy.
-
Infuse your milk or cream with a bay leaf and a few black peppercorns while warming it for the sauce, then strain it out. It adds a whisper of complexity.
-
A pinch of freshly grated nutmeg in the filling really brings out the savory flavors of the chicken and vegetables. Trust me on this one.
-
For an even richer color on the crusts, add a tiny dash of smoked paprika to your egg wash. It’s a subtle touch, but wow, it looks great!

Recipe by
Sofia Marin“Dinner is where stories are shared and flavors shine. I craft comforting recipes perfect for family nights.” 🍷🍲
Get Delicious Recipes Weekly
Join 25,000+ home cooks getting our best recipes straight to their inbox.
Free forever • No spam • Unsubscribe anytime