
The history of sweet cream ice cream traces back to 18th‑century Europe, where dairy‑rich desserts were a sign of hospitality. Over time, the recipe traveled across oceans, becoming a staple in American home kitchens. This humble yet luxurious treat embodies the timeless appeal of fresh cream and sugar, celebrated in households for generations.
Why You'll Love It
-
- No‑churn method, so no fancy equipment needed
-
- Only five ingredients, all pantry‑friendly
-
- Creamy texture that rivals store‑bought brands
-
- Versatile base for endless flavor twists
"The texture is just perfect—smooth, buttery, and totally addictive!"
Essential Ingredient Guide
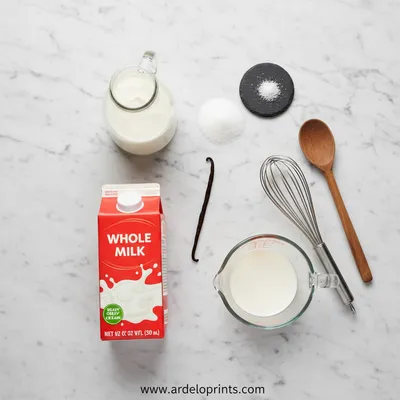
- Heavy Cream: Choose a high‑fat cream for the richest mouthfeel; it creates that luxurious silkiness.
- Whole Milk: Balances the richness of the cream while keeping the mixture smooth.
- Granulated Sugar: Dissolves fully for a gentle sweetness; you can adjust to taste.
- Vanilla Extract: Adds depth without overpowering the sweet cream essence.
- Egg Yolks (optional): If used, they lend extra custardy richness, but this recipe stays simple without them.
- Pinch of Salt: Enhances flavor and balances the sweetness.
 Desserts
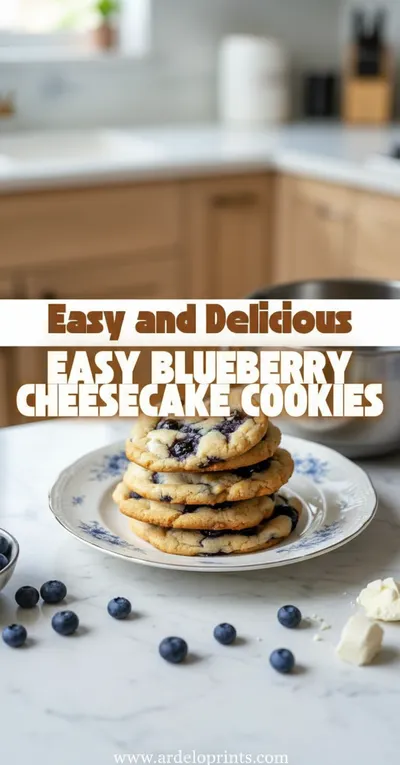
Blueberry Cheesecake Cookies
Buttery cookies with a tender blueberry cheesecake centre, ideal for a cozy treat.
Complete Cooking Process
-
Ingredient Readiness:
Measure and combine the cream, milk, sugar, and a pinch of salt in a saucepan. Warm gently to coax the sugar into dissolution.
-
Flavor Development:
Add vanilla extract just before the mixture cools; this preserves the aromatic oils.
-
Texture Control:
Chill the base thoroughly in the refrigerator—this step prevents ice crystals and ensures a smooth freeze.
-
Finishing Touches:
Pour the chilled mixture into an ice‑cream maker or a shallow pan for a no‑churn method, letting it set until firm.
-
Serving Timing:
Allow the ice cream to sit at room temperature for a few minutes before scooping, letting it soften just enough for perfect scoops.
-
Use a shallow metal pan for quicker, even freezing
-
Stir the mixture every 30 minutes during the no‑churn freeze to break up crystals
-
Cover the surface with parchment paper to prevent ice‑crystal formation
-
Store in an airtight container to keep flavors fresh
Pro Tips
When I first tried the no‑churn method, I forgot to cover the surface, and tiny ice crystals sneaked in—oops! Adding parchment paper makes a world of difference. Well, let the ice cream rest a touch before serving; you’ll notice it’s smoother and more inviting.
The essence of the dish:
It’s the simple harmony of cream and sugar, brightened by vanilla, that makes this dessert unforgettable.
A fun fact or historical angle:
Early American cookbooks listed "sweet cream ice" as a treat for special occasions, often served in crystal bowls.
Flavor or sensory focus:
Expect a buttery mouthfeel that melts slowly, releasing a gentle vanilla perfume that lingers.
You Must Know
-
Keep the mix cold before freezing
-
Stir regularly if you’re not using an ice‑cream maker
-
Taste and adjust sweetness while the base is warm
Frequently Asked Questions
→ Can I make this without an ice‑cream maker?
Absolutely. Use a shallow metal pan, freeze, and stir every 30 minutes to break up crystals.
→ How long does it keep in the freezer?
Store it in an airtight container for up to two weeks; the texture stays smooth if you protect it from freezer burn.
→ Can I add mix‑ins like chocolate chips?
Yes, fold them in during the last few minutes of churning or after the final freeze.
→ Is it possible to make a dairy‑free version?
Swap the cream and milk for coconut cream and almond milk; the result is just as luscious.
→ Do I need to pasteurize the eggs if I use yolks?
If you’re adding yolks, gently heat the custard to 160 °F (71 °C) to ensure safety.
→ What’s the best way to soften scoops?
Let the ice cream rest at room temperature for 5‑10 minutes; it will become pliable without melting.
Nutrition Facts
per serving
280
Calories
3g
Protein
24g
Carbs
20g
Fat
Taste Profile
Richly sweet with buttery undertones
Ingredient Substitutions
Don't have an ingredient? Try these alternatives
Provides a dairy‑free richness; may add a subtle coconut flavor.
Adjust quantity—use about 2/3 the amount for similar sweetness.
Recipe Variations
Try these delicious twists on the original
Spicy Version
Add a pinch of cayenne pepper and a swirl of honey for a gentle heat.
Mediterranean Style
Fold in toasted pistachios and a hint of orange zest for a bright twist.
Common Mistakes to Avoid
Learn from others' mistakes for perfect results
- Overheating the base, which can affect texture.
- Skipping the chilling step; warm mixture leads to icy results.
- Not covering the surface of the frozen ice cream, allowing ice crystals to form.
Meal Prep & Storage
Make Ahead Tips
The base can be prepared up to 24 hours in advance; keep it covered and refrigerated.
Leftover Ideas
Scoops thaw quickly; enjoy within a day for best texture, or re‑churn if needed.
Perfect Pairings
Serve this with...
Cooking Timeline
Combine cream, milk, sugar, and salt in a saucepan; stir gently over low heat.
Heat until sugar dissolves; remove from heat and add vanilla.
Cool mixture to room temperature, then refrigerate for at least 2 hours.
Churn in ice‑cream maker or freeze in a shallow pan, stirring every 30 minutes.
Transfer to a container and freeze until firm.
 Dinner
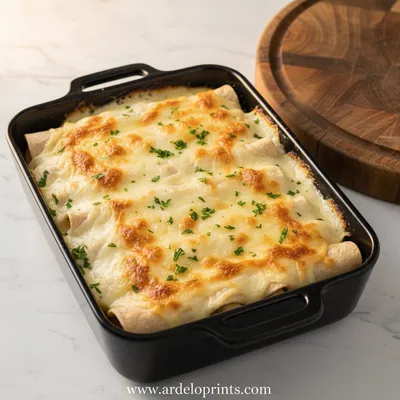
Easy White Chicken Enchiladas with Creamy Sauce
Quick white chicken enchiladas ready in 30 minutes with a luscious creamy sauce.
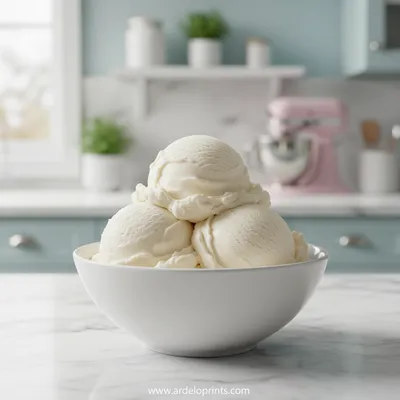
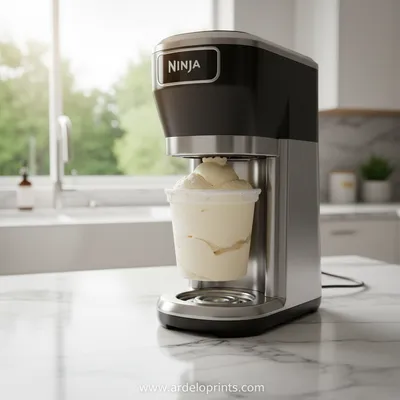
Sweet Cream Ice Cream
Indulge in silky Sweet Cream Ice Cream—simple, rich, and perfect for any season. This classic treat can be made at home with just a few pantry staples, delivering that comforting, nostalgic flavor you love.
Timing
Prep Time
15 Minutes
Cook Time
10 Minutes
Total Time
4 Hours
Recipe Details
Ingredients
Base
-
01
2 cups heavy cream
-
02
1 cup whole milk
-
03
3/4 cup granulated sugar
-
04
1 tsp vanilla extract
-
05
Pinch of salt
Instructions
In a medium saucepan, combine the cream, milk, sugar, and salt. Warm over low heat, stirring gently until the sugar dissolves.
Remove from heat, stir in the vanilla extract, and let the mixture cool to room temperature.
Cover the bowl with plastic wrap and refrigerate for at least 2 hours, or overnight for best flavor.
If using an ice‑cream maker, pour the chilled base into the machine and churn according to the manufacturer’s instructions; otherwise, transfer to a shallow pan, freeze, and stir every 30 minutes for 3‑4 hours.
Once firm but scoopable, transfer to an airtight container and freeze another hour for a firmer texture.
Notes & Tips
-
1
For extra vanilla depth, split a bean and scrape the seeds into the base.
-
2
Make sure the mixture is fully chilled before churning for optimal texture.
-
3
If you prefer a richer taste, increase cream to 2½ cups and reduce milk to ¾ cup.
 International_Cuisine
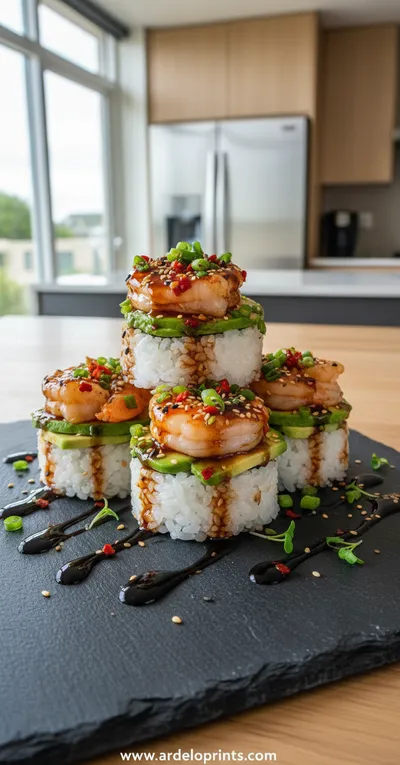
Spicy Shrimp Sushi Stacks
A fresh, vibrant bite combining seasoned shrimp, rice, and crisp toppings.
Tools You'll Need
-
Saucepan
-
Whisk
-
Measuring cups and spoons
-
Ice‑cream maker (optional)
-
Shallow metal pan for no‑churn method
-
Spatula
Must-Know Tips
-
Keep the mixture cold before freezing; it speeds up churn and reduces ice crystals.
-
Stir regularly if you’re not using a machine; that prevents large crystals.
-
Taste the base while warm; adjust sugar or vanilla before chilling.
Professional Secrets
-
Use a heavy‑bottomed pan for even heat distribution.
-
Add a pinch of corn syrup to further inhibit crystallization.
-
Freeze the churned ice cream in a metal bowl for quicker firming.

Recipe by
Mason Cole“Sweet cravings are my specialty! I turn sugar, chocolate, and imagination into pure dessert magic.” 🍰✨
Get Delicious Recipes Weekly
Join 25,000+ home cooks getting our best recipes straight to their inbox.
Free forever • No spam • Unsubscribe anytime