
The concept of the slider is deeply rooted in American diner culture, evolving from the miniature burgers served at White Castle in the 1920s. Their small size made them perfect for quick, affordable meals. This clever idea of a handheld, crowd-friendly snack was later adapted for all sorts of fillings, creating the versatile party appetizer we know and love today, perfect for sharing during gatherings and celebrations.
Why You'll Love It
-
Incredibly easy to assemble ahead of time.
-
Warm, cheesy, and satisfying for any crowd.
-
Uses simple ingredients you likely already have.
-
The aroma while they bake is absolutely heavenly.
"'I make these for every potluck now—they disappear in minutes!'"
Essential Ingredient Guide
- Hawaiian Rolls: Their slight sweetness is the perfect contrast to the savory filling. Look for a soft, fresh pack; if they're a bit stale, they'll tear easily.
- Turkey Ham: Thinly sliced works best. I like to give it a quick pat with a paper towel so the sliders aren't too wet.
- Swiss Cheese: It melts so beautifully and has a mild, nutty flavor that doesn't overpower the ham. You can use provolone if you prefer.
- Butter: Unsalted is my go-to, that way you control the saltiness. Mixing it with a few extras creates that magical, glazy topping.
- Dijon Mustard: Just a touch, whisked into the butter. It adds a subtle tang that cuts through the richness.
- Poppy Seeds: These are optional, but they add a lovely little crunch and a speckled look that I just adore.
 Desserts
Blueberry Cheesecake Cookies
Buttery cookies with a tender blueberry cheesecake centre, ideal for a cozy treat.

Complete Cooking Process
-
Ingredient Readiness:
Let the butter soften on the counter so it's easy to mix. Having everything sliced and measured before you start makes the assembly go so smoothly, like a little production line.
-
Flavor Development:
The real magic happens when the buttery sauce seeps into the rolls while they bake. That's when the flavors all come together and the kitchen starts to smell incredible.
-
Texture Control:
You want the tops to be golden and a bit crisp, while the inside stays soft and steamy. Covering them for the first part of baking helps achieve that perfect contrast. It’s a bit like the method used for a comforting beef Manhattan, locking in moisture before the final browning.
-
Finishing Touches:
A final brush of the butter mixture right when they come out of the oven gives them an extra shine and a boost of flavor.
-
Serving Timing:
Serve them warm, straight from the oven. They're best when the cheese is still gooey and stretchy.
-
Slice the whole pack of rolls at once, horizontally, to keep them connected.
-
Don't skip the step of covering them with foil; it prevents the tops from burning.
-
Let them rest for 5 minutes after baking so the cheese sets slightly.
-
Use a serrated knife to cut them into individual sliders cleanly.
Pro Tips
Honestly, the first time I made these, I was worried about slicing the rolls. I thought for sure I’d tear them. But using a long, sharp serrated knife and a gentle sawing motion does the trick perfectly. It’s one of those little techniques that feels so satisfying once you get it right.
And letting them rest? Yeah, that’s a lesson I learned the hard way. I was too eager once and burned the roof of my mouth on molten cheese. A few minutes of patience makes all the difference, and they'll hold their shape much better, much like the tender beef in a good beef stew needs time to settle.

The essence of the dish:
It's all about that perfect combination of warm, soft bread, salty ham, and melted cheese. It’s simple, sure, but sometimes simple is exactly what you need.
A fun fact or historical angle:
The term 'slider' originally referred to the way the small burgers would slide down your throat so easily. This easy-eating quality totally applies to these ham and cheese versions too.
Flavor or sensory focus:
You'll notice the gentle sweetness of the bread first, then the savory saltiness of the ham, all wrapped up in the creamy, melted cheese. It's a real comfort combination.
You Must Know
-
The butter sauce is key—it's what makes them irresistible.
-
Assemble them up to a day ahead and refrigerate until ready to bake.
-
They reheat surprisingly well, making them great for leftovers.
Frequently Asked Questions
→ Can I use different kind of rolls?
Absolutely. Hawaiian rolls are my favorite for the sweetness, but you can use any soft dinner rolls. Just make sure they're connected so you can slice them all at once.
→ What can I use instead of turkey ham?
Thinly sliced roast beef or chicken would work wonderfully. You could even use a hearty BBQ beef brisket if you have some leftover.
→ Can I freeze these sliders?
You can freeze them before baking. Assemble everything, wrap the tray tightly, and freeze. Bake from frozen, adding extra time until hot and bubbly.
→ How do I keep the bottoms from getting soggy?
Make sure your baking sheet is well-coated with the butter mixture. That buttery layer helps create a barrier and a deliciously crisp bottom.
→ What's a good dip for these?
They're great on their own, but a little ranch dressing or a spicy mustard for dipping is always a hit.
→ Can I add other ingredients?
Of course! Sautéed onions, a layer of spinach, or even a slice of tomato would be lovely additions. Just don't overstuff them.
Nutrition Facts
per serving
280
Calories
14g
Protein
22g
Carbs
15g
Fat
Taste Profile
A comforting balance of savory, salty, and a hint of sweetness from the rolls.
Ingredient Substitutions
Don't have an ingredient? Try these alternatives
Adjust the cooking time slightly if using pre-cooked roast beef from a recipe like a garlic butter steak dish.
Any good melting cheese will work beautifully.
The flavor will be less sweet, but still delicious.
Recipe Variations
Try these delicious twists on the original
Pizza Sliders
Use pepperoni, mozzarella cheese, and a brush of butter mixed with garlic powder and Italian seasoning.
Thanksgiving Sliders
Use thinly sliced roast turkey, cranberry sauce, and provolone cheese for a holiday twist.
Common Mistakes to Avoid
Learn from others' mistakes for perfect results
- Separating the rolls before assembling: This makes a huge mess and is much harder to manage.
- Using cold butter for the glaze: It won't brush on evenly and will clump.
- Skipping the foil cover: The tops will brown too quickly and the rolls may dry out.
- Cutting immediately after baking: The cheese will just squish out.
Meal Prep & Storage
Make Ahead Tips
You can assemble the sliders completely, cover the baking dish tightly with plastic wrap, and refrigerate for up to 24 hours before baking. Add a few extra minutes to the baking time if you're starting from cold.
Leftover Ideas
Reheat leftovers in a 300°F oven for 10-15 minutes until warmed through. The microwave works too, but the oven will keep the texture much better.
Perfect Pairings
Serve this with...
Cooking Timeline
Preheat oven. Slice the rolls and layer with ham and cheese.
Whisk together the butter sauce and brush it over the rolls.
Bake covered for 15 minutes.
Bake uncovered for 5-7 minutes until golden.
Brush with remaining butter, rest for 5 minutes, then slice and serve.
 Dinner
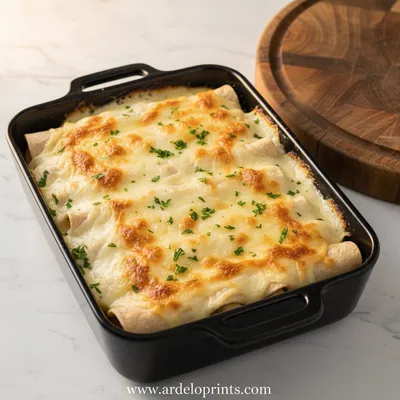
Easy White Chicken Enchiladas with Creamy Sauce
Quick white chicken enchiladas ready in 30 minutes with a luscious creamy sauce.
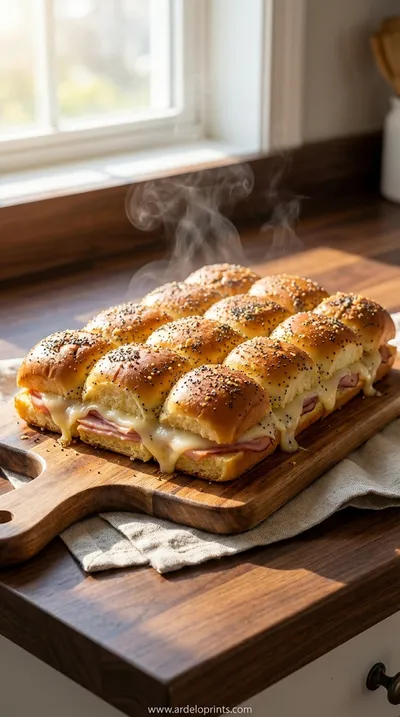
Delicious Ham and Cheese Sliders Recipe
Warm, savory ham and cheese sliders that come together so easily. Perfect for when you need to feed a crowd without a lot of fuss. The smell of them baking fills the whole house with such a cozy feeling.
Timing
Prep Time
15 Minutes
Cook Time
20 Minutes
Total Time
35 Minutes
Recipe Details
Ingredients
For the Sliders
-
01
1 package (12 count) Hawaiian sweet rolls
-
02
½ pound thinly sliced turkey ham
-
03
6 slices Swiss cheese, cut in half
-
04
1 tablespoon Dijon mustard
-
05
1 teaspoon Worcestershire sauce
-
06
1 teaspoon poppy seeds (optional)
For the Butter Topping
-
01
½ cup (1 stick) unsalted butter, melted
-
02
1 tablespoon Dijon mustard
-
03
1 teaspoon Worcestershire sauce
-
04
1 teaspoon onion powder
-
05
½ teaspoon poppy seeds
Instructions
Preheat your oven to 350°F (175°C). Without separating the rolls, slice the entire package in half horizontally, so you have one large top and one large bottom. Place the bottom half in a baking dish or on a parchment-lined baking sheet.
Layer the turkey ham evenly over the bottom half of the rolls, followed by the slices of Swiss cheese. Carefully place the top half of the rolls back on.
In a small bowl, whisk together the melted butter, Dijon mustard, Worcestershire sauce, onion powder, and poppy seeds until well combined.
Using a pastry brush, generously brush about two-thirds of the butter mixture over the tops of the rolls, making sure to get it into all the crevices.
Cover the baking dish tightly with aluminum foil and bake for 15 minutes, until the cheese is melted and the rolls are heated through.
Remove the foil and bake for another 5-7 minutes, or until the tops are golden brown. Brush with the remaining butter mixture as soon as they come out of the oven.
Let the sliders rest for about 5 minutes before using a sharp knife to cut them into individual sliders. Serve warm.
Notes & Tips
-
1
You can assemble these the night before. Cover and refrigerate, then bake as directed, adding a few extra minutes if baking from cold.
-
2
For a different twist, try using roast beef and cheddar cheese.
-
3
Leftovers can be stored in an airtight container in the fridge for up to 3 days and reheated in the oven or microwave.
 International_Cuisine
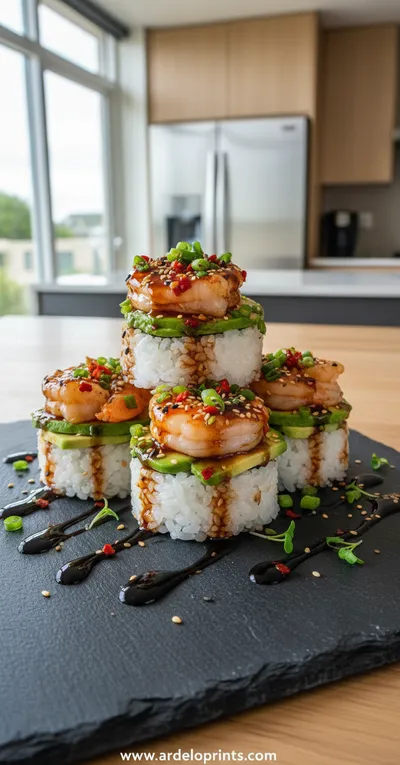
Spicy Shrimp Sushi Stacks
A fresh, vibrant bite combining seasoned shrimp, rice, and crisp toppings.
Tools You'll Need
-
9x13 inch baking dish or baking sheet
-
Sharp serrated knife
-
Small mixing bowl
-
Whisk
-
Pastry brush
-
Aluminum foil
Must-Know Tips
-
Slice rolls in one piece: Keeps everything neat and tidy.
-
Brush butter generously: This is what gives them flavor and a beautiful color.
-
Let them rest before cutting: Prevents the cheese from oozing out everywhere.
Professional Secrets
-
Room temperature butter: Melts evenly for a consistent glaze.
-
Cover while baking: Steams the rolls, making them soft and preventing them from drying out.
-
Final butter brush: Adds a glossy finish and extra flavor right at the end.

Recipe by
Oliver Brooks“Every great meal begins with the perfect bite. My passion is crafting irresistible starters that wow.” 🧀🍢
Get Delicious Recipes Weekly
Join 25,000+ home cooks getting our best recipes straight to their inbox.
Free forever • No spam • Unsubscribe anytime