
I remember the first time I tried to make edible blood. It was for my son’s elementary school Halloween party, and I had this grand vision for a zombie brain cake. I mean, you can’t have a zombie brain without some ooey-gooey, realistic-looking blood, right? My first attempt was… well, let's just say it looked more like pink jelly. Oops! After a few tries, mixing colors and playing with textures, I finally landed on this recipe. It's so easy, and the result is just perfectly eerie. It brings me back to those excited little faces, gasping at the 'bloody' cake. Pure joy, I tell you.
Why You'll Love This Edible Blood Recipe
-
Achieves a super realistic, dark red 'blood' color that will impress (and maybe scare!) your guests.
-
Incredibly easy to make with just a few pantry staples, no fancy equipment needed.
-
Perfectly safe and delicious for all your Halloween dessert needs.
-
Customizable consistency – make it thinner for drips or slightly thicker for more viscous effects.
-
Adds an instant spooky factor to any cake, cupcake, or cookie.
-
Fun to make with kids (under supervision, of course, with all that food coloring!).
This edible blood recipe saved my Halloween cake! It was so easy to make and looked incredibly realistic. My party guests were absolutely amazed, and it tasted great too. Definitely my go-to for all future spooky treats!
Essential Ingredient Guide
- Light Corn Syrup: This is your base, giving the blood its viscous, syrupy texture. Don't substitute with regular sugar syrup, as it won't have the same consistency or sheen. Light corn syrup also helps prevent crystallization.
- Unsweetened Cocoa Powder: This is the secret ingredient for depth! It dulls the brightness of the red food coloring just enough to make it look truly realistic, adding a brownish undertone that mimics actual blood. It also adds a subtle, pleasant chocolatey flavor.
- Red Liquid Food Coloring: Use a good quality liquid food coloring for vibrant color. You'll need a fair amount, so don't be shy! If you have gel food coloring, you might need less, but liquid blends very easily here.
- Blue Liquid Food Coloring: This is crucial for toning down the red and preventing it from looking too pink or orange. A few drops of blue create a darker, richer, more realistic crimson hue. Seriously, a little blue makes all the difference!
Birria Tacos: Easy & Flavorful Recipe
Tender, slow-braised beef tacos pan-fried to perfection with a rich, savory consomé for dipping.

Complete Cooking Process
-
Gather Your Supplies:
-
Grab a medium mixing bowl and a whisk.
-
Measure out your light corn syrup and cocoa powder.
-
Have your red and blue food colorings ready. And vanilla, if you're using it.
-
-
Mix the Base:
-
Pour the corn syrup into the bowl.
-
Add the cocoa powder. Whisk, whisk, whisk! Make sure there are no little bumps of cocoa powder left. It should be smooth like velvet.
-
-
Color It Up (The Fun Part!):
-
Start with the red food coloring. Add about 15 drops and stir it in completely. Notice how bright it is? Almost candy-apple red, huh?
-
Now, for the magic! Add 3 drops of blue food coloring. Stir it in slowly. Watch as the color deepens before your eyes. It’s like a little science experiment!
-
Keep adding red or blue, one drop at a time, until you get that perfect, deep, unsettling blood-red color. Trust your eyes here; you'll know when it's right.
-
-
Optional Flavor & Consistency:
-
If you like, add a teaspoon of vanilla extract. It just gives it a nice little taste, you know?
-
If you want it a little thicker, you can gently warm it in a saucepan over low heat for a few minutes, stirring constantly. Then let it cool down before using. This makes it a bit more clingy.
-
-
Application Time!:
-
Pour your spooky creation into a squeeze bottle for precise drips, or just use a spoon to drizzle it dramatically over your cakes, cupcakes, or even a sheet of parchment paper to create 'blood' splatters that you can peel off when dry. Be an artist!
-
Step back and admire your ghoulish masterpiece. Wow, that looks good!
-
Easy Skillet Chicken Thighs Recipe
Garlic cream sauce skillet chicken thighs for a delicious and simple weeknight dinner.
Frequently Asked Questions About Edible Blood
→ How long does homemade edible blood last?
Stored in an airtight container in the refrigerator, this edible blood can last for up to 2-3 weeks. The corn syrup acts as a preservative, but always check for any off smells or changes in appearance before using.
→ Can I make this ahead of time?
Absolutely! It's actually great to make it a day or two in advance. This allows the colors to fully meld and the flavor to settle. Just give it a good stir before using.
→ Is this edible blood safe for kids?
Yes, all the ingredients are food-safe and edible! Just be mindful of potential allergies to corn syrup or cocoa powder. And honestly, it’s mostly corn syrup, so a little goes a long way for taste buds.
→ What if I don't have corn syrup?
While corn syrup gives the best texture, you can try substituting with maple syrup or golden syrup. However, the color might be slightly different, and the consistency won't be quite as realistic. You could also try a simple syrup thickened with a tiny bit of cornstarch.
→ How do I clean up food coloring stains?
Food coloring can be tricky! For hands, try scrubbing with a lemon slice and dish soap. For counters, a baking soda paste can often help. For clothes, treat immediately with stain remover before washing. Prevention is key – wear an apron!
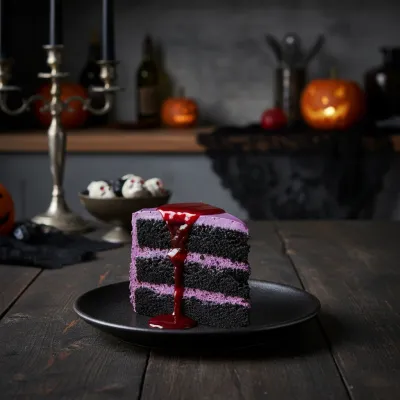
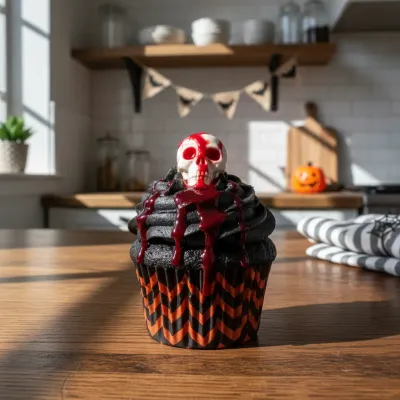
Edible Blood Recipe for Halloween Cakes
Make edible blood for Halloween cakes and cupcakes! This easy recipe adds a spooky touch to your desserts. Perfect for themed parties, turning your sweets into eerie delights that will thrill your guests.
Timing
Prep Time
5 minutes
Cook Time
5 minutes
Total Time
10 minutes
Recipe Details
Ingredients
Edible Blood
-
01
1 cup light corn syrup
-
02
2 tablespoons unsweetened cocoa powder
-
03
15-20 drops red liquid food coloring (or more for desired shade)
-
04
3-5 drops blue liquid food coloring (to deepen the red)
-
05
1 teaspoon vanilla extract (optional, for flavor)
Instructions
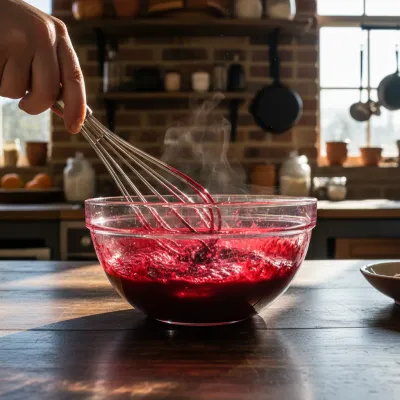
In a medium bowl, combine the light corn syrup and unsweetened cocoa powder. Whisk them together until completely smooth and there are no lumps of cocoa powder remaining. This forms your base.
Add 15 drops of red food coloring to the mixture. Stir well. At this point, it might look a bit too bright or pinkish. Don't worry, that's normal!
Now, add 3 drops of blue food coloring. Stir thoroughly. The blue helps to deepen the red, giving it a more realistic, less cartoonish blood color. Add more red or blue drops, one at a time, until you achieve your desired deep, realistic red shade.
If using, stir in the vanilla extract for a subtle flavor hint. This is optional but can make it taste a bit nicer. You can also add a pinch of cornstarch for a slightly thicker, clingier consistency if you prefer.
To simulate a thicker, slightly congealed blood, you can gently heat the mixture in a saucepan over low heat for 3-5 minutes, stirring constantly, then let it cool. Otherwise, it's ready to use as is! The texture will be slightly runny, perfect for drips.
Transfer the edible blood to a squeeze bottle or simply spoon it over your Halloween cakes, cupcakes, cookies, or other spooky treats. Get creative with your drips and splatters!
Notes & Tips
-
1
For a slightly savory, more 'gory' flavor, a tiny pinch of salt can be added to the mixture.
-
2
You can experiment with adding a drop of green food coloring if you want a more 'zombie' or alien blood effect.
-
3
If you want to create a more opaque, thicker blood, you can add a tablespoon of powdered sugar (confectioners' sugar) to the base before adding colors.
-
4
Consider adding a few drops of peppermint extract instead of vanilla for a 'bloody mint' twist!
-
5
Use a dedicated set of mixing bowls and utensils for food coloring projects, as it can sometimes stain.
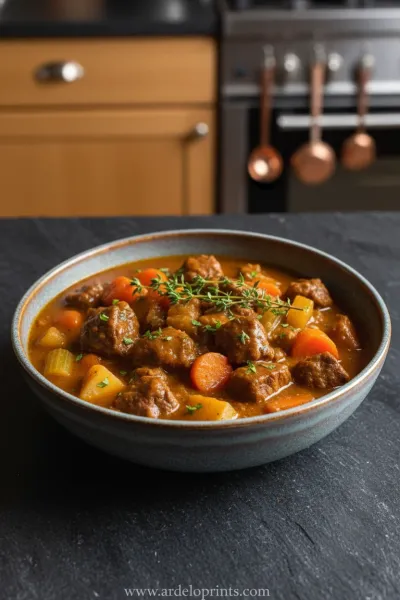
Easy Slow Cooker Pot Roast
The ultimate set-it-and-forget-it meal. Tender beef and hearty vegetables simmered to perfection in the slow cooker.
Tools You'll Need
-
Medium mixing bowl
-
Whisk
-
Measuring cups and spoons
-
Squeeze bottle (optional, for application)
-
Small saucepan (optional, for thickening)
Must-Know Tips
-
Always start with less blue food coloring and add gradually; too much can turn the blood purple or black.
-
Whisk the cocoa powder thoroughly into the corn syrup to avoid any grainy texture.
-
For even more realism, use a mix of different red food colorings (e.g., 'super red' and 'burgundy').
-
If the blood is too thick, add a tiny bit of water (1/4 teaspoon at a time) to thin it. If too thin, try adding a pinch of cornstarch and heating gently.
-
Test the color on a white plate before applying to your dessert to ensure it's exactly what you want.
Professional Secrets
-
To create realistic 'blood splatter' effects, use a stiff brush and flick the edible blood onto your dessert from a distance.
-
For a 'fresh wound' look, mix a tiny bit of red gel food coloring with a drop of clear alcohol (like vodka, if for adult consumption) for a thinner, super vibrant red, then dab it on top of your base blood.
-
Make edible blood capsules for a fun surprise! Fill gelatin capsules with the blood and have guests bite into them.
-
Use a fine-tipped paintbrush to create delicate blood veins or dripping effects around eyes on a ghost cookie.
-
Chill your finished dessert after applying the blood; it helps set the drips and makes handling easier.

Recipe by
Mason Cole“Sweet cravings are my specialty! I turn sugar, chocolate, and imagination into pure dessert magic.” 🍰✨
Get Delicious Recipes Weekly
Join 25,000+ home cooks getting our best recipes straight to their inbox.
Free forever • No spam • Unsubscribe anytime