I'll never forget the first time I attempted a 'healthy' chocolate cake. Oh my goodness, it was tragic. The thing came out looking like a sad brown pancake and tasted like disappointment with a side of chalk. But hey, we all start somewhere, right? That failed experiment taught me that low-calorie baking isn't about deprivation—it's about clever little swaps that add up to something magical.
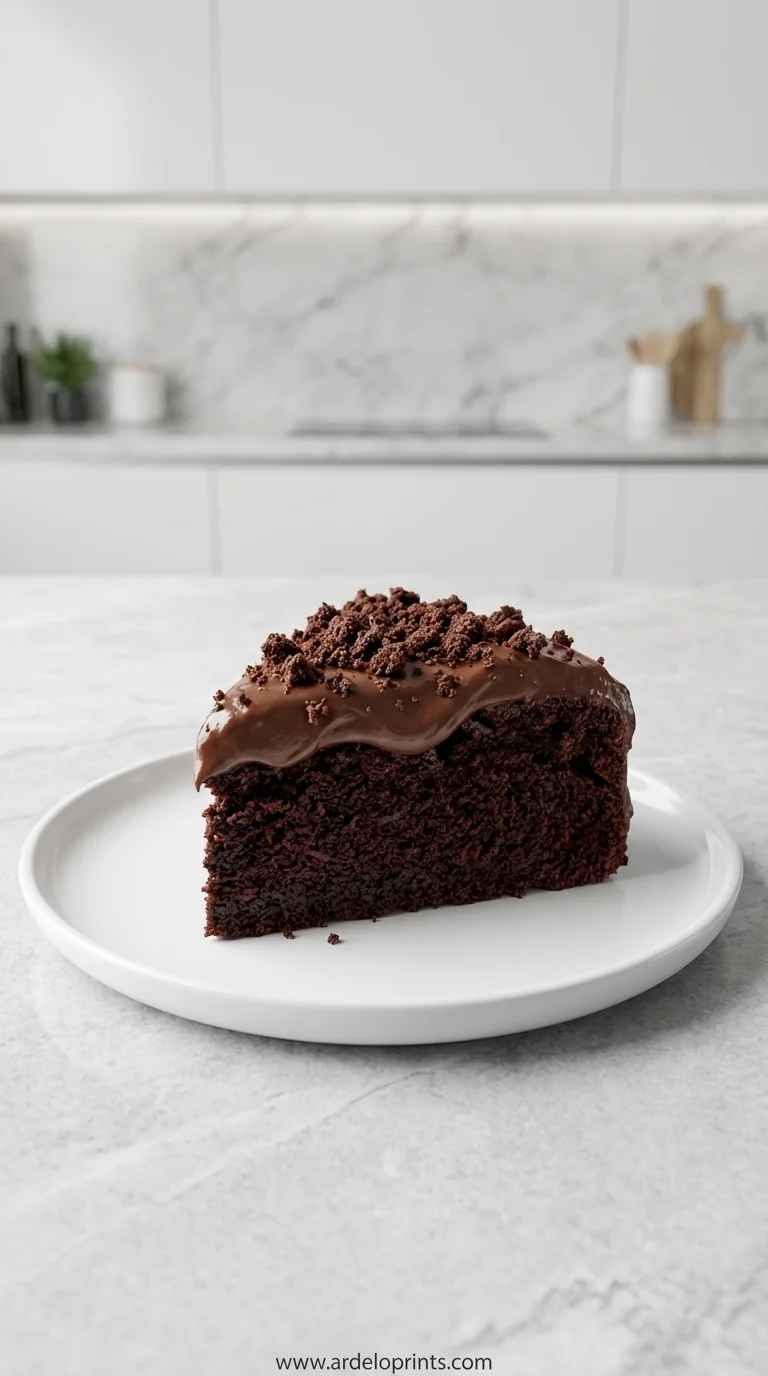
Years later, after countless kitchen experiments (and a few more flops), I finally cracked the code. The secret? Combining Greek yogurt's creamy tang with the deep richness of good cocoa powder. It creates this moist crumb that just melts on your tongue. I remember testing this version for my daughter's birthday—she's always been mindful about what she eats—and watching her face light up when she realized she could have a second slice without worry.
There's something so comforting about the rhythm of baking this cake. The gentle whisking, the way the batter comes together like a smooth dark river, the anticipation as it bakes. It transports me back to my grandma's kitchen, where she'd let me lick the spoon while whispering, 'Everything in moderation, sweetheart.' And you know what? She was right. This cake proves that sometimes the most indulgent treats can be the lightest ones.
Now when I make this, I always think about sharing it with friends who think 'healthy dessert' is an oxymoron. Their surprised expressions when they take that first bite? Priceless. It's become my little act of kitchen rebellion against the idea that delicious has to be decadent.
Why You'll Love It
-
Only 70 calories per slice - Seriously, you can enjoy a generous piece without any guilt. I love that I can satisfy my chocolate craving while still sticking to my wellness goals. It feels like finding a secret shortcut to happiness, you know? The first time I calculated the calories, I actually double-checked my math because it seemed too good to be true.
The yogurt frosting is dreamy - Tart Greek yogurt mixed with a touch of sweetness creates this cloud-like topping that complements the rich cake perfectly. What I adore is how it doesn't sit heavily in your stomach like traditional buttercream. It's like the frosting version of a cozy cotton blanket—light but utterly comforting.
Uses simple pantry staples - No fancy ingredients required! Everything here is probably already in your kitchen. I can't tell you how many times I've whipped this up spontaneously when friends dropped by. The simplicity reminds me that great food doesn't need to be complicated—just made with care and good intentions.
Ready in under 30 minutes - From mixing bowl to your mouth faster than you can decide what to watch on TV. Honestly, the speed of this recipe saved me during many 'I need chocolate NOW' emergencies. The quick preparation feels like a little gift you give yourself when the day has been too long.
"I made this for my book club and no one believed it was low calorie! The yogurt frosting is genius—creamy and light without being overly sweet. This is now my go - when I need a chocolate fix."
Essential Ingredient Guide
- Greek yogurt: This is the magic ingredient that keeps the cake incredibly moist while adding protein. I always use full-fat because it creates the richest texture, but any variety works. The tanginess cuts through the chocolate sweetness beautifully—it's like they were meant to be together. When choosing yogurt, look for one without added sugars for the cleanest flavor profile.
- Cocoa powder: Please use good quality cocoa powder—it makes all the difference! The deep, almost floral notes of premium cocoa transform this from 'just chocolate' to something special. I keep mine in an airtight container because it absorbs moisture like a sponge. Sifting it first prevents those pesky little lumps that can ruin the smooth batter.
- Zero-calorie sweetener: This is where the calorie magic happens. I've tested several types and found that erythritol blends work best for texture and taste. The trick is to whisk it thoroughly with the wet ingredients so it dissolves completely. Don't be tempted to skip the sweetener—it provides the foundation for that satisfying sweetness without the guilt.
 Desserts
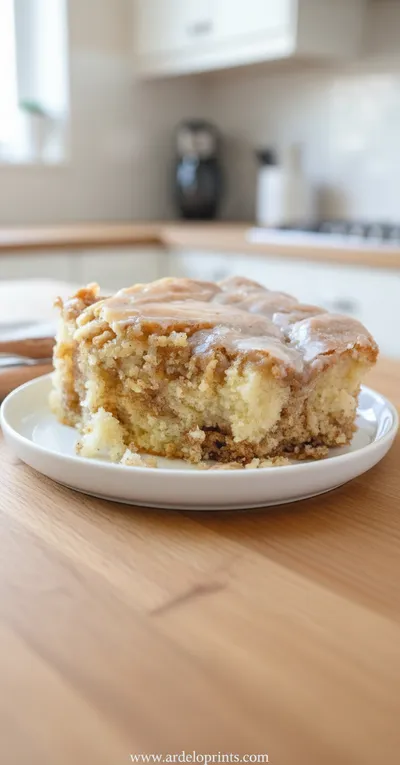
Cinnamon Roll Cake Recipe
Fluffy cinnamon roll cake with caramelized swirl, ideal for breakfast or snack.

Complete Cooking Process
-
Preparation:
Start by gathering all your ingredients—there's something meditative about lining them up on the counter. I always preheat my oven to 350°F and grease an 8-inch pan while humming whatever song's stuck in my head. The rhythm of measuring and sifting feels like a gentle ritual that slows down the hectic pace of the day.
Whisk together the dry ingredients first—the cocoa powder, flour, and baking powder. I love watching the dark cocoa dust rise in little clouds when I sift it. Then in a separate bowl, combine the Greek yogurt, eggs, and sweetener. The way the yogurt folds into the eggs reminds me of marble patterns. Honestly, this part is so simple but feels like kitchen alchemy.
-
Mixing:
Now for the fun part—combining wet and dry ingredients. Pour the yogurt mixture into the flour mixture gradually, folding gently with a spatula. Don't overmix! A few streaks of flour are totally fine—they'll disappear during baking. The batter should be thick but pourable, like a dense chocolate river.
I always scrape the bowl edges with a silicone spatula to get every bit of goodness. The smell at this stage is incredible—that deep cocoa aroma mixed with the bright note of yogurt. It takes me right back to childhood baking sessions with my mom, who'd let me 'clean' the mixing bowl with my finger.
-
Baking:
Pour the batter into your prepared pan and smooth the top. The oven should be perfectly preheated by now—that steady heat is crucial for even rising. Slide the pan in and resist the temptation to open the oven door! The cake needs that consistent temperature to develop its beautiful dome.
After about 20 minutes, start checking for doneness. The top should spring back when lightly touched, and a toothpick inserted should come out with a few moist crumbs. That moment when you pull out a perfectly baked cake? Pure kitchen triumph. Let it cool completely—this patience pays off, I promise.
-
Room temperature ingredients blend better - Take your yogurt and eggs out about 30 minutes before starting. Cold ingredients can cause the batter to seize up unevenly.
Don't overmix the batter - Gentle folding preserves the air bubbles that make the cake light. Overmixing leads to a tough texture that nobody wants.
Cool completely before frosting - Warm cake melts the yogurt frosting into a sad puddle. Waiting is hard, but worth it for that perfect slice.
Line your pan with parchment - This guarantees easy removal and pretty slices. I cut a circle for the bottom and strips for the sides.
Pro Tips
Following these simple tips will give you that bakery-quality texture we all crave. The beauty of this recipe is how forgiving it is—even if you make a little mistake, the result is still delicious. That's the magic of home baking, right?
 Desserts
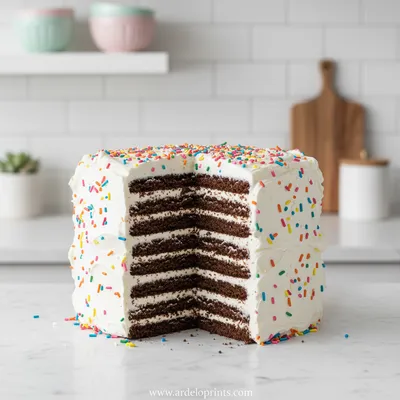
Easy Ice Cream Sandwich Cake
Cool, creamy ice cream sandwich cake that's simple, fun, and perfect for any sweet craving.

The Yogurt Frosting Revelation
Let me tell you about the frosting—this wasn't some calculated health swap, but a happy accident. I'd run out of cream cheese one day and grabbed Greek yogurt instead. The result was this tangy, cloud-like topping that made the cake feel luxurious without being heavy.
What I love is how it complements rather than overwhelms the chocolate. It's like they're having a polite conversation rather than shouting over each other. The slight tartness cuts through the richness in the most delightful way. Seriously, you might find yourself eating it with a spoon straight from the bowl (no judgment here).
This frosting taught me that sometimes the best recipes come from improvisation. It's become my signature touch for all kinds of desserts now, especially when I'm creating lighter versions of classics.
You Must Know
-
This cake tastes even better the next day as the flavors meld together beautifully.
-
The yogurt frosting firms up slightly when chilled, creating a lovely texture contrast.
-
You can easily double this recipe for a layer cake—just adjust baking time accordingly.
Frequently Asked Questions
→ Can I make this cake ahead of time?
Absolutely! This cake actually improves with a little rest. I often bake it the day before serving and frost it a few hours before guests arrive. The flavors have time to deepen and meld together beautifully. Just store it covered in the refrigerator and let it come to room temperature for about 20 minutes before serving. The texture remains perfectly moist—if anything, it gets better. I've even frozen slices individually for up to three months with great results.
→ What if I don't have Greek yogurt?
No worries! Regular plain yogurt works too, though the cake might be slightly less dense. If you use regular yogurt, strain it through a cheesecloth for about 30 minutes to remove excess liquid. Another option is sour cream, which gives a similar tangy richness. The beauty of this recipe is its flexibility—it adapts to what you have on hand. I've made successful versions with all sorts of yogurt varieties over the years.
→ Can I use regular sugar instead of zero-calorie sweetener?
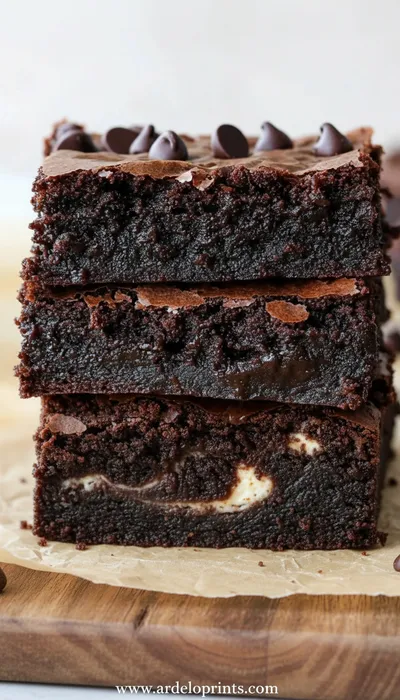
You certainly can, but it will change the calorie count significantly. If using regular sugar, reduce the amount by about 25% since sugar is sweeter than most zero-calorie alternatives. The texture might be slightly different too—sugar creates a more tender crumb. Honestly, I'd encourage trying the zero-calorie version first—you might be surprised how satisfying it is! It's perfect for when you want something like these low-calorie brownies but in cake form.
→ How do I store leftovers?
Store any leftover cake in an airtight container in the refrigerator for up to five days. The frosting holds up beautifully when chilled. If you're planning to eat it over several days, I suggest storing the cake and frosting separately—just frost each slice as you go. This keeps the texture perfect. You can also freeze individual slices wrapped tightly in plastic wrap for those sudden chocolate emergencies.
→ Can I make this gluten-free?
Yes! I've successfully made this with almond flour and gluten-free baking blends. Almond flour gives it a lovely nutty flavor and incredibly moist texture—use ¾ cup almond flour instead of regular flour. If using a gluten-free blend, follow the 1:1 substitution ratio. The baking time might need slight adjustment, so start checking at 18 minutes. It's as versatile as those healthy treats we all love.
→ Is this cake kid-friendly?
My grandchildren adore this cake! The mild chocolate flavor and creamy frosting make it a hit with all ages. I sometimes add a handful of mini chocolate chips to the batter for extra fun. What I love is that it's a dessert you can feel good about serving to little ones—no sugar crashes afterward. It's become our family's go - for birthday celebrations and random Tuesday treats alike.
→ Can I add mix-ins to the batter?
Absolutely! Frozen raspberries are wonderful—they create little pockets of tartness that contrast beautifully with the chocolate. Chopped nuts add lovely crunch, and a teaspoon of instant espresso powder enhances the chocolate flavor dramatically. Just fold them in gently at the end. The recipe is wonderfully adaptable, much like other guilt-free treats that welcome creativity.
→ What's the best way to serve this cake?
I love it slightly chilled—the frosting firms up nicely and the cake becomes incredibly moist. A dusting of cocoa powder or some fresh berries on top makes it look elegant enough for company. For a real treat, serve it with a dollop of whipped cream and maybe some single-serving desserts on the side for variety. It's perfect for afternoon tea or as a light ending to a rich meal.
Nutrition Facts
per serving
70
Calories
6g
Protein
8g
Carbs
2g
Fat
Taste Profile
Rich chocolate balanced by tangy yogurt frosting
Ingredient Substitutions
Don't have an ingredient? Try these alternatives
Texture may be slightly different but equally delicious
Adjust liquid slightly for almond flour version
Will increase calorie count significantly
Recipe Variations
Try these delicious twists on the original
Orange Chocolate
Add 1 tbsp orange zest to the batter for a bright citrus twist
Mocha Version
Mix 1 tsp instant espresso powder into the dry ingredients
Berry Swirl
Swirl ¼ cup raspberry jam through the batter before baking
Common Mistakes to Avoid
Learn from others' mistakes for perfect results
- Overmixing batter creates tough texture
- Baking in too hot oven causes doming
- Frosting warm cake melts topping
- Using cold ingredients prevents proper blending
Meal Prep & Storage
Make Ahead Tips
Bake the cake up to 2 days ahead and store unfrosted. Frost up to 6 hours before serving. The flavors develop beautifully over time. You can also mix dry ingredients in advance for quick assembly later. This is perfect for busy weeks when you want dessert ready in minutes.
Leftover Ideas
Store covered in refrigerator. Great chilled straight from the fridge—the firm texture is delightful. Crumble over yogurt for breakfast or freeze for later. Leftovers make wonderful lunchbox treats or afternoon snacks. The cake maintains its moisture beautifully for days.
Perfect Pairings
Serve this with...
Cooking Timeline
Gather ingredients and preheat oven
Mix dry and wet ingredients separately
Combine batter and pour into pan
Bake and cool completely
Prepare and apply frosting
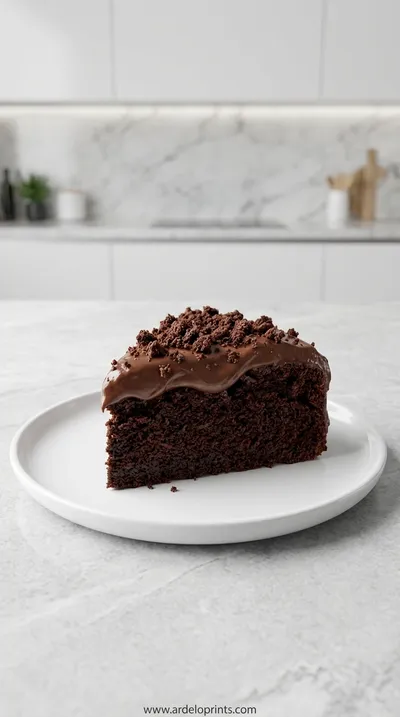
Low Calorie Chocolate Cake Recipe - Only 70 Calories
Indulge guilt-free with this easy low calorie chocolate cake featuring yogurt frosting.
Timing
Prep Time
10 Minutes
Cook Time
20 Minutes
Total Time
30 Minutes
Recipe Details
Ingredients
Cake Ingredients
-
01
1 cup Greek yogurt
-
02
2 large eggs
-
03
½ cup zero-calorie sweetener
-
04
½ cup cocoa powder
-
05
¾ cup all-purpose flour
-
06
1 tsp baking powder
-
07
1 tsp vanilla extract
-
08
¼ tsp salt
Yogurt Frosting
-
01
1 cup Greek yogurt
-
02
2 tbsp zero-calorie sweetener
-
03
1 tsp vanilla extract
-
04
Pinch of salt
Instructions
Preheat your oven to 350°F and grease an 8-inch round cake pan. I like to line the bottom with parchment paper for easy removal. There's something comforting about the routine of preparing the pan—it signals that something wonderful is about to happen. As the oven warms, gather your ingredients. I always take a moment to appreciate how simple everything is—no fancy equipment needed, just basic kitchen staples.
In a medium bowl, whisk together the flour, cocoa powder, baking powder, and salt. Sift if your cocoa tends to clump. I love watching the dark powder mix with the white flour—it looks like a storm cloud in a bowl. In another bowl, whisk the Greek yogurt, eggs, sweetener, and vanilla until smooth. The eggs should be fully incorporated, creating a pale, creamy mixture.
Gradually add the dry ingredients to the wet ingredients, folding gently with a spatula. Don't overmix! Stop when you no longer see flour streaks. The batter will be thick but pourable. Pour into your prepared pan and smooth the top. I always tap the pan lightly on the counter to remove air bubbles—it's these little details that make a difference.
Bake for 18-22 minutes until the top springs back when touched. A toothpick should come out with moist crumbs. Let it cool in the pan for 10 minutes, then transfer to a wire rack. Meanwhile, mix the frosting ingredients until smooth. Frost the completely cooled cake—waiting is the hardest part but so worth it!
Notes & Tips
-
1
The cake continues to cook slightly as it cools, so don't overbake it. That moment when the top springs back gently is perfect.
-
2
If your yogurt is particularly watery, strain it through cheesecloth for 15 minutes first. This ensures the frosting holds its shape beautifully.
-
3
This cake freezes wonderfully without the frosting. Wrap slices individually for up to 3 months—perfect for spontaneous cravings.
-
4
For a richer chocolate flavor, use dark cocoa powder. The deeper color and intense taste make it feel extra special.
-
5
The sweetener amount can be adjusted to your preference. Start with less—you can always add more after tasting the frosting.
 Snacks
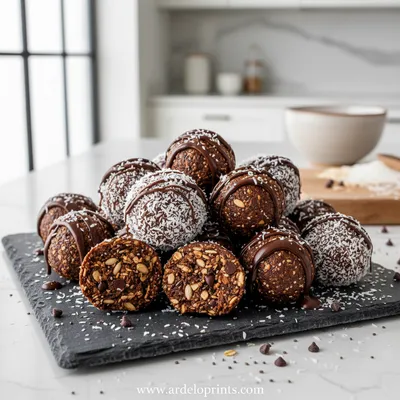
Chocolate Coconut Energy Balls Recipe
Healthy no-bake snacks combining rich chocolate flavor with coconut goodness for quick energy boosts.
Tools You'll Need
-
8-inch round cake pan - The perfect size for even baking and pretty slices. I've had mine for years and it's never failed me.
-
Mixing bowls - One for dry ingredients, one for wet. The separation makes the process so organized and calm.
-
Whisk - A good whisk incorporates everything smoothly without overworking the batter. I love the rhythmic sound it makes.
-
Spatula - For folding and scraping every bit of batter from the bowl. Waste not, want not!
-
Measuring cups and spoons - Precision matters in baking, even with simple recipes. I still use my grandmother's measuring spoons.
Must-Know Tips
-
Don't overmix the batter - Gentle folding preserves the air bubbles that make the cake light and tender.
-
Cool completely before frosting - Warm cake will melt the yogurt into a sad puddle. Patience rewards you.
-
Use room temperature ingredients - They blend together much more smoothly for a uniform texture.
Professional Secrets
-
Sift your cocoa powder - This eliminates lumps and ensures the deepest chocolate flavor throughout.
-
Tap the pan before baking - Removes air pockets for an even rise without tunnels.
-
Frost with a hot knife - Dip your spreading knife in hot water for perfectly smooth frosting application.

Recipe by
Mason Cole“Sweet cravings are my specialty! I turn sugar, chocolate, and imagination into pure dessert magic.” 🍰✨
Get Delicious Recipes Weekly
Join 25,000+ home cooks getting our best recipes straight to their inbox.
Free forever • No spam • Unsubscribe anytime